Step-by-Step: RemoteApp Hybrid Deployment–Part 2
Hello Folks,
I started this deployment on July 9th in Step-by-Step: RemoteApp Hybrid Deployment–Part 1. I stopped short of completing it frankly because it was way too late and I needed my beauty sleep. Now. We complete it.
First if you’re looking for more information about Azure or to increase your Azure skills, I highly recommend you take advantage of the Microsoft Virtual Academy modules for Azure.
So… when we here last we performed the following:
- Create a RemoteApp service
- Link to a virtual network and join the on premise domain.
- created an Image and uploaded it.
- Published the Applications we installed in the image
The last few things to do are to sync the on premise directory with one in Azure and configure the user Access. let’s get going.
Create a Directory in Azure
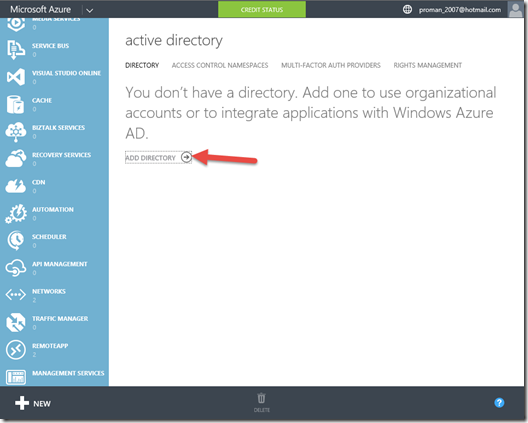
1- in the portal scroll down to Active Directory and if you don’t already have one create a new one by clicking the “ADD DIRECTORY” link.
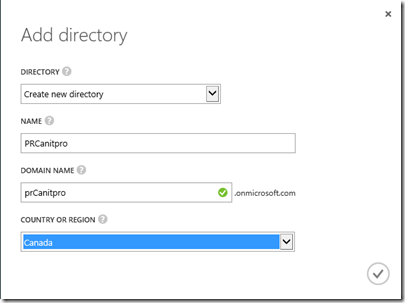
2- Give it a name and a domain name that will be used as part of the “onmicrosoft.com” domain.
 |
Caution: If you are doing this as a test DO NOT use a domain name that you would use in production. once you have used the name it’s very difficult to have support delete that registration. |
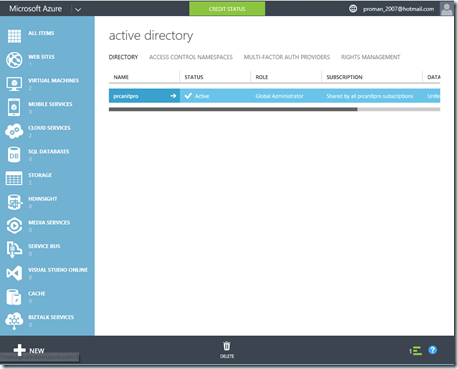
3- Once created. in the portal click on the directory you just created.
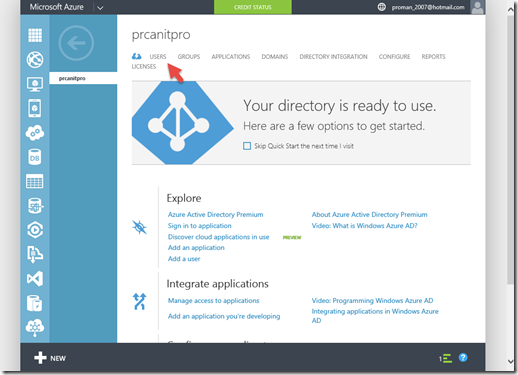
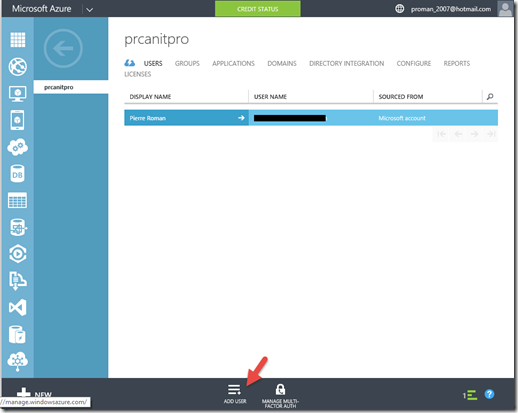
4- we need to create an account in that directory that has rights to manage this directory in order to use it for the sync process. Click on Users.
5- in the Action Bar, click Add User
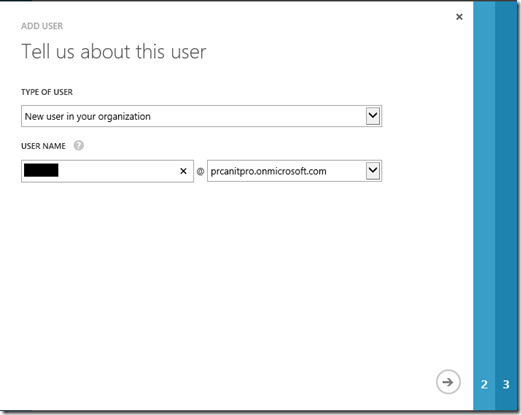
6- give it a name.
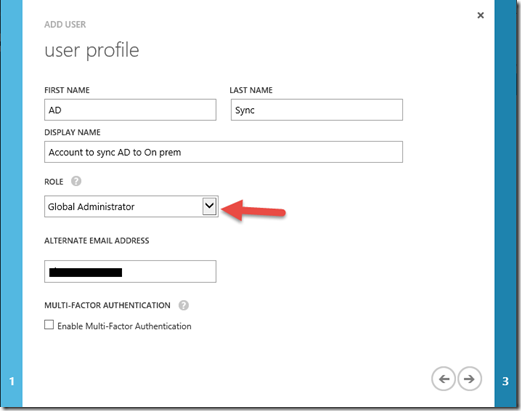
7- and ensure that on the next page you select “Global Administrator” for that domain. Provide an alternate email address for the account
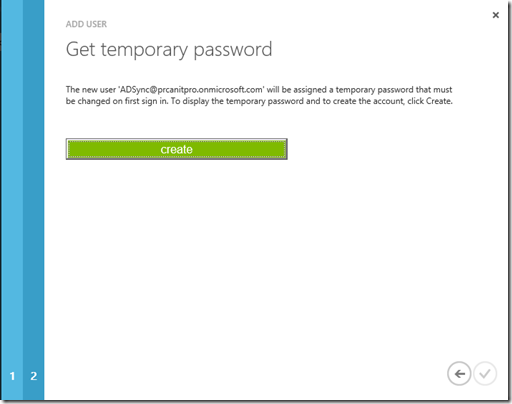
8- The last page will allow you to create a new temporary password. click create to complete the process.
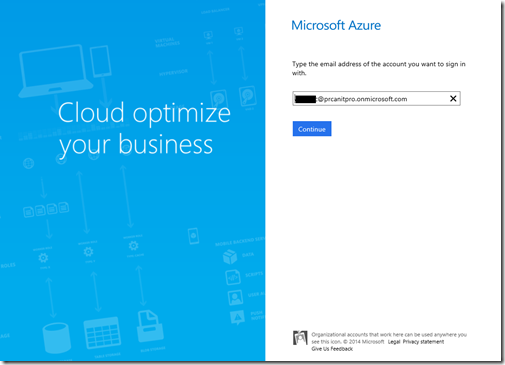
9- Use the newly created temporary password and username. Open a new “in private browsing Windows and log into the azure portal using the newly created user with its temporary password.
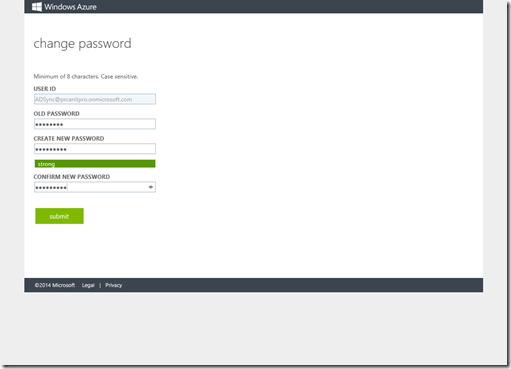
10- Once authenticated you will need to create a new password for this account.
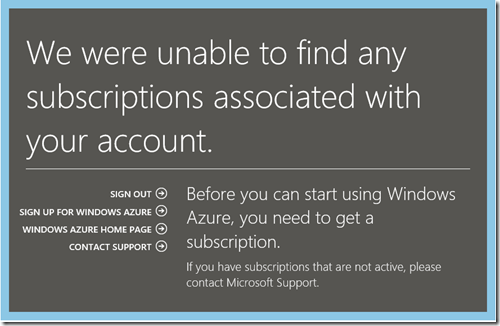
You can try to logon to azure with the account but it has no azure Subscription assigned to.
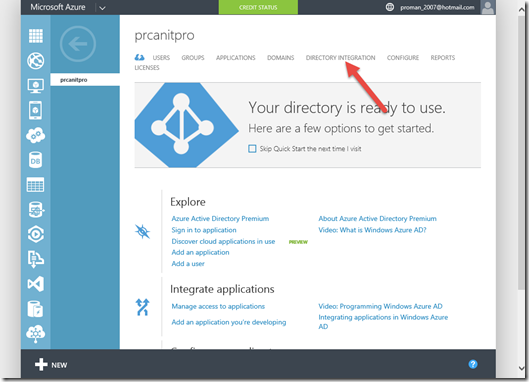
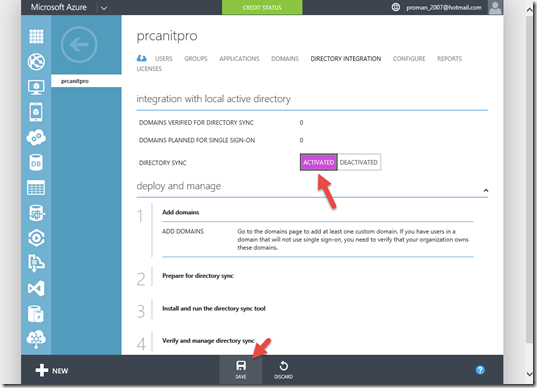
11- In the Directory Integration section.
12- Activate the Directory Sync and click save.
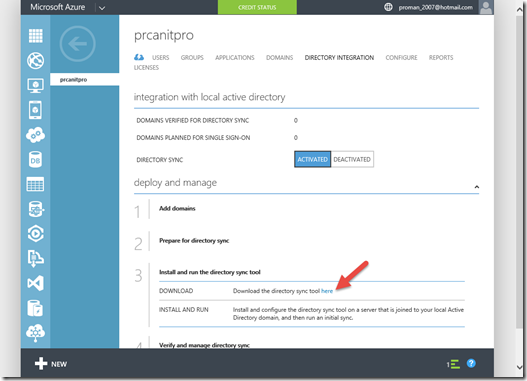
13- Download the Dirsync tools and install it on a member server in your on premise environment.
14- Once it’s installed follow the steps in Step-By-Step: Syncing An On Premise AD with Azure Active Directory
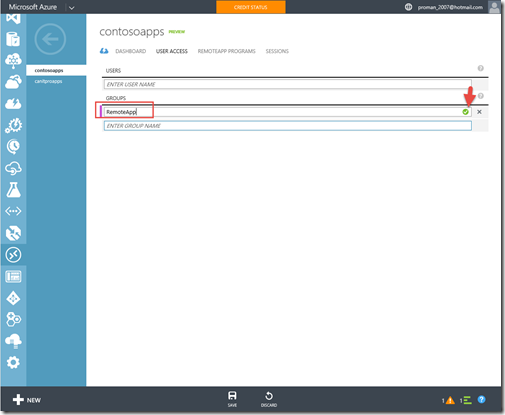
In my case I created a group in my local Active directory called RemoteApp in which I added all the user I want to give access to my published apps.
Configure the user access.
This is really an easy step if you have already grouped the users who will have access to the apps you’re deploying.
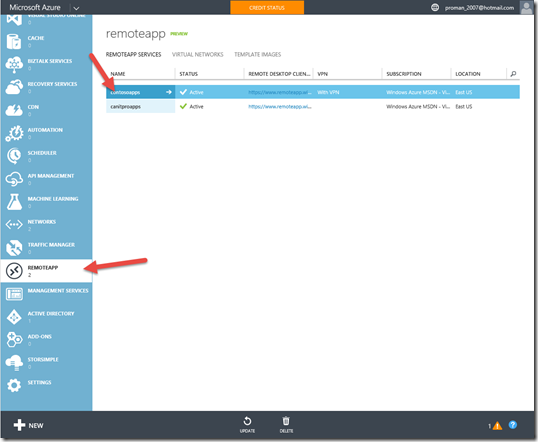
15- in the Azure Portal, scroll down to RemoteApp and click the Hybrid deployment you created.
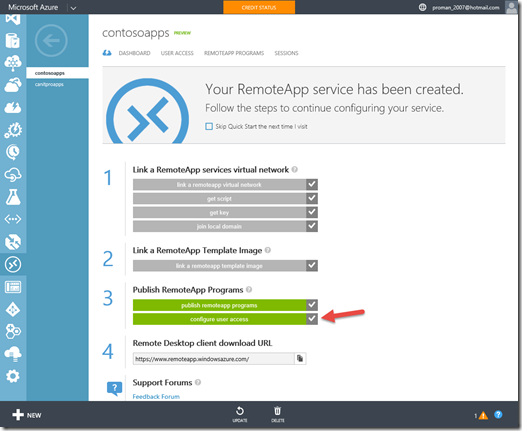
16- Click “configure user access” to proceed.
17- the next screen will allow you to add users or groups from the directory you just synced. it will validate that the user exist and show you that it’s ok with a nice green check mark. and click save in the action bar.
Once that’s done you can send the URL listed in the screen shot in step 16 (https://www.remoteapp.windowsazure.com/)
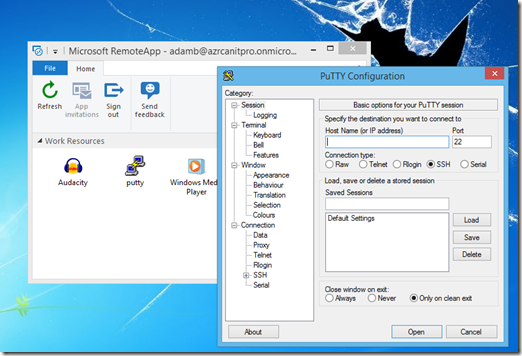
at this point all you need is to install the client from the URL in step 17 and connect using the credentials of one of your users.
Voila!!
you can now deploy your own LOB in a RemoteApp scenario without having to stand up an entire server farm. in my case I just deployed Putty and Audacity.
I hope this helps.
Again, take advantage of the Microsoft Virtual Academy modules for Azure.
Cheers!
Pierre Roman | Technology Evangelist
Twitter | Facebook | LinkedIn
