Step-By-Step: Connecting System Center Configuration Manager with Windows Intune Service
In the CANITPRO.NET BYOD Basics series we recently explored the new mobile device management capabilities found in System Center 2012 Configuration Manager when combined with the Windows Intune service. To coincide with this post, this Step-By-Step has been created to help you setup your lab to test the mobile device management functionality provided by joining the two solutions together.
Getting Started
- Download and install System Center Configuration Manager 2012 SP1
NOTE: You can also run the following lab via Step-by-Step: Building a FREE System Center 2012 Configuration Manager SP1 Lab to setup your virtual lab
- Setup your Windows Intune account by taking advantage of the free 30-day demo
Prepare Your Active Directory
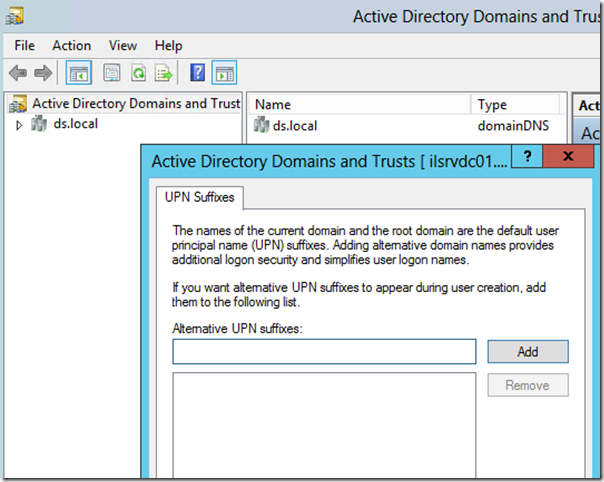
- Make sure users have publically accessible User Principal Name suffixes in Active Directory Domain Services
- Change the UPN for those users who will be utilizing Windows Intune to match the public Doman Name Services
Add records to Public DNS
- Go to account.manage.microsoft.com
- Select Domains from the left hand side
- Add a domain that you own the for verification add the TXT record to your public DNS to prove ownership - NOTE: This can take some time to replicate
- Create public DNS Alias to point EnterpriseEnrollment .<company domain name>.<tld> to manage.microsoft.com - NOTE: This allows users to enroll their devices via their email address
Deploy DirSync
- Prepare for DirSync via setting up a Windows Server 2012 server with .Net 3.5
- Install and run the Microsoft Deployment Readiness Tool.
- Depending on which portal you are using, do one of the following:
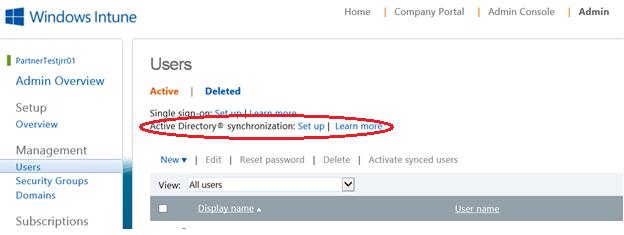
- If you are using Office 365 or another account portal, click Users, click Set up next to Active Directory synchronization, and then proceed to the next step.
- If you are using the Windows Azure Management Portal, click Active Directory, click on your directory showing on the Enterprise Directory page, click Directory Integration, and then proceed to the next step.
- If you are using the Windows Azure AD Preview Portal, in the left pane, click Integration, click Deploy directory sync, and then proceed to the next step.
- Click Activate.
- Depending on which portal you are using, do one of the following:
Prepare Windows Intune for DirSync
-
- Go to account.manage.microsoft.com
- Go to Users > Active Directory Synchronization Setup
- Download and install DirSync
- Setup Synchronization
- Check Synchronization by making sure users now appear in the Users view at account.manage.microsoft.com
- Enable users for Synchronization
- Enable users for Windows Intune
Enable Windows Intune for the users you wish to enroll
-
- Ensure the users password has been changed – NOTE: users cannot enroll devices using the default password they are issued upon account creation
Enabling the Company Portal for Windows RT
- Add the Windows Intune Connector Site System Role
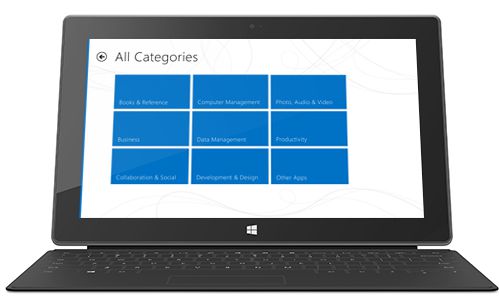
- On the RT device go to Company Apps
- Log in with the users email address and password
- Install and start the portal
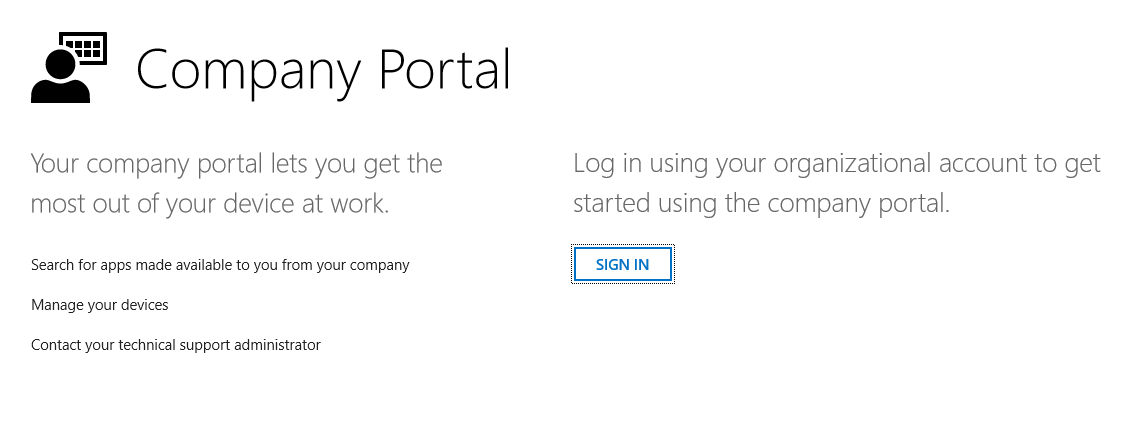
- Sign into the Company Portal App
This lab, once completed, provides an exceptional testing ground for BYOD enablement. Be sure to connect your Android, iOS and of course your Windows 8 and Windows Phone devices to said lab to ensure enablement offered through System Center 2012 and Windows Intune is the right fit for your organization.