Step-By-Step: Setting up AD FS Proxy Servers Via Single Sign-On for Office 365
The AD FS Proxy role is deployed in the DMZ and is used for external client authentication.
People always ask me, do I really need an AD FS Proxy server? The answer is yes for one huge reason.
Security –It is possible to forward TCP 443 right from the internet to the AD FS server, but this would not be very smart security choice. Networking setup for these servers is very easy. We have an A record setup (sts.domain.com) in our public DNS that resolves to an internet accessible IP address. This IP address should be configured as an external interface on your firewall. You are going to want to forward requests for sts.domain.com (port 443) from the external interface on the firewall to the AD FS server. Next, you are going to want to enable bi-directional communication between the AD FS server and the AD FS Proxy Server.
Do not domain join the server since the AD FS Proxy server is in the DMZ. It functions just fine without being domain joined and you will needlessly open firewall ports from the DMZ to the internal network.
Set the External Domain
Since the server is not domain joined and is technically a web server, it's recommended that you set the internal domain name.
- Login to the AD FS server with the AD FS service account
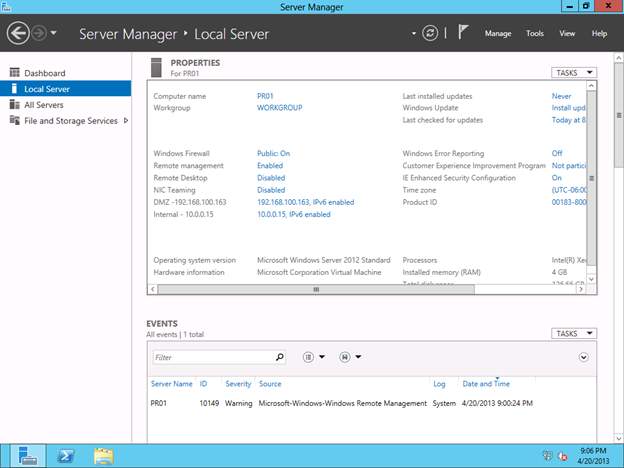
- Open Server Manager
- Click Local Server
- Click the Computer Name
- On the System Properties page, click Change
- On the Computer Name / Domain Changes, click More
- Enter the External domain name
- On the DNS Suffix and NetBIOS Computer Name, Click OK
- On the Computer Name / Domain Changes, click OK
- Reboot
Install AD FS Proxy Server Role
- Login to the AD FS server with the AD FS service account
- Open Server Manager
- Click Manage
- Click Add Roles and Features
- On Add Roles and Features Wizard, click Next
- Select Role-based or feature-based installation and click Next
- Select the local server and click Next
- Select Active Directory Federation Services
- Click Add Features, this will install the required features for AD FS
- Click Next
- Select .NET Framework 3.5 Features and click Next
- Click Next
- Leave default selections for the Web Server Role (IIS) and click Next
- Click Next
- Uncheck Federation Service (selected by default)
- Select Federation Service Proxy and click Next
- Click Install
- Install begins. You can close this window or leave it open to view the progress
- Once the installation has completed, click Close
Install Sign-in Assistant
- Open the Office 365 Admin Center via your Internet Browser
- Click Download Software
- Click Desktop Setup
- Click Set up to start the Desktop Applications install
- Click Run
- Once Desktop Assistant has downloaded, click Run
- Sign in with a Global Administrator account for Office 365.
NOTE: I create a shared service account for use with AD FS and Directory Sync. This account does not need a license assigned and should be a tenant account (@domain.onmicrosoft.com). Assign the account the Global Administrator role.
- Once the Desktop Applications setup starts, Uncheck (if checked) Microsoft Outlook, Microsoft SharePoint and Microsoft Lync and click Continue
- When Open File - Security Warning appears Click Run
- Click I Accept on the Microsoft Office 365 desktop setup screen
- Once Microsoft Online Sign-In Assistant has completed its install, click Finish
Install the Windows Azure Active Directory Module for Windows PowerShell
- Go back to the Office 365 Admin Center
- Click Users and Groups
- Click Set up link beside Single Sign-On
- Chose Windows 64-bit Version and click Download
- Click Run
- Click Next
- Accept the License Agreement and click Next
- On the Windows Azure Active Directory Module for PowerShell, choose enter the install path and click Next
- Click Install
- Click Finish once completed
This completes setting up all the pre-required software for the AD FS Proxy server.
Just like the AD FS server, we need a third party certificate on the AD FS Proxy server. The AD FS Proxy server will need to have the same SSL certificate as we used on the AD FS server. The best way to do this is to export the certificate from the AD FS server and then import is on the AD FS proxy server. Once it's on the AD FS Proxy server, we can assign it to the default website, the same way we did on the AD FS server.
Export the AD FS Certificate from the AD FS Server
- Login to the AD FS server with an Administrator account
- Open the Start Screen and type MMC
- Open the MMC
- Once the MMC opens, click File and Click Add/Remove Snap-in
- In the Add/Remove Snap-in screen, select Certificates and click Add>
- Select Computer Account and click Next
- Select Local Computer and click Finish
- Click OK
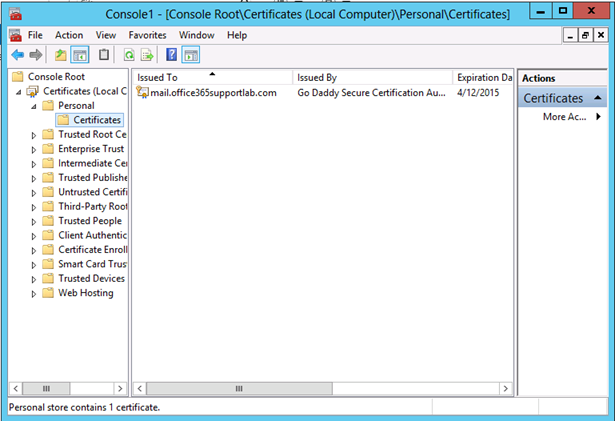
- Expand Certificates
- Expand Personal
- Select Certificates
Note: The certificate shown below is a multi-name SSL certificate for my lab environment. Your certificate should show sts.domain.com.
- Right Click the third party certificate
- Select All Tasks
- Select Export
- In the Certificate Export Wizard screen, click Next
- Select Yes, Export the Private Key and click Next
- Export in Personal Information Exchange – PKCS #12 (.PFX)
- Select Include all certificates in the certification path if possible
- Select Export all extended properties and click Next
- Select Password
- Enter password
- Confirm password and click Next
- Enter a path to save the exported certificate and click Next
- Click Finish
- Once the export is successful, click OK
- Copy the exported certificate to the AD FS Proxy Server
Import the AD FS Certificate to the AD FS Proxy Server
- Login to the AD FS Proxy server with an Administrator account
- Open the Start Screen
- Type MMC
- Open the MMC
- Click File
- Click Add/Remove Snap-in
- Select Certificates and click Add>
- On the Certificates snap-in screen, select Computer Account and click Next
- Select Local Computer and click Finish
- Click OK
- Back on the Add or Remove Snap-ins, Expand Certificates
- Expand Personal
- Right Click Certificates and select Import
- Select Local Machine and click Next
- Browse to the Exported Certificate and click Next
- Enter Password
- Select Mark the key as exportable and click Next
- Place in the Personal certificate store and click Next
- Click Finish
- Click Ok on the Certificate Import Wizard has successfully competed
Assign the Imported Certificate
Now that we have the third party certificate imported on the server, we need to assign and bind it to the default website (HTTPS port 443).
- Open Server Manager
- Click Tools
- Click Internet Information Services (IIS) Manager
- Expand the local server
- Expand Sites
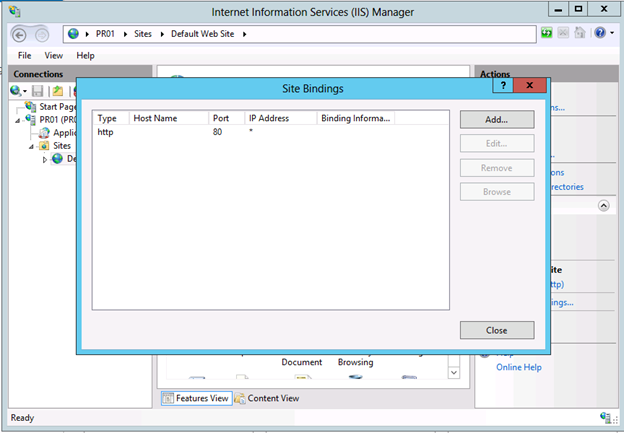
- Select Default Web Site
- Click Bindings (actions pane)
- Click Add
- Change the type to HTTPS
- Select your certificate from the drop down menu
Note: The certificate shown below is a multi-name SSL certificate for my lab environment. When you select your certificate, it should show sts.domain.com, which matches the competed certificate
- Click OK
- Click Close
- Close IIS Manager
Now that our certificates are taken care of, we can continue to the last step; completing the AD FS Proxy server setup.
With all the required software is installed on the server, we can verify name resolution for the AD FS Server and the AD FS Proxy Server. After that is completed, then we configure the local AD FS Proxy Server.
Verify Name Resolution
Since the AD FS Proxy server is not domain joined, it will not have access to the domain based DNS. We need to add some entries to the local hosts file so that the ADFS Proxy Server can resolve the internal IP for sts.domain.com and the AD FS Server.
Domain Based Name Resolution
- Login to your Domain Controller
- Open DNS Management Console
- Verify A records for the following servers, AD FS Server, AD FS Proxy Server, sts.domain.com (Internal IP)
Internet Based Name Resolution
- Login to your Public DNS Management Console
- Verify and/or Add and A record for the following - sts.domain.com (Internet IP)
AD FS Proxy Server Name Resolution
- Login to the AD FS Proxy Server with an Administrator Account
- Open the Start view
- Type Notepad
- Right Click Notepad
- Run as Administrator
- Click File and click Open
- Change to All Files
- Open the hosts file (c:\windows\system32\drivers\etc\hosts)
- Enter IP and Host name for the AD FS Server and for sts.domain.com
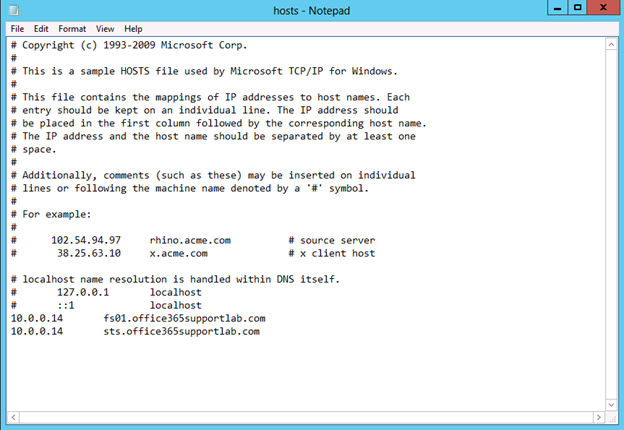
- Click File and click Save
Configure Local AD FS Proxy Server
- Login to the AD FS Proxy Server with an Administrator Account
- Open Server Manager and click Tools
- Click AD FS Federation Server Proxy Configuration Wizard
- Click Next
- Verify the Federation Service Name
- Click Test Connection
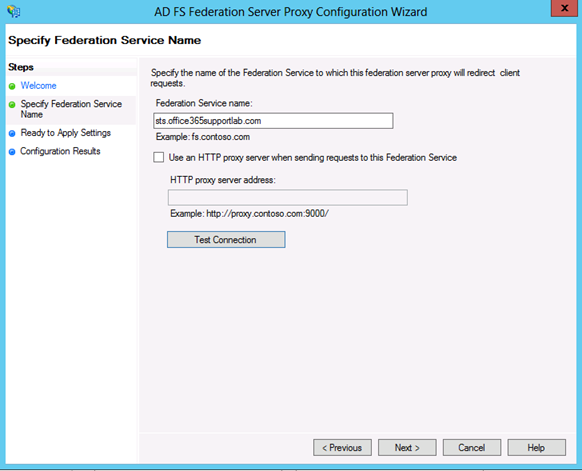
This is the message you should see if the firewall is configured properly
- Click OK
- Click Next
- Enter the AD FS Service account information and click OK
- Click Next
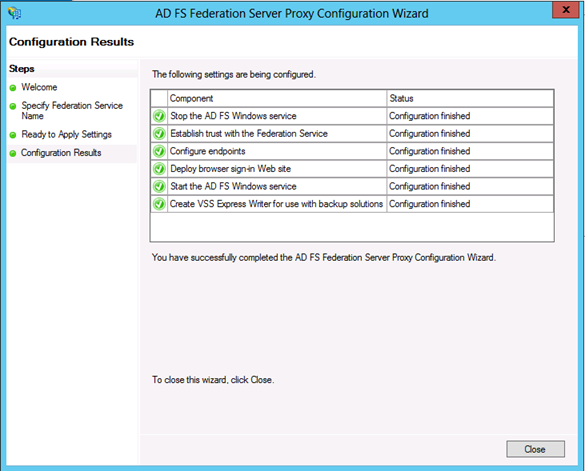
All green checks means a successful configuration
- Click Close
Now that our AD FS server and AD FS Proxy server are setup, we now need to setup Directory Synchronization
Thanks for visiting and reading my posts. I am always looking for more ideas. Please comment or email me with what you would like to see.