Solidity integration with Visual Studio
Getting Started with Solidity
Yesterday we were proud to announce the integration of Solidity and the Smart Contracts that work with Ethereum blockchains into Visual Studio. This exists as an extension that is available here. This extension was designed to lower the bar to working with blockchains and make this a seemless process from inside the world class IDE.
The extension is free, and we have put together some steps to further help you get started using this.
Prerequisites
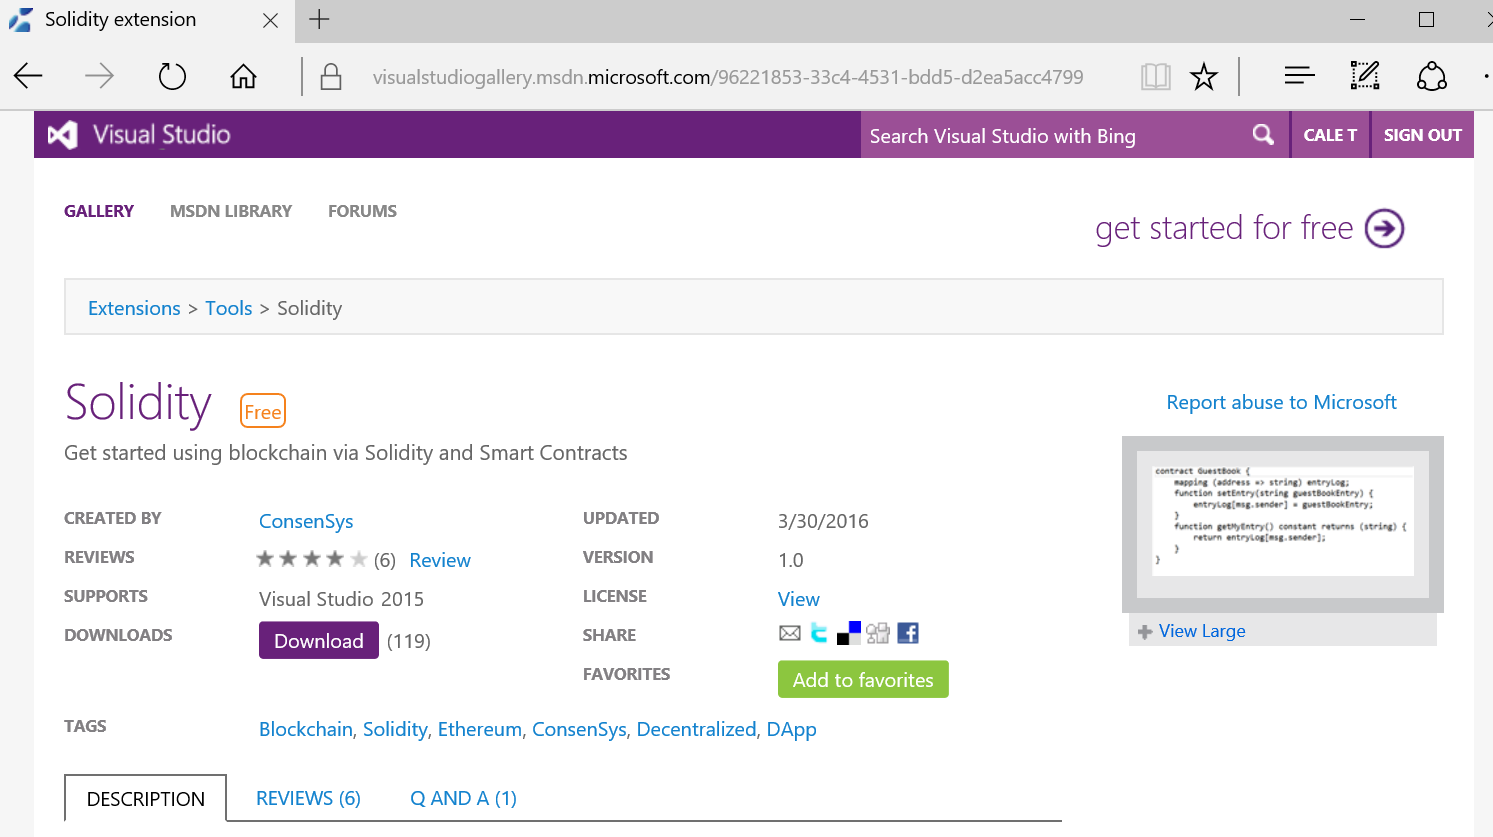
To get started you will need to be using Visual Studio 2015 Community, Professional, or Enterprise edition. You will also need to download the Solidity extension from the Visual Studio Marketplace. You can download that here. After installing the extension, you will need to restart Visual Studio. Also, nodejs will need to be installed to allow local deployments for development. This can be downloaded here. (download the latest LTS version)
Create your first Decentralized Application
After the extension has been installed, next you can create a decentralized application that will be used to author, compile and deploy smart contracts.
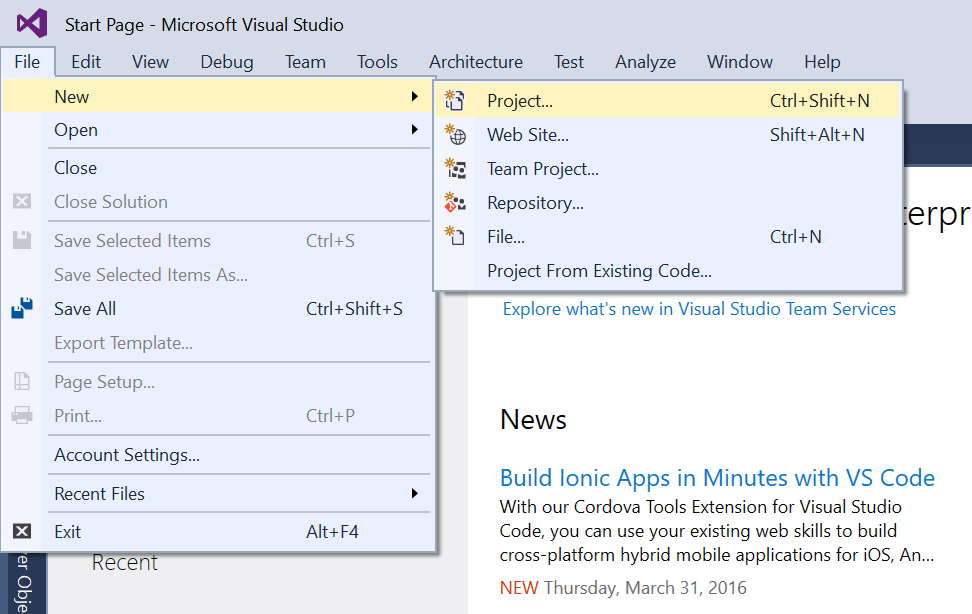
1. From the File menu, click new Project.
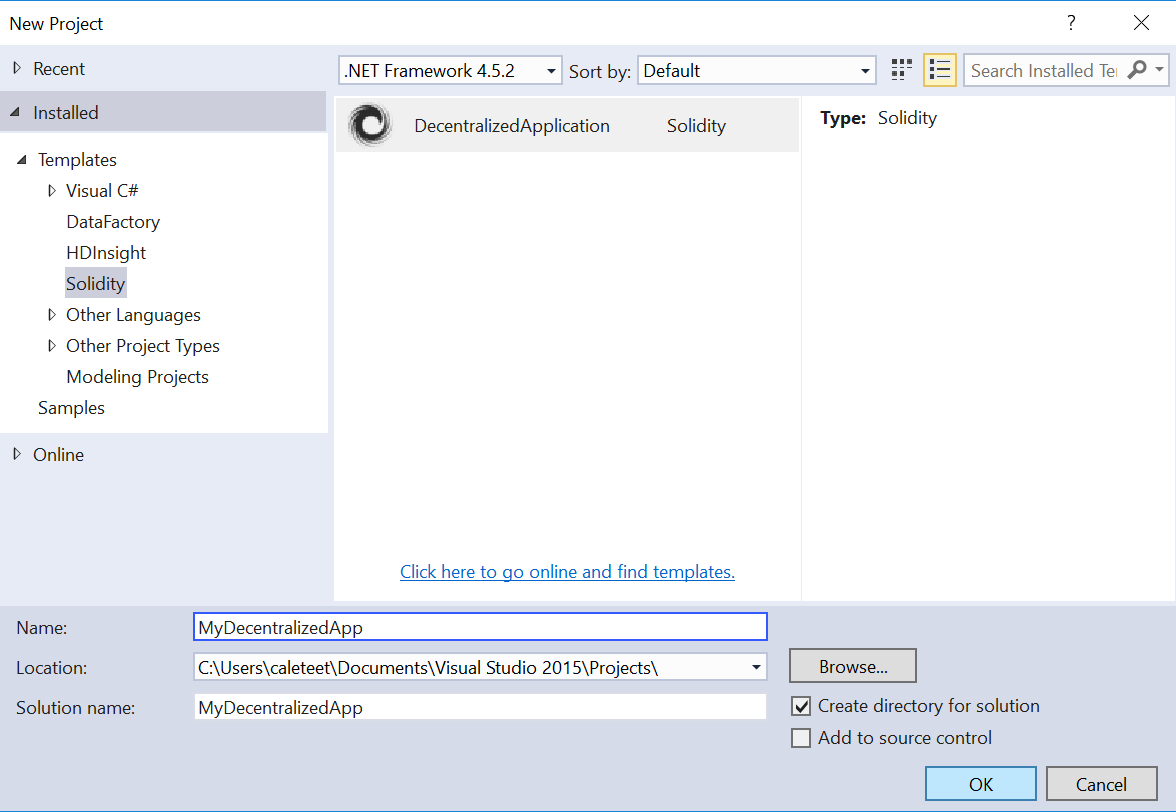
2. In the New Project dialog box, click on Solidity under Installed Templates, and then select DecentralizedApplication. Name the application, MyDecentralizedApp, and then click OK.
3. Next you will see a few things happened. A README document was opened in the Visual Studio main window and the project was setup with some folder and sample files. The README explains how to setup a local keyserver in order to deploy smart contracts to a development blockchain instance.
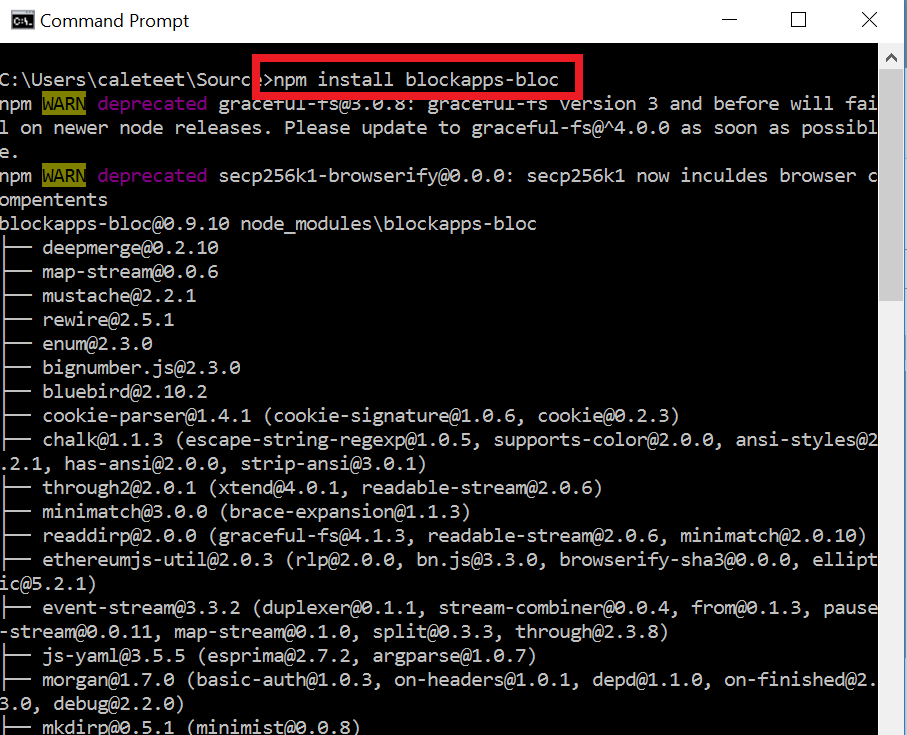
a. First download and install the latest version of bloc from Consensys. To do this, open a cmd prompt, navigate to a directly where you would like to install the keyserver and run the following command: npm install blockapps-bloc -g
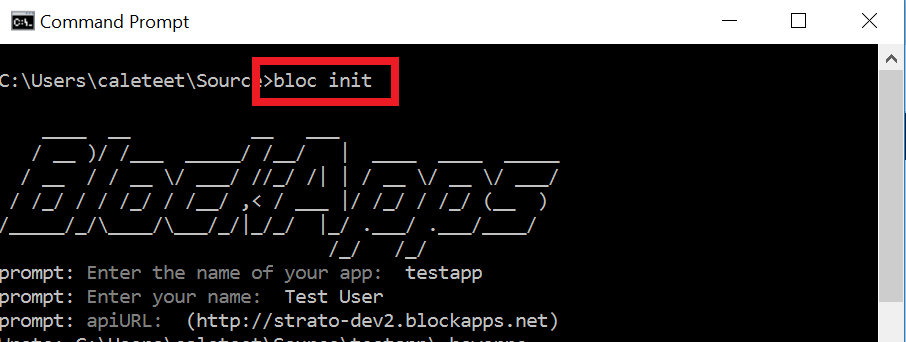
b. Next create the instance of bloc from the core by running the command: bloc init.This will prompt you for some values that will be used the instance. Enter a name of your choice, and user name, and accept the default for the apiUrl. This is the ethereum node that will hold the actual blocks that your account/contracts will be deployed to.
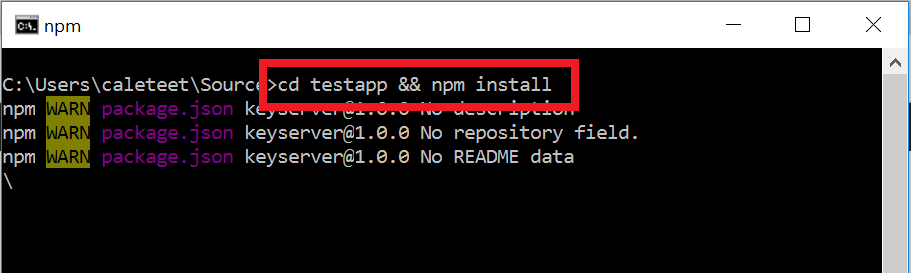
c. Now change to that directory and install the required node packages by running the following command: cd <appname> && npm install
d. Finally you are ready to start the bloc instance by running the following command: bloc start
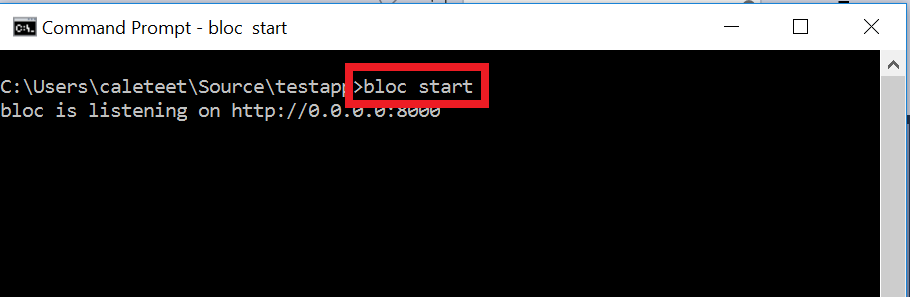
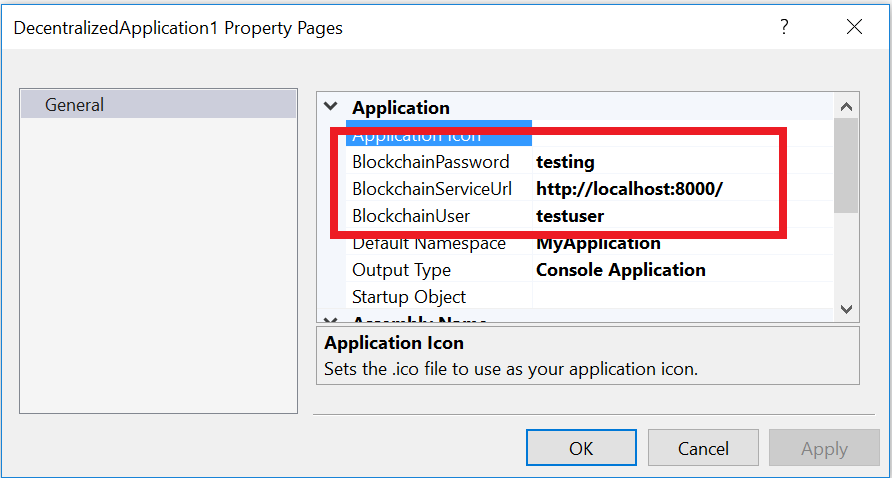
4. Now we have a keyserver running. This local keyserver will run on port 8000 by default. The Visual Studio extension is configured to use this server by default, with a user named: testuser and a password: testing. You can view and edit these changes by running the following:
a. Right click the project in solution explorer.
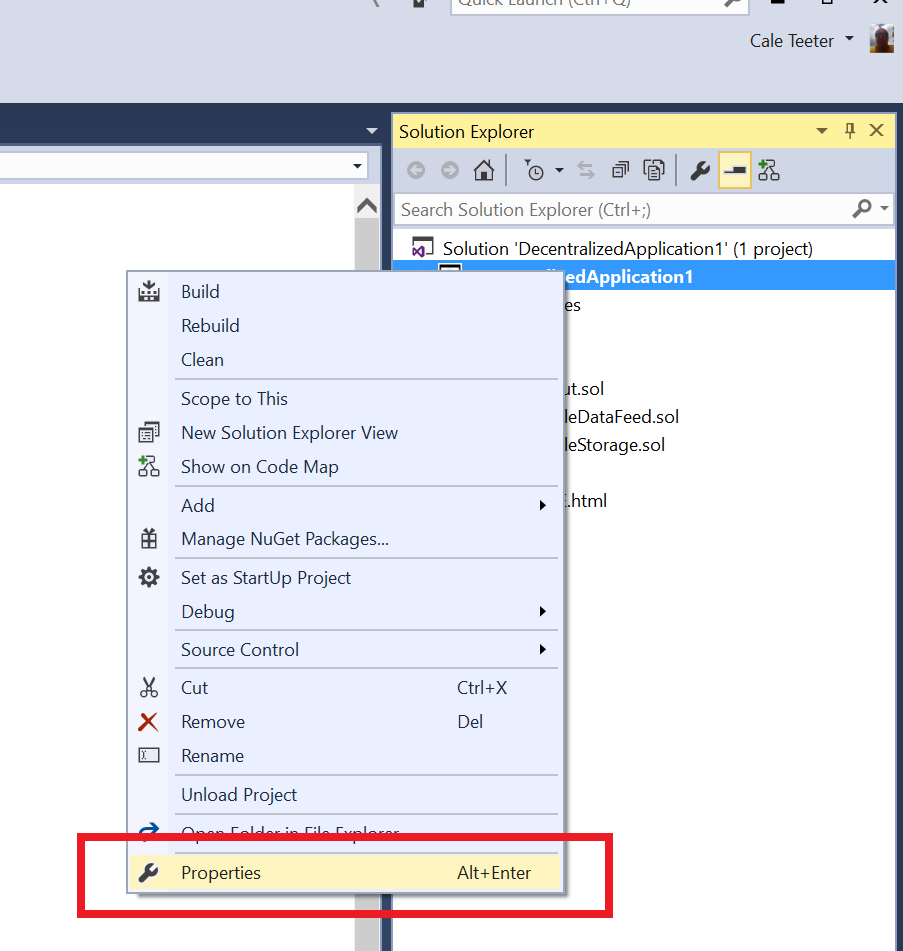
b. The dialog here shows the configuration values that are set by default, and can be adjusted if needed. (they will not need to be adjusted in most cases)
5. At this point we have a keyserver running locally, now we have an endpoint that we can deploy our smart contracts to (as well as create new users). So now we can get started with development of smart contracts.
Working with Smart Contracts (authoring, compiling, deploying)
Now that the foundation is place, we can take a look at working with Smart Contracts. By default a folder named samples will be created with some sample contracts already included. When you are just getting started with Solidity, these are a great source of reference.
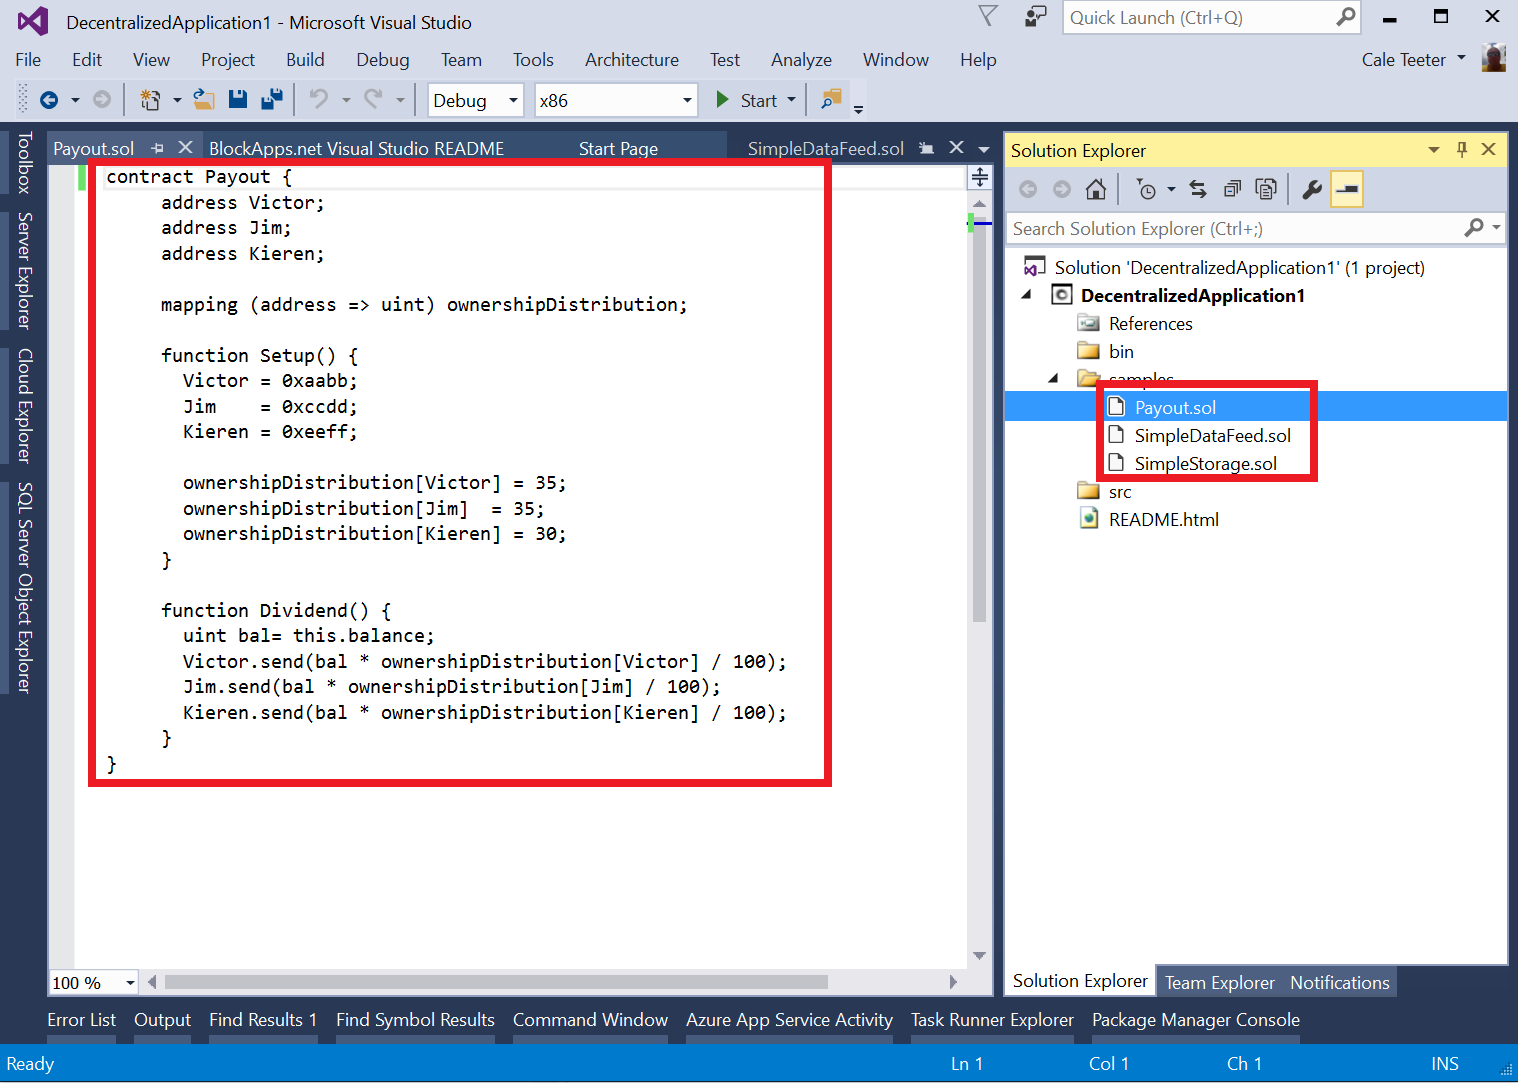
To get started, we can use the Payout.sol smart contract. First, we can examine the contract in the Visual Studio code window. When we are satisified with what we have authored, we can then compile this contract. This compiliation will take place on the local machine. The output from the compliation will be in the output window of Visual Studio,
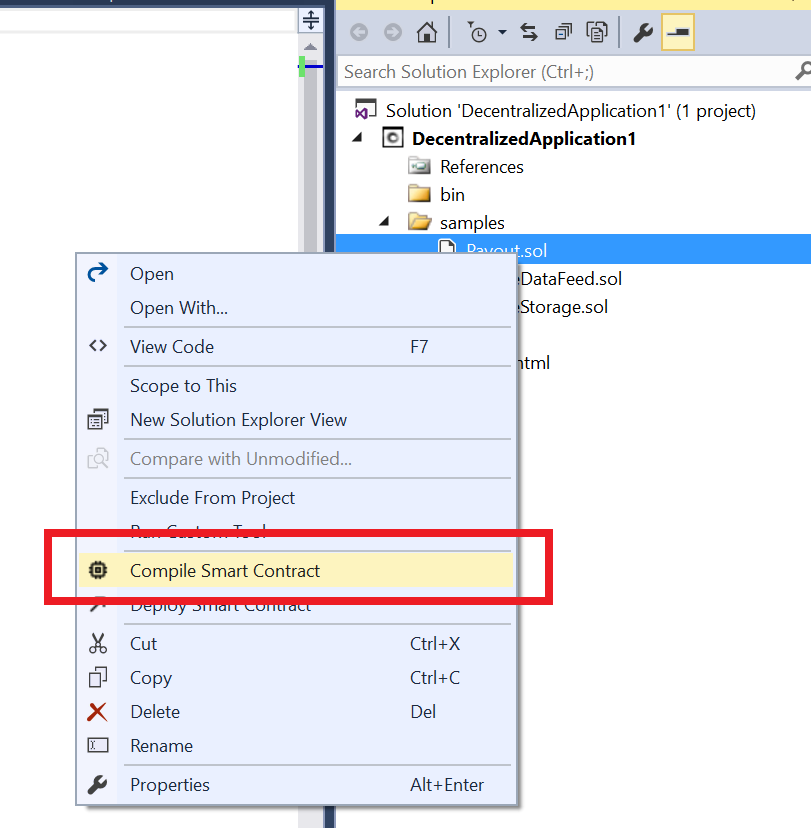
Compilation
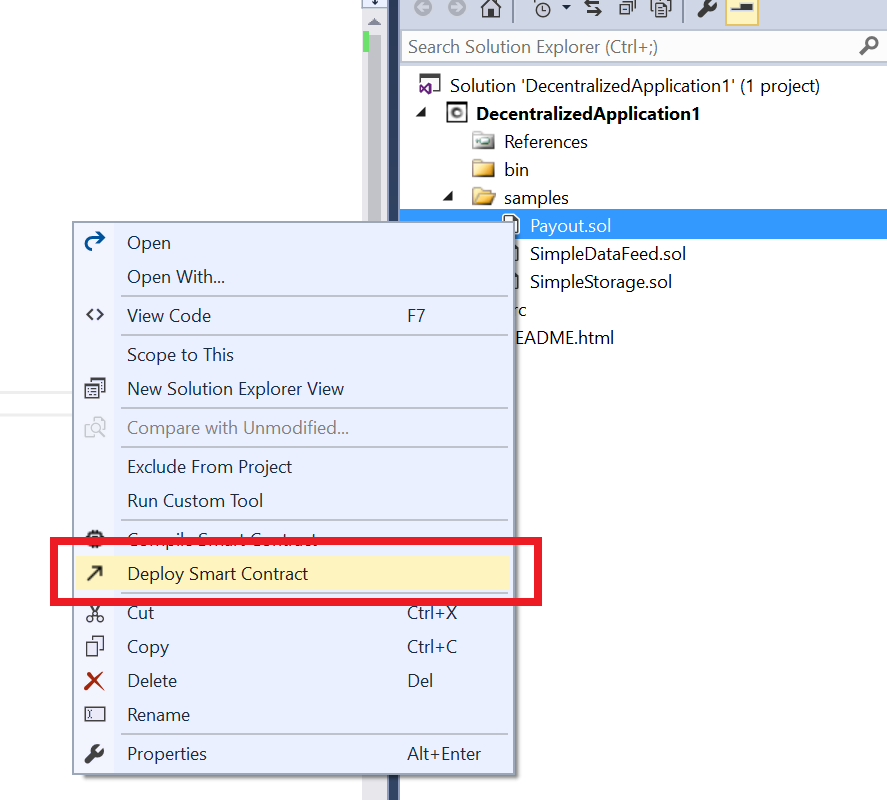
1. Compile the smart contract
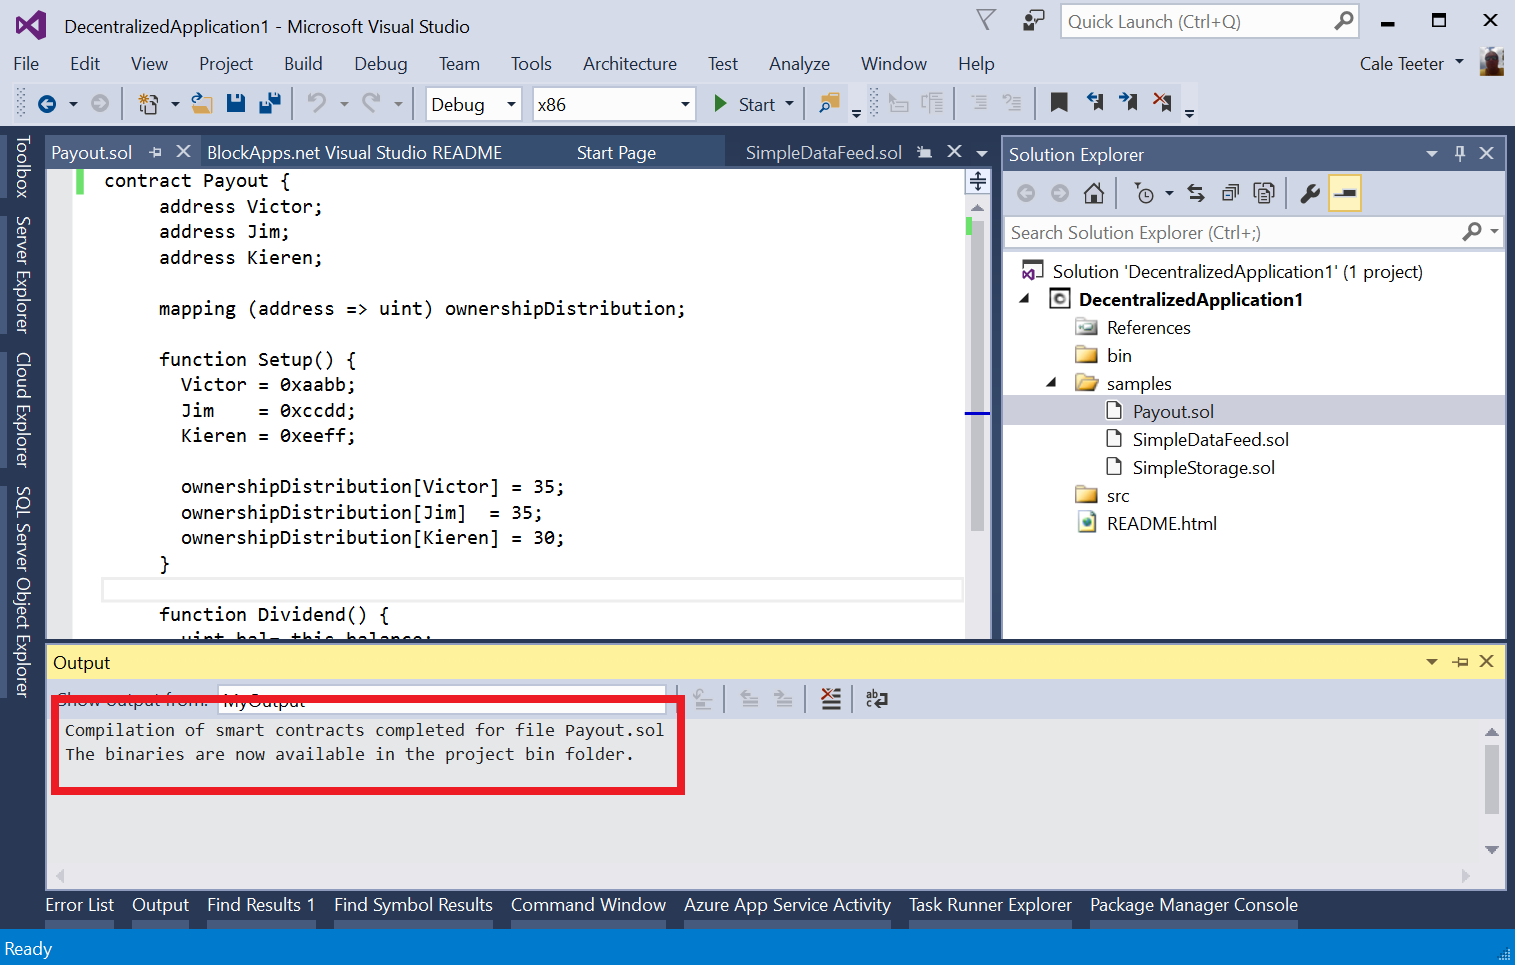
2. The output for the compilation is found in the output window. If you don't see the output window in the lower part of your screen you can open from the View -> Output menu (or Ctrl + W, O). If there any errors with the compilation, it will be shown in the output window as well.
Deployment
The deployment is nearly as simple as the compilation. The deployment will send the smart contract to your local keyserver which will communicate with the underlying blockchain. What is actually happening is this.
1. First, VS will use the project properties (shown earlier) to determine the bloc server to communicate with (url).
2. Next VS will call this server, asking if the user in the project properties, exists.
a. If it does exist, the address of the user will be returned to Visual Studio.
b. If it doesn't exist, a new user will be created, and that address will be returned to Visual Studio.
3. Next, VS will get the source for the contract, along with the address of the user and post this to the bloc server.
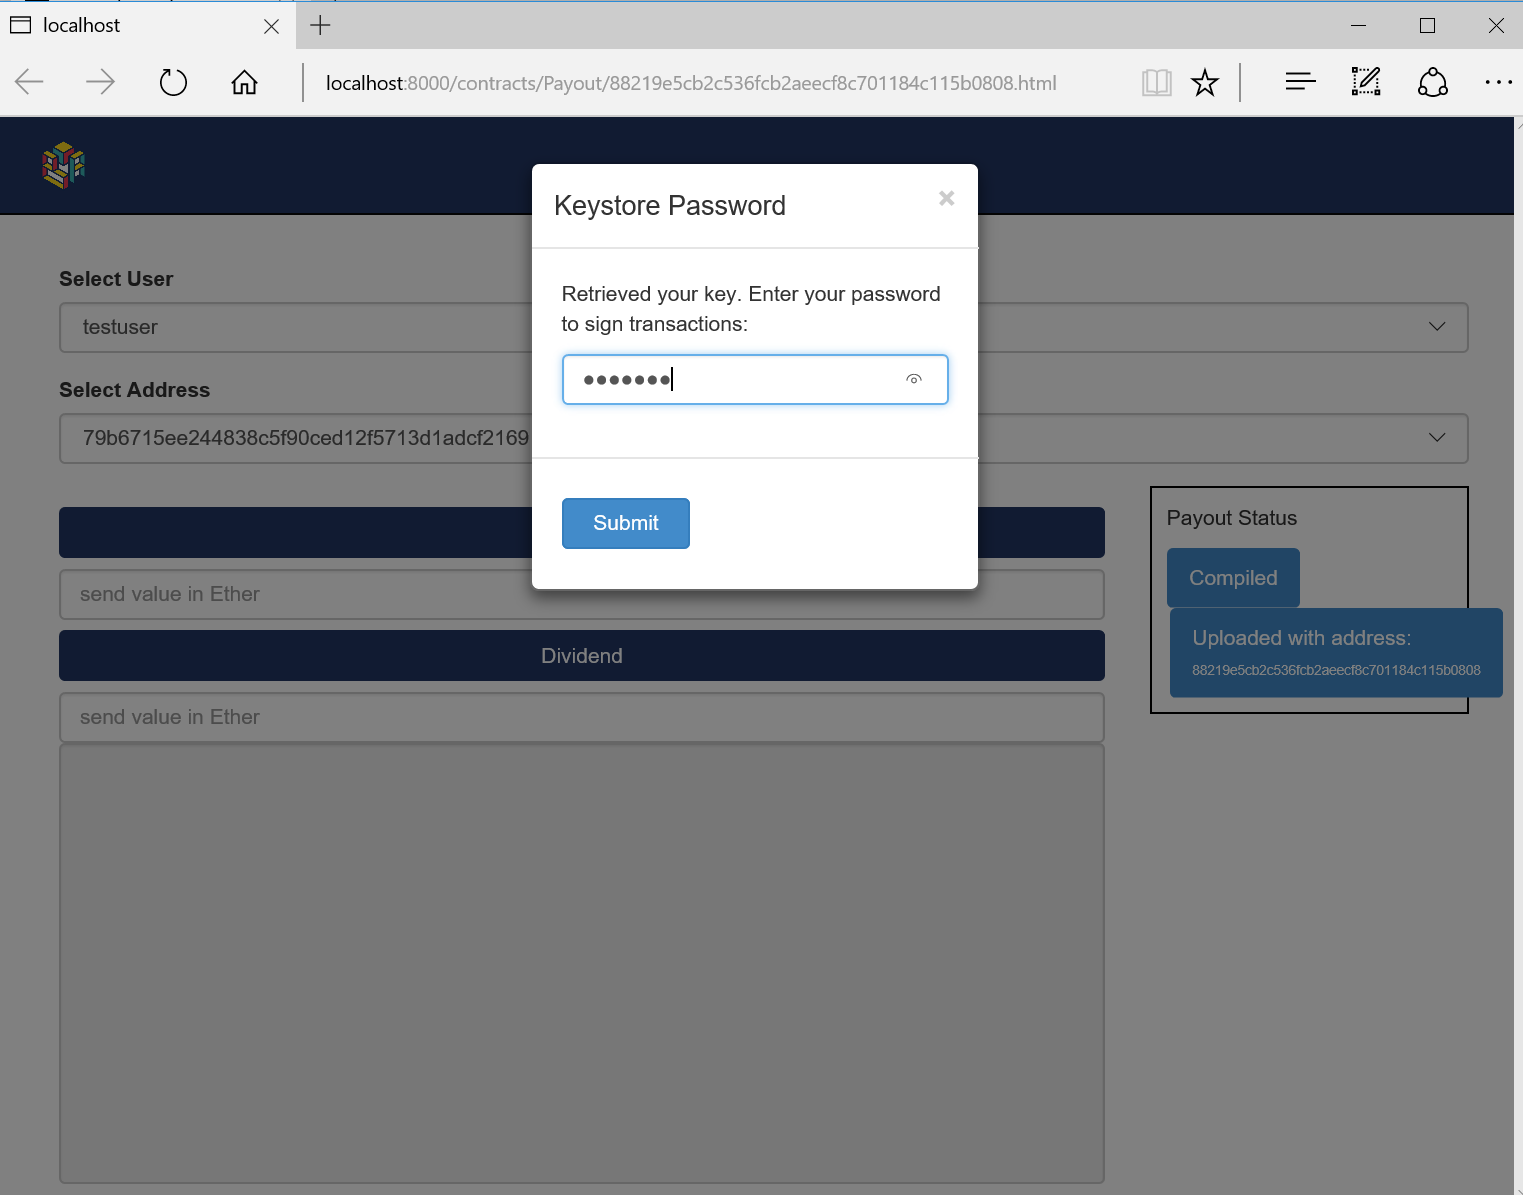
4. Finally, your default browser will be opened to a dynamically created html page of the smart contract that was deployed.
5. When the browser opens, you can enter the password for the bloc server (default is testing).
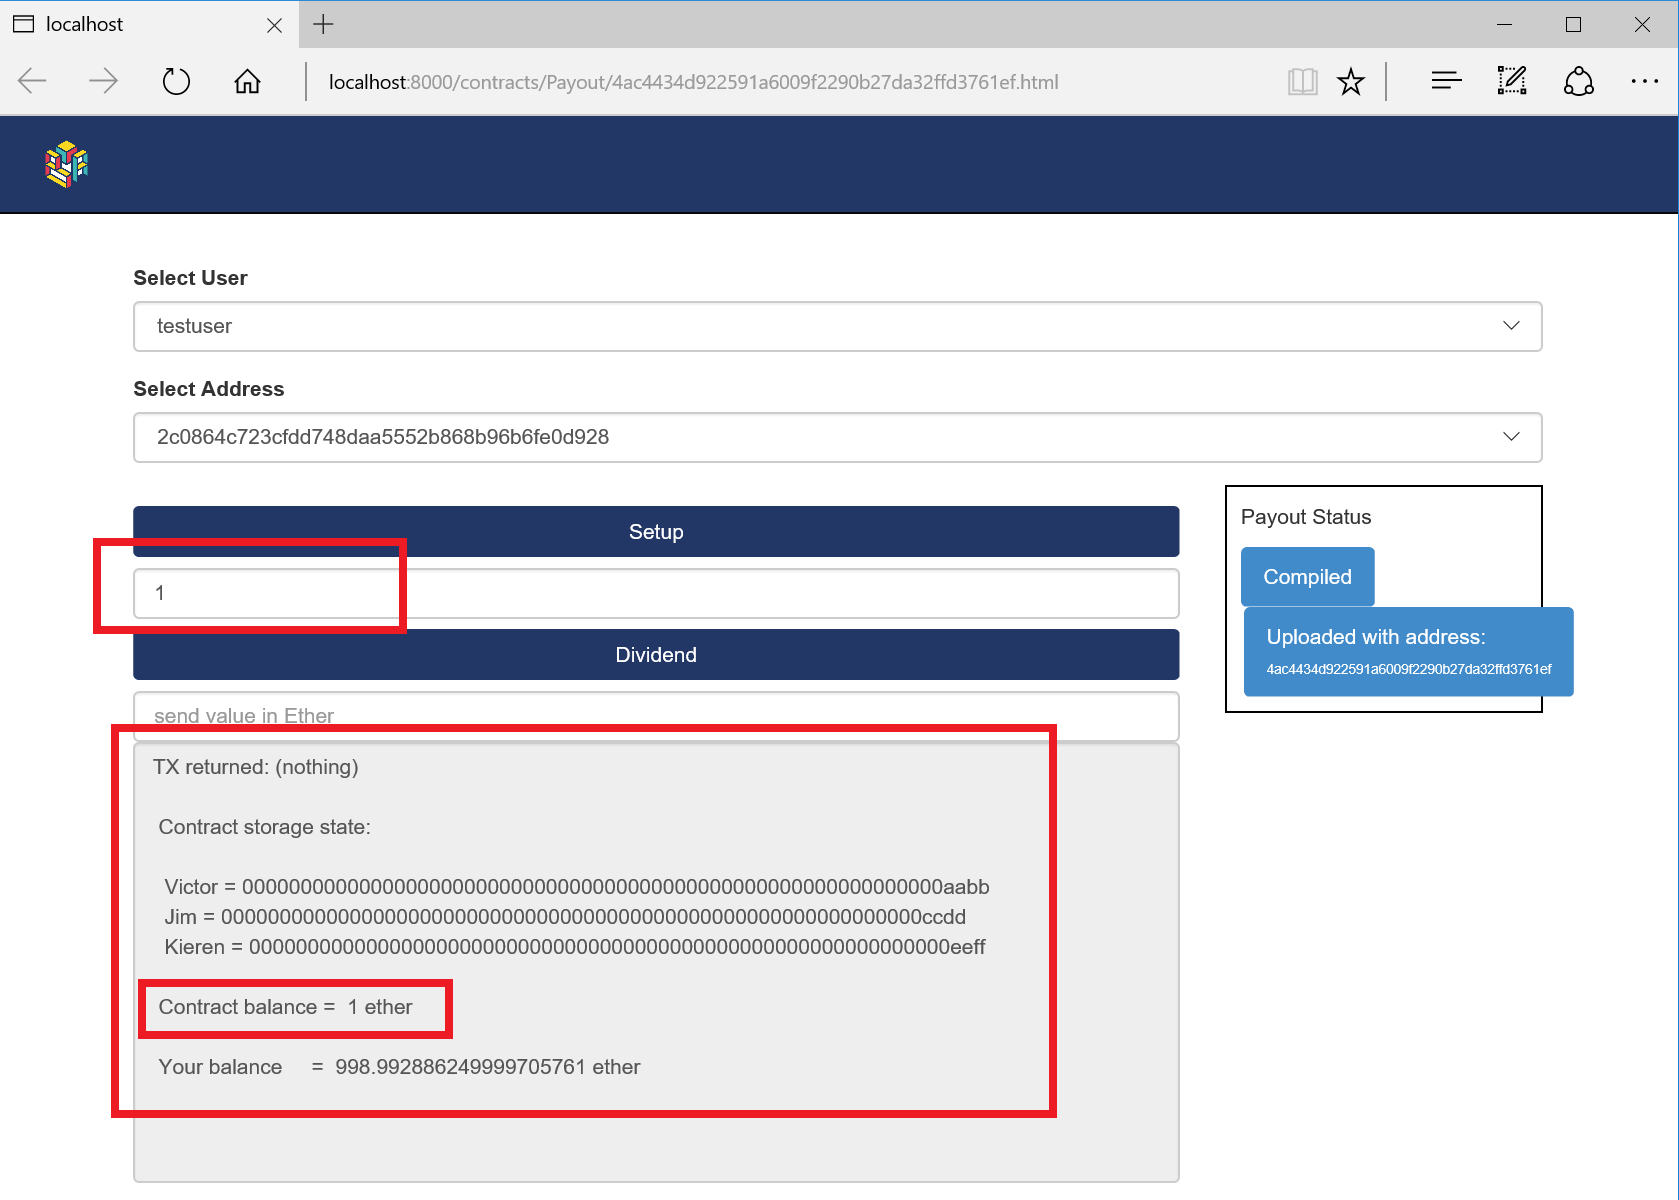
6. You can then exercise the contract. For example, you can send in a value in Ether by post 1 to the setup box.
Next Steps
At this point, congratulations, you have now entered the blockchain universe! I will be posting some more tutorials to expand on this.