Creating an Ubuntu Linux VM within Microsoft Azure – Step-by-Step… Read on….
In the article, I have created an Ubuntu virtual machine in Microsoft Azure from within the Gallery. You can follow this step-by-step article to get a VM up and running. First, you have to have your Microsoft Azure account activated, you can get free trial by going to https://aka.ms/try-azure, or use your MSDN, BizSpark or Partner account.
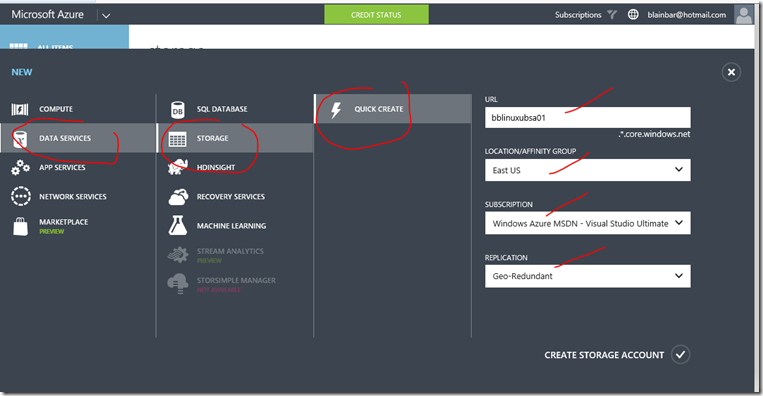
Next go to Data Services, Storage, Quick Create and create yourself a storage account where the VM is going to be stored.
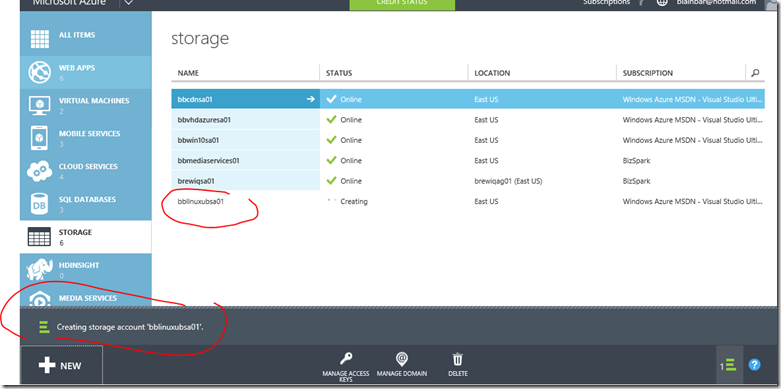
Create the storage account . Tip – it’s good to come up with a friendly naming convention for the storage account, instead of having the system do this for you. This is helpful when you create a “friendly name” if you are using PowerShell scripts. If the system creates the account for you, it will be a really long random generated name to remember. I usually use a name like bblinuxubsa01, bb for my name, linux, storage account (sa) and 01 for first storage account.
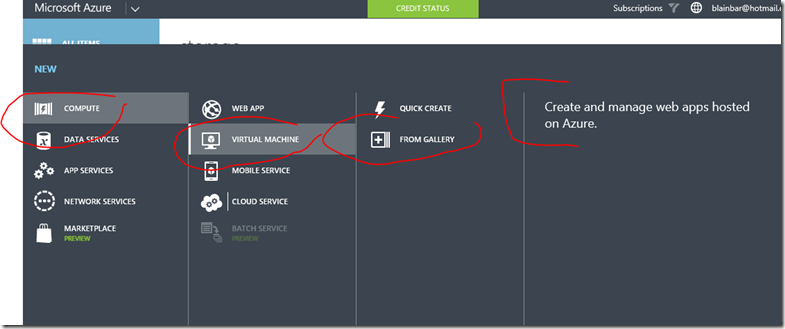
Once your storage account is created, go to Compute, Virtual Machine, FROM GALLERY and create the VM.
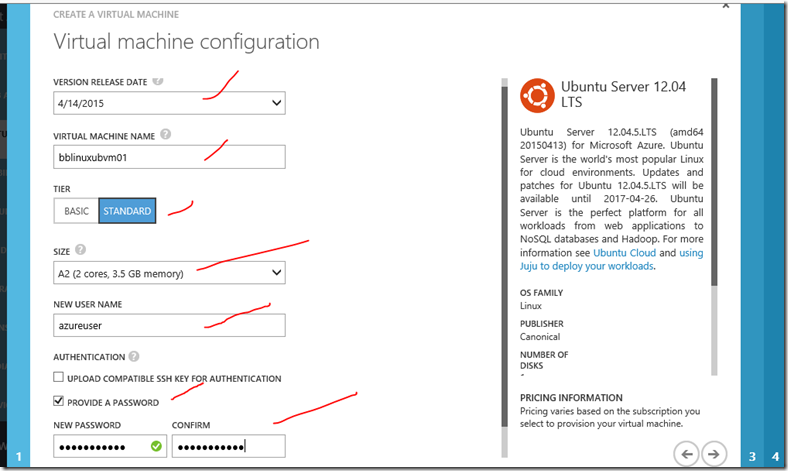
Pick the release date, virtual machine name, tier, size, new user name and password, or use compatible SSH Key. I’m using a password here for the 12.04 LTS virtual machine.
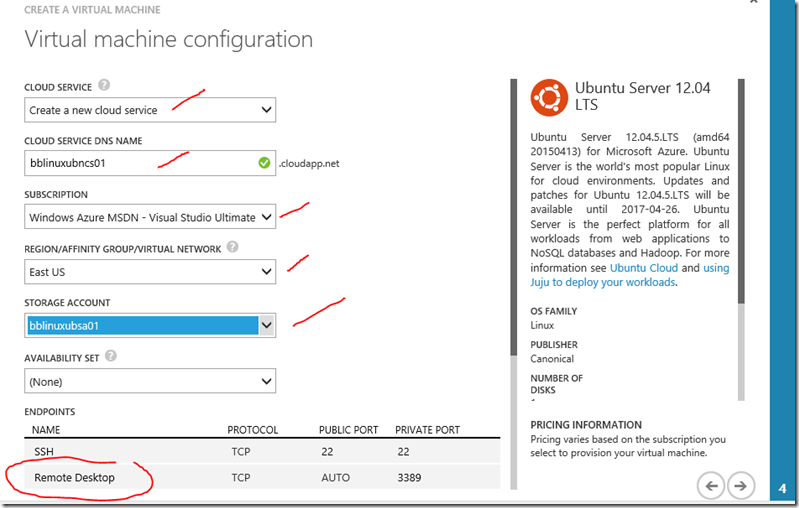
Create a new cloud service, give it a name, pick your subscription, your region and add Remote Desktop, by selecting it from the drop down menu.
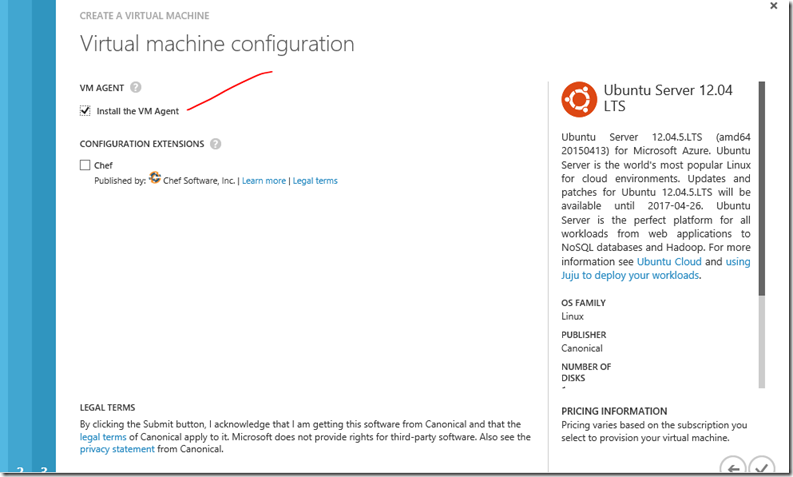
Next, check Install the VM Agent and click the check mark.
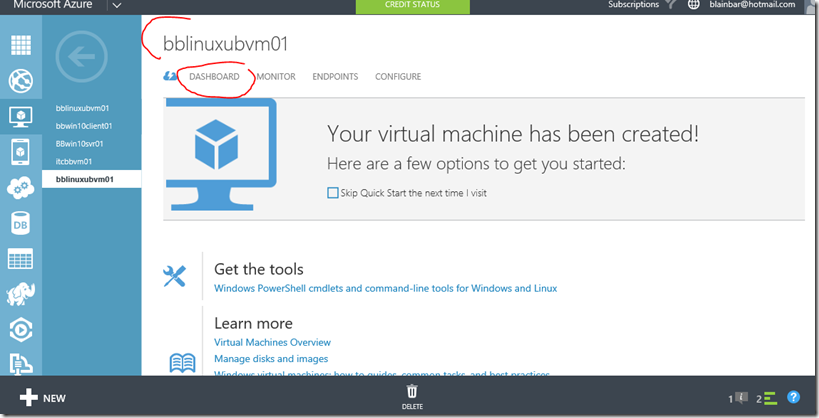
Click on the VM and go to Dashboard
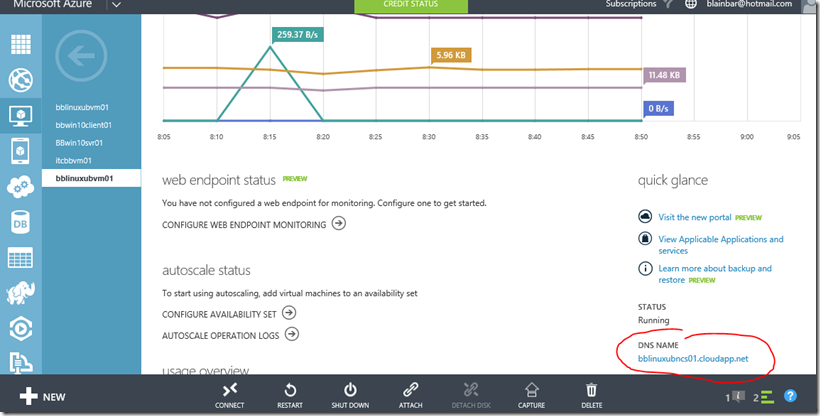
Go to DNS name and select the whole name of the cloudapp.net name, this is the host name they are looking for in the PuTTY tool.
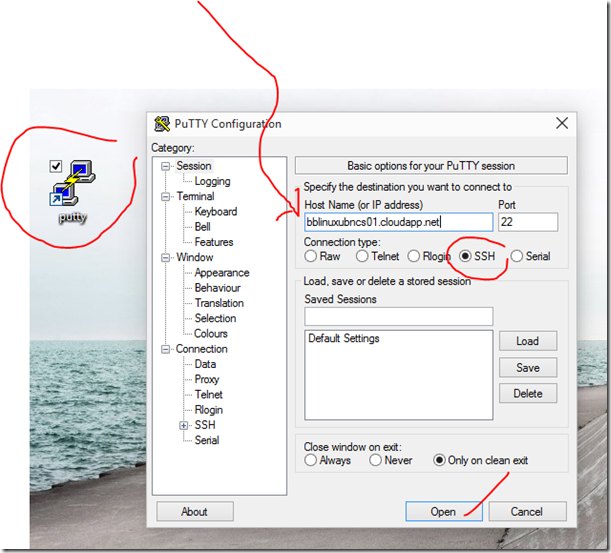
Next get PuTTY.exe, you can get the program here https://1drv.ms/1yR1O2K after you get the tool, in the Host Name area, paste your cloudapp.net name in the box, select SSH Port 22 (if not selected) and click Open.
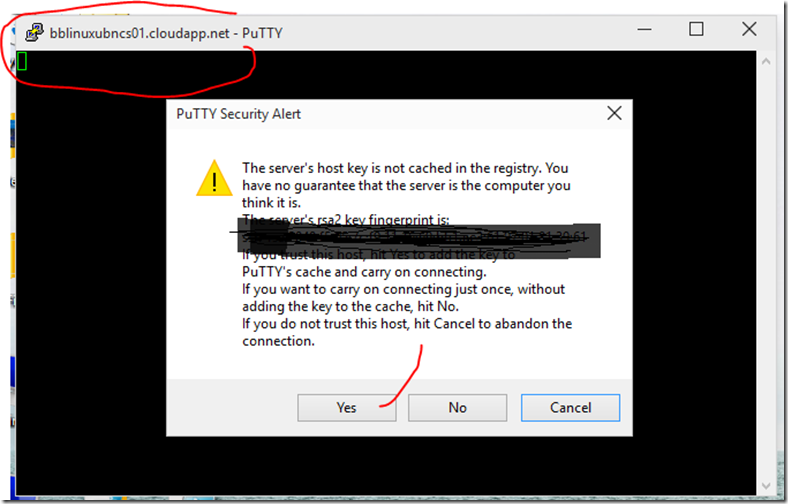
Next, you will see a security alert around a rsa2 fingerprint, select Yes
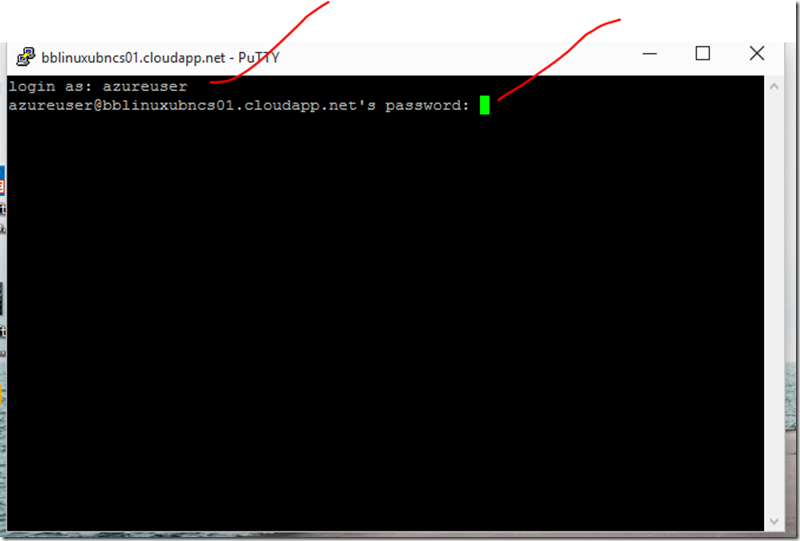
Next, put in your username and password you created for the VM, the one in the Microsoft Azure Portal when creating the VM.
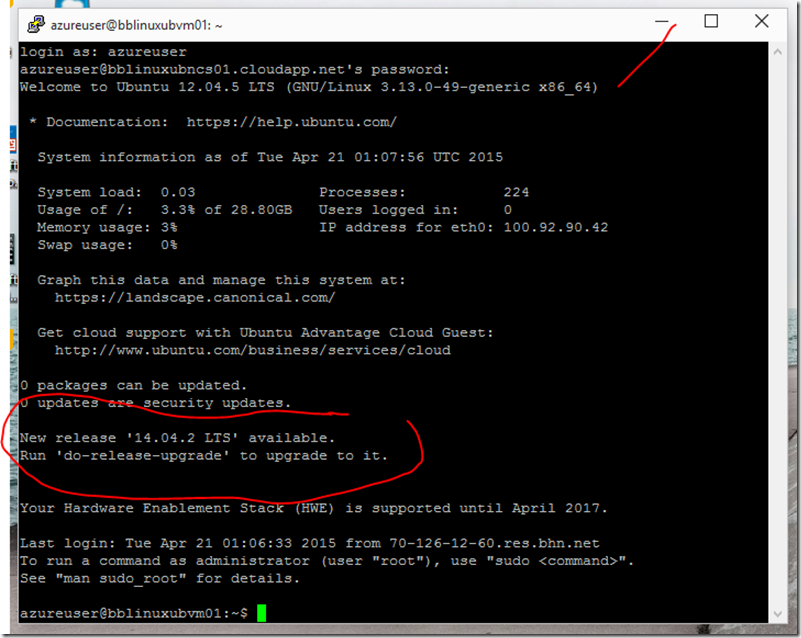
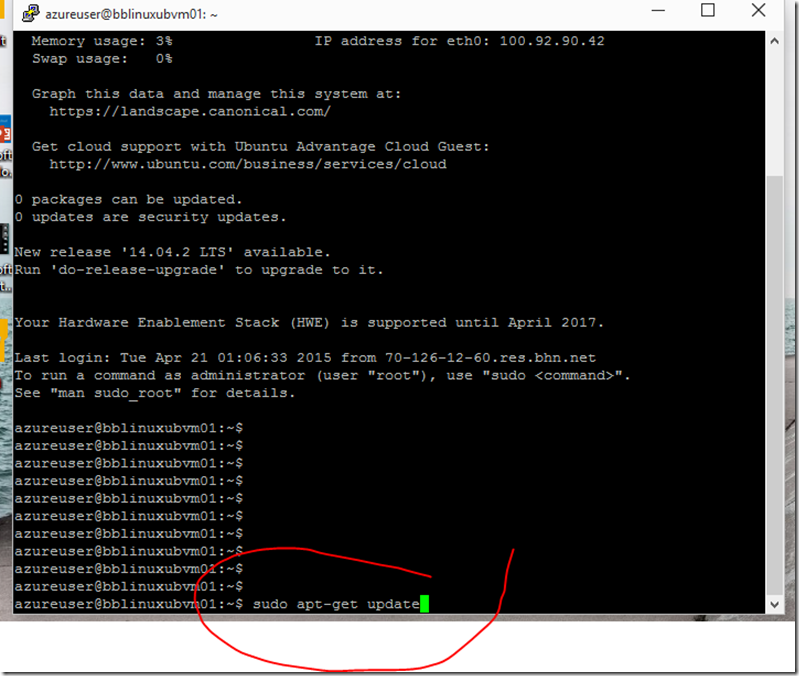
You will see the Welcome to Ubuntu information, you will also see the upgrade information, you can upgrade the VM by using “do-release-upgrade”. You would run the command now or see the upgrade options later in GUI.
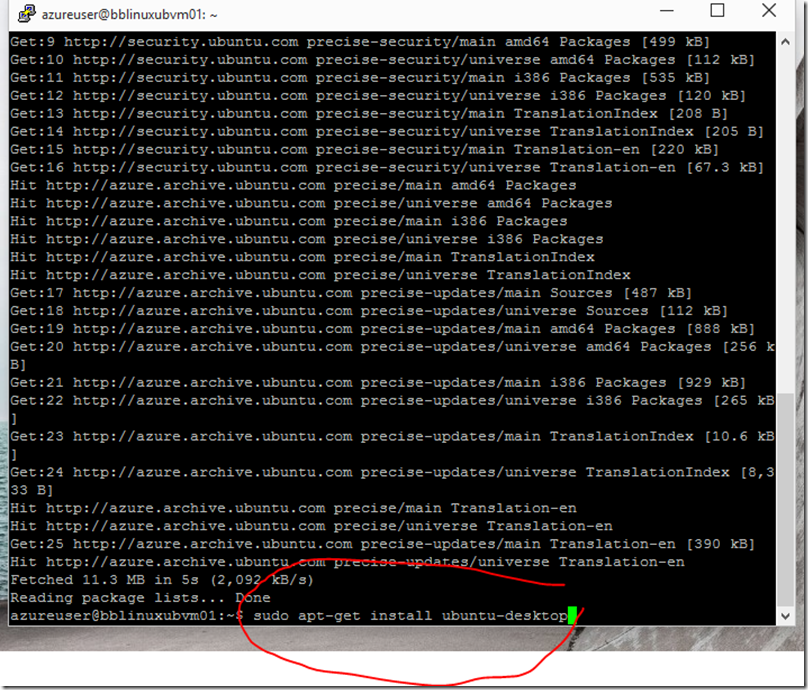
Next, you will use the Linux sudo commands as Admin, sudo apt-get update
Next, to get the desktop, you will type in sudo apt-get install ubuntu-deskiop
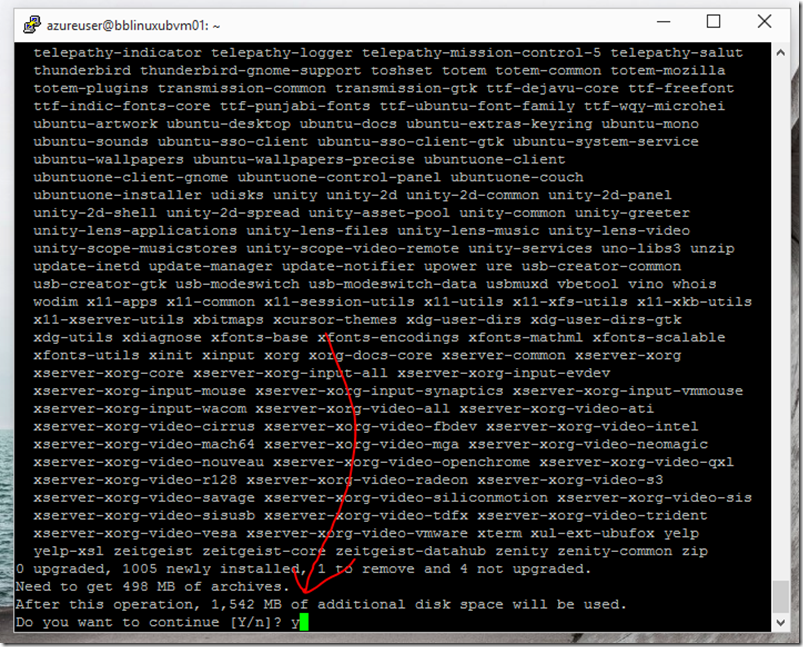
Next select y for yes to continue (this could take up to 30 minutes) so be patient.
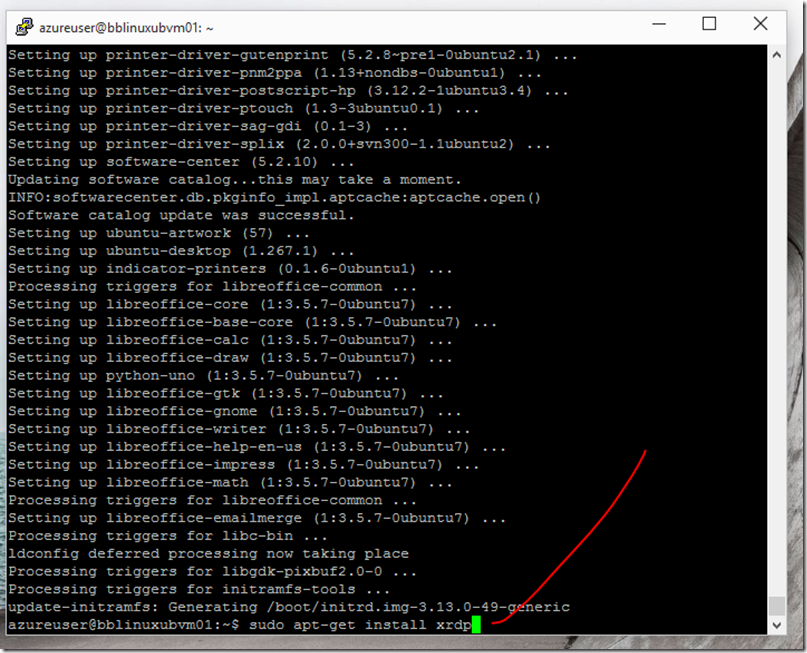
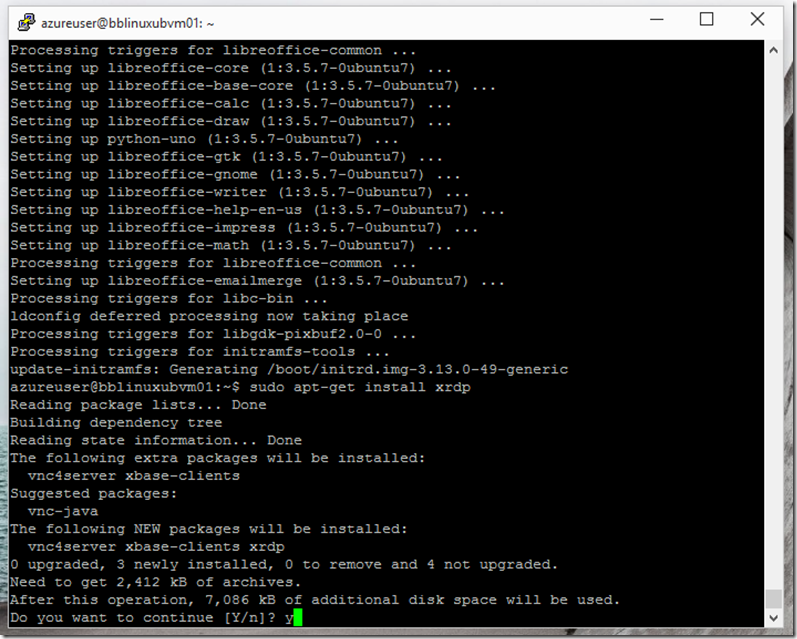
Next, install xrdp by putting in sudo apt-get install xrdp
Select y for yes
Next type in sudo /etc/init,d/xrdp start to start xrdp
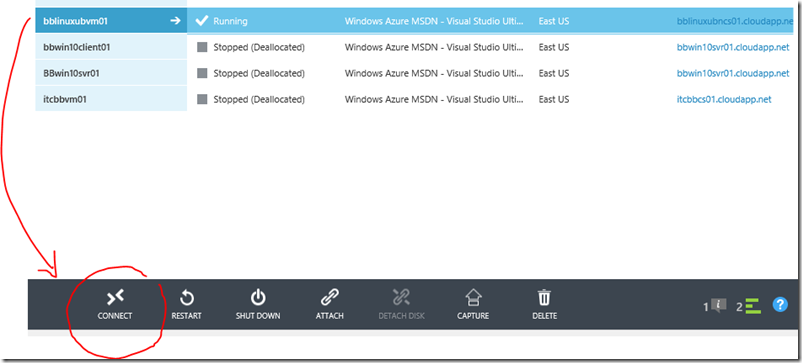
After the VM is running, select CONNECT to connect to the VM
You can either run CONNECT by clicking on Open, or save the RDP file to the desktop of another location.
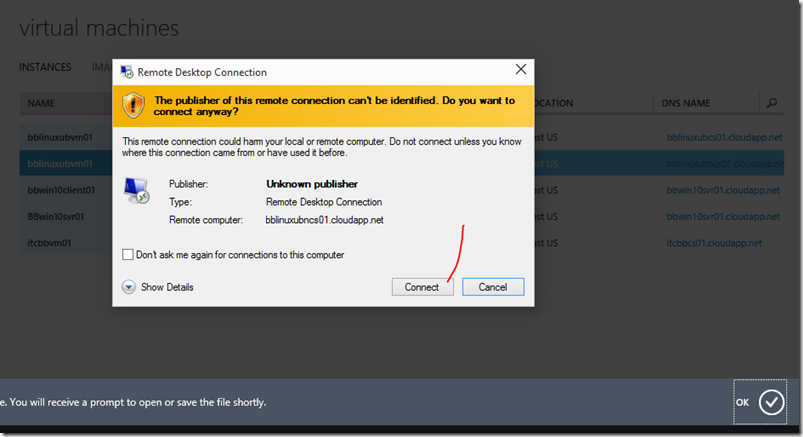
Click Connect
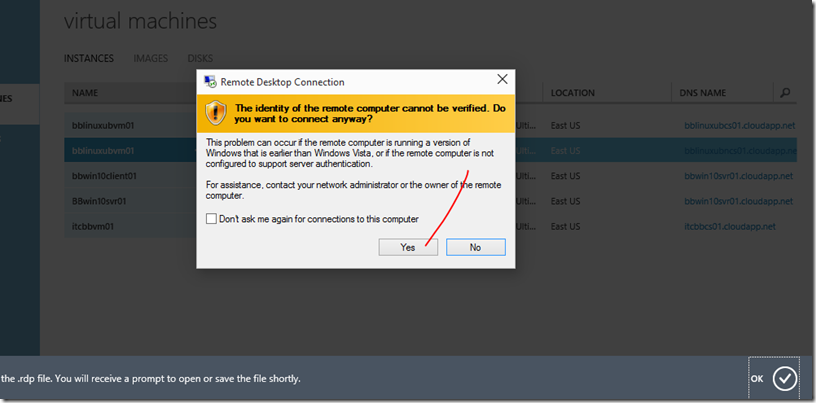
Click Yes on the security warning.
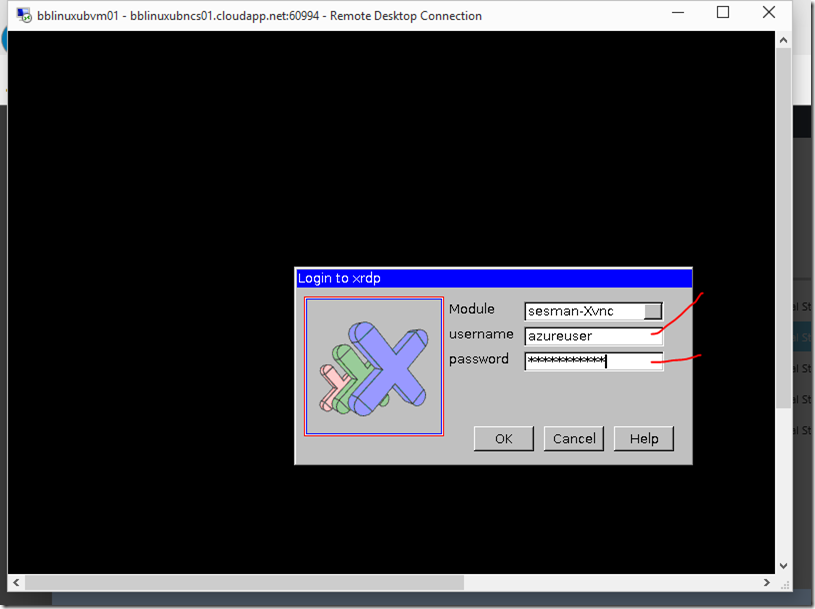
Next. put your username and password in the xrdp box.
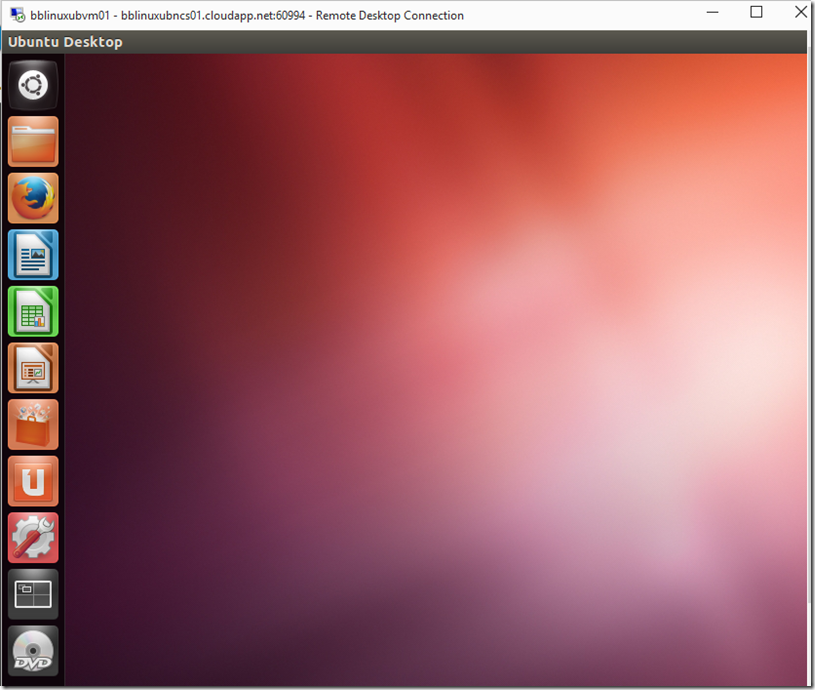
You should now see the Ubuntu desktop.
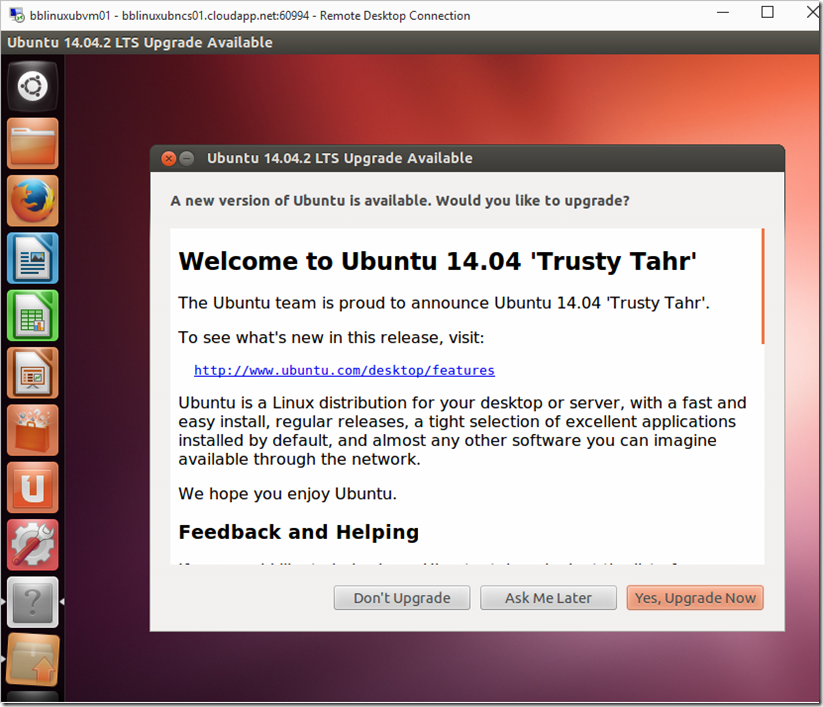
You can also upgrade to the latest build
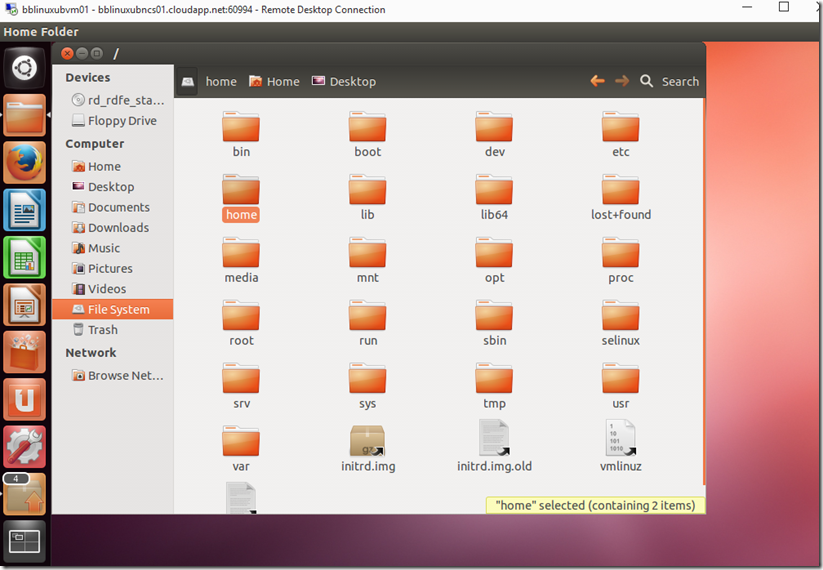
You can click on the File System, programs and folders.
Hope this helps you in creating an Ubuntu VM within Microsoft Azure.
