Article – Setting up an application within the Azure Active Directory APPLICATION GALLERY
When I talk to most people that are new to Microsoft Azure, they believe that our cloud is all Microsoft products like Office, Windows, SQL and Visual Studio. The fact is that this is not true. There are many non-Microsoft products you can provision within the Microsoft Cloud like Oracle, Linux, Apache, SAP, MYSQL, PHP to name a few. There are over 2400 applications you can chose to setup and federate to from APPLICATION GALLERY like the ones I setup in this example, which are QuickBooks, Delta Airlines, ADP Payroll and Southwest Airlines. There are paid for apps and free ones like Outlook.com and Gmail that you can add to your dashboard.
Giving users access to their applications can sometimes be challenging if you’re dealing with multiple vendors. We all log into multiple accounts to get to certain applications but wouldn’t it be nice to have a dashboard where all your apps reside and federate to the application when the app is clicked on. We can set up applications within the active directory can do just that, let’s see how.
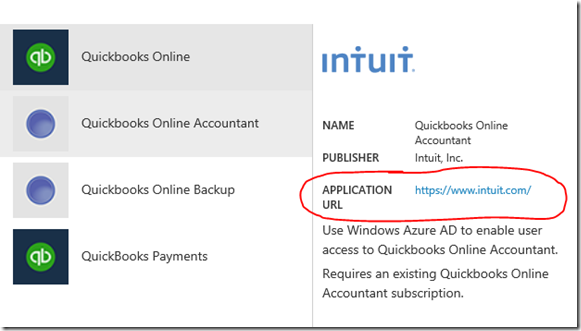
The application I’m going to use in this article is QuickBooks from Intuit. You will need to go to the site and get a trial or full version of the program that you will want to federate to and add to your customer dashboard using the Access Panel Extension. You can get easy access during the setup process to the vendors site by click on the APPLICATION URL and setting up your account. Important - Remember your username and password that you used to set it up . We will do this later in the article.
I’ll use Microsoft Azure Active Directory and show how you can set up a directory and give your users access to applications.
First, we need to log-in to the Microsoft Azure portal and access the Directory services. You can use a new Directory or you can use and existing one. You always have a Directory when you create your Microsoft Azure subscription which is the main area for managing all your users and access to their applications. Microsoft Azure AD is the heart of Office 365 and applications that are developed within the Microsoft Azure Platform.
I’m logged in with my blainbar@hotmail.com Microsoft Account.
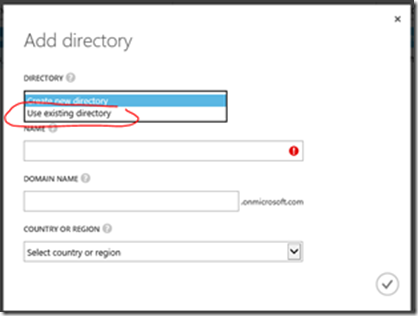
To get your Directory started, use a new or existing directory, log into the Microsoft Azure portal and go to Active Directory and select NEW, select Directory and then CUSTOM CREATE. The Microsoft Azure portal where you can either create a new or use an existing directory to add your users to, so they can access to applications within Microsoft Azure.
This is where you can create a new directory or use an existing one. Here we are going to use an existing directory that is already in Microsoft Azure.
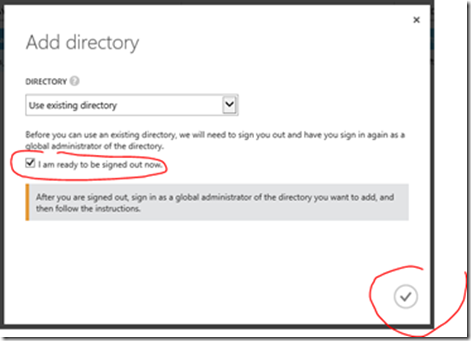
I selected an existing directory. Before you can use an existing directory, you will need to sign out and have you sign in as a global administrator for the directory. Check the box for “I am ready to be signed out now”. You’ll have to sign-out of the account you want for the directory admin and then sign back in.
A screen shot of the sign in screen. Click I am ready to be signed out now.
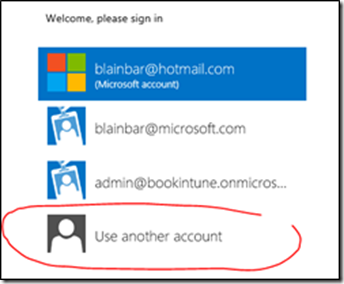
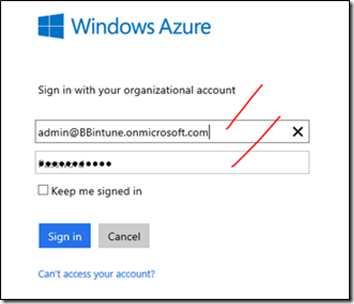
You need to sign in with another account, so that the directory and can that account up to be the admin of Azure AD. I’ll use one of my Microsoft Azure organizational account to sign in.
A screen shot of the account being used in Microsoft Azure.
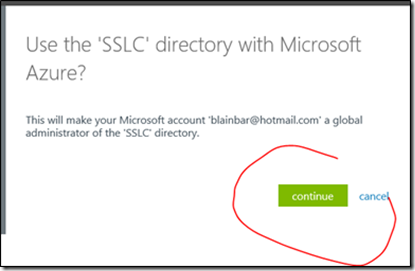
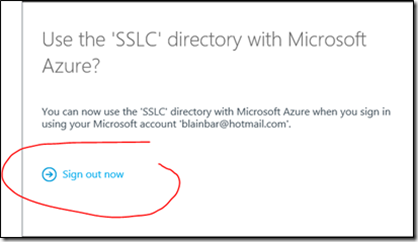
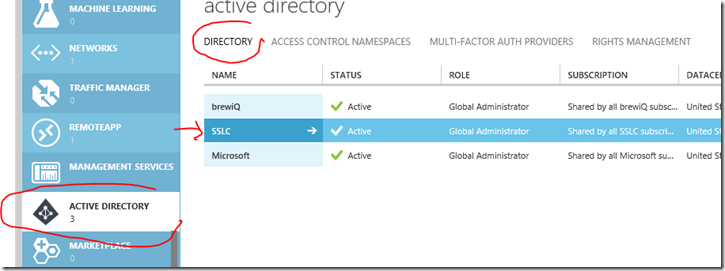
A screen shot of the Microsoft account being added to the SSLC directory with Microsoft Azure. You can then sign-in again and go to ACTIVE DIRECTORY and then select the directory in this case, SSLC.
A screen shot of the Active Directory in Microsoft Azure, click on the left hand side of the SSLC directory to add users and access applications
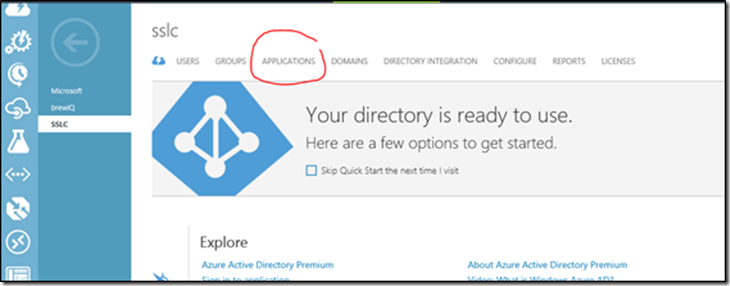
A screen shot of the SSLC directory including where to add users, groups, applications, domains, directory integration, configuration, reports and licenses. The directory here is ready to use.
A screen shot where you ADD AN APPLICATION so that users will be able to access and use the applications.
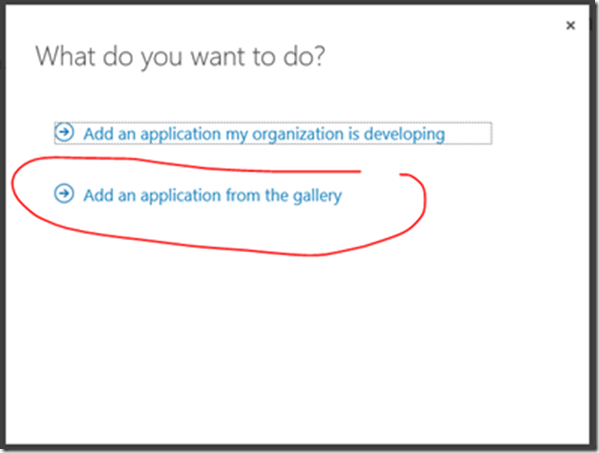
A screen shot where you can either “Add an application my organization is developing” or “Add an application from the gallery”. Here we select to add an application that we want to give users access to
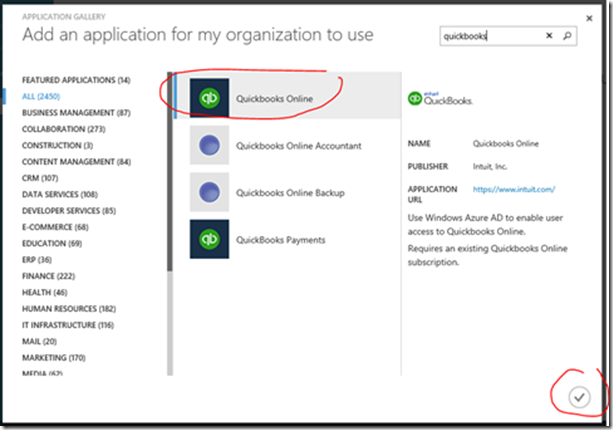
A screen shot of the hundreds of applications to choose for within the APPLICATION GALLERY, as you can see in this example we are going to setup QuickBooks online.
Important: In order to access the QuickBooks Online you need a QuickBooks account. This is done at the vendor’s website
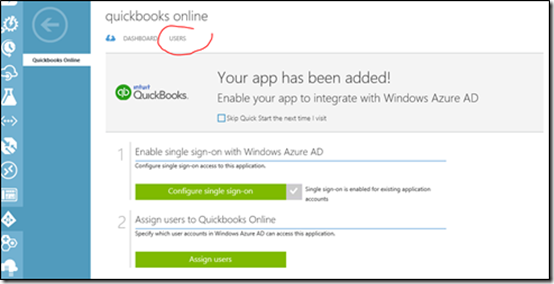
A screen shot of the QuickBooks Online application being added and now you need to add your users that are going to access the program, so you will Microsoft Azure Active Directory to do this. Click 2, to choose “Assign Users”.
A screen shot of the users being assigned to the application.
A screen shot of the published application QuickBooks Online, ready to use
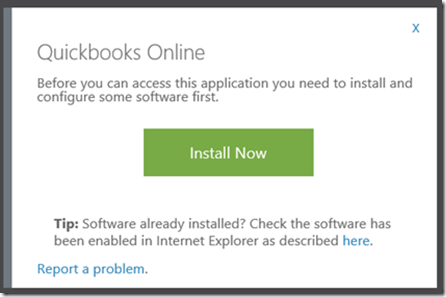
A screen shot pops up to tell you to install the Access Panel Extension.msi so that the QuickBooks Online application has single sign-on, so that you sign in once and have access to all applications you have rights to.
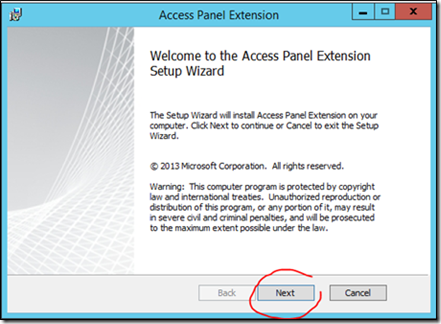
A screen shot of the “Access Panel Extension Setup Wizard”. This allows you to access the application via a natural extension of the application. Intuit will provide a log on page for the user.
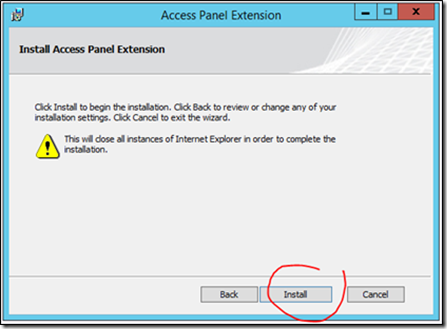
A screen shot of the Access Panel Extension being applied.
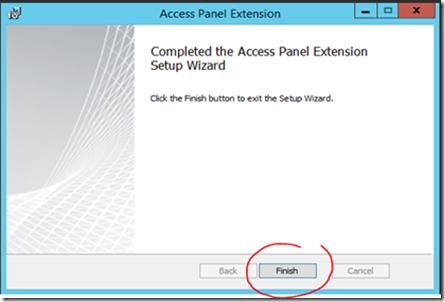
Continuing with the configuration.
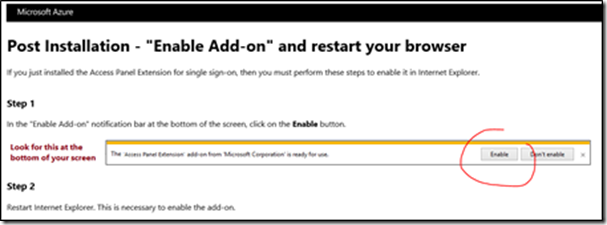
A screen shot of enabling the Access Panel Extension to provide single sign-on and enable it within Internet Explorer.
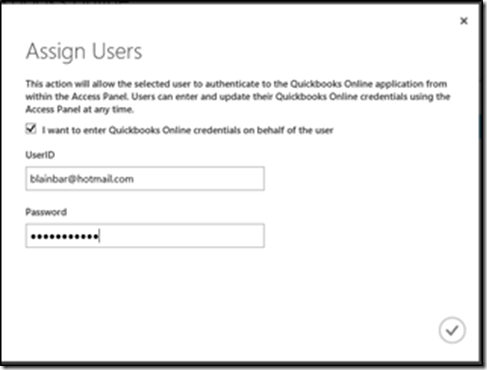
A screen shot of assigning users to what you signed up from the Intuit site and the subscription username and password you used.
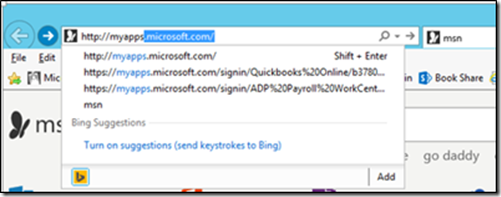
A screen shot where you go to access your apps dashboard by going to https://myapps.microsoft.com
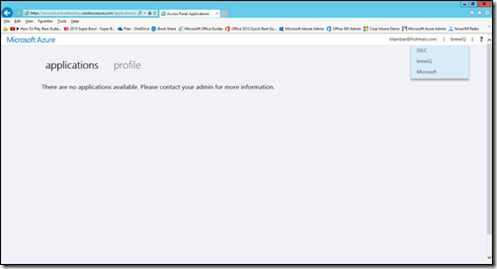
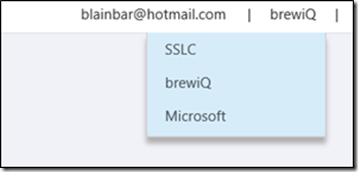
A screen shot of the portal and the different directories you have within Microsoft Azure, you then pick the drop-down and select the directory where the applications reside, in this case SSLC.
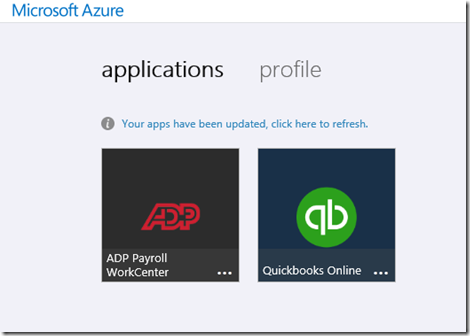
A screen shot selecting SSLC and seeing the applications that are published.
A screen shot of the portal where the QuickBooks Online resides.
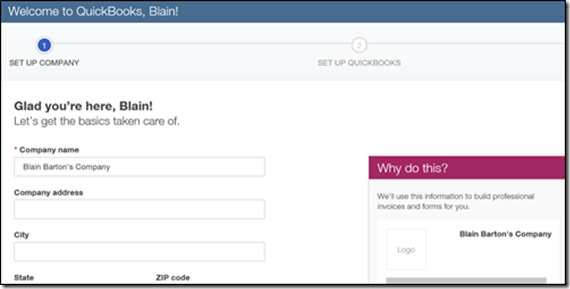
A screen shot of setting up the QuickBooks Online account at the Intuit website.
A screen shot of the QuickBooks Online sign-up. The username and password will then be used to authenticate via the Access Extension panel and give us single sign-on to the QuickBooks Online applications,
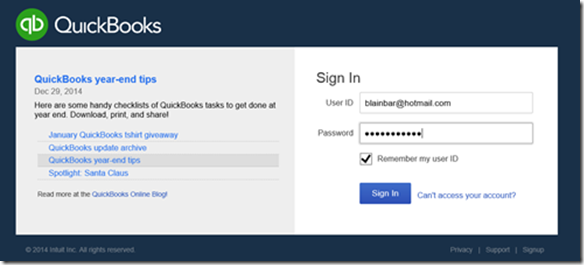
A screen shot of the QuickBooks Online sign in form, giving the user access to the application.
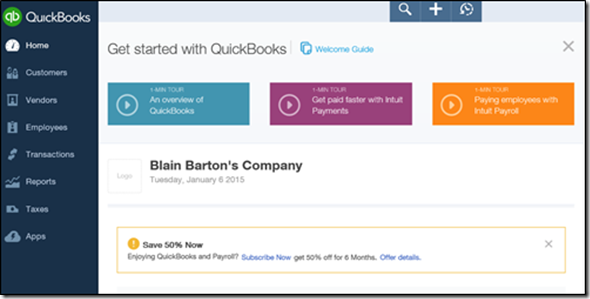
A screen shot of QuickBooks Online open and ready for business!
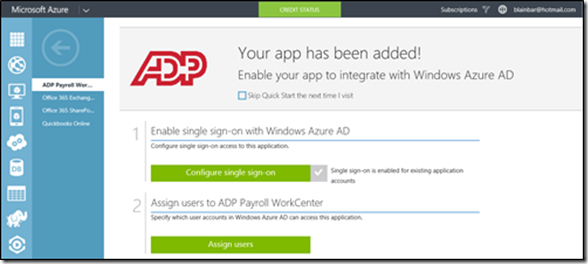
There are many applications you can use with Microsoft Azure, application to run your entire business on. Below is another application I added into the Microsoft Azure portal, the ADP payroll application, another application that is highly used for businesses running in the cloud.
A screen shot of the ADP application running in Microsoft Azure and available to users. Use Azure AD to enable user access to ADP Payroll WorkCenter.
Important: Requires an existing ADP Payroll WorkCenter subscription. This is done at the vendor’s website.
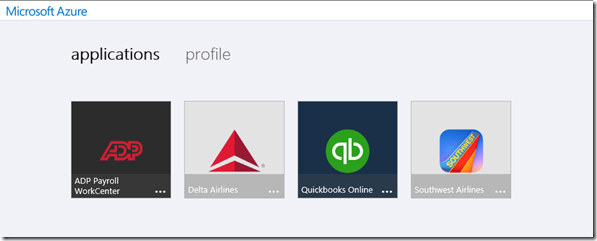
This is a final screenshot of the QuickBooks Online, ADP Payroll WorkCenter app that I added as well as Delta and Southwest Airlines.
Well I hope this helps you get going with adding vendors apps to your own custom dashboards from the APPLICATION GALLERY under Azure Active Directory.
For free online training go to the Microsoft Virtual Academy at https://aka.ms/go-mva
For your free Microsoft Azure 30-day Trial go to: https://aka.ms/try-azure
