Article – Clearing the Jobs status out of Windows Azure Backup using Event Viewer
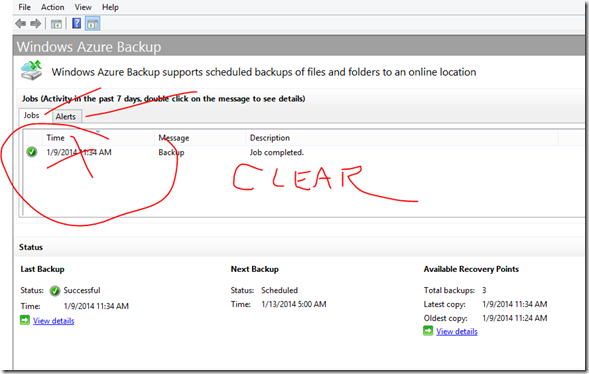
Here’s a quick way to delete the Jobs and Alert events that show up in the Windows Azure Backup.
First make sure you don’t need the JOB history first ! :)
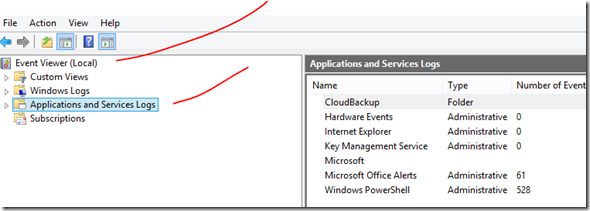
Go to Event Viewer and select Applications and Services Logs
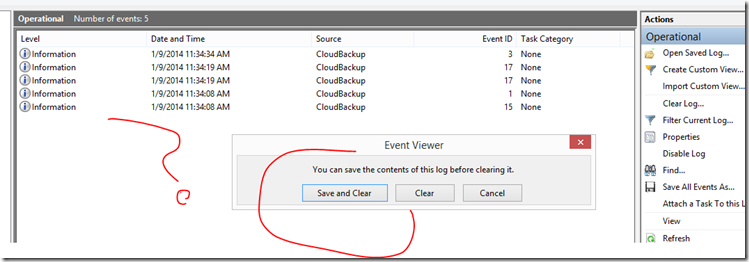
Open up the CloudBackup – Operational log and delete the events, there are 5 that are created for each recovery point created in Windows Azure.
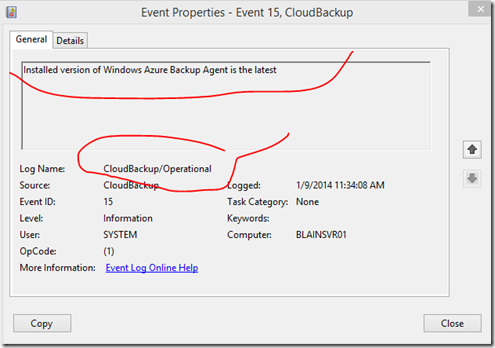
It first checks the “Installed version of Windows Azure Backup Agent is the latest”
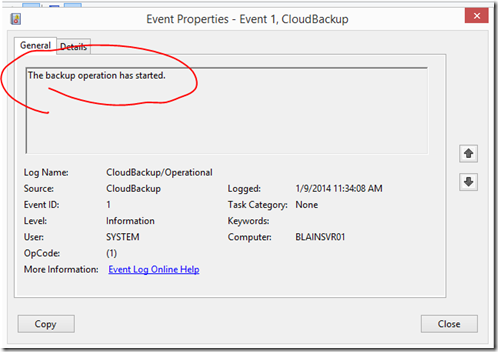
it then checks “The backup operation has started”
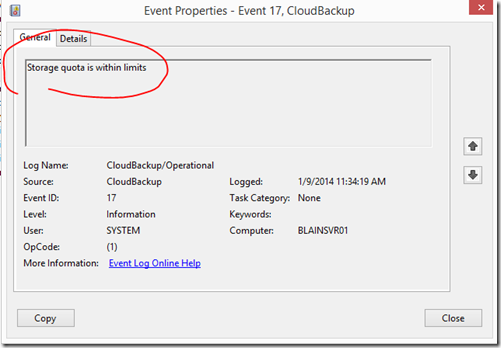
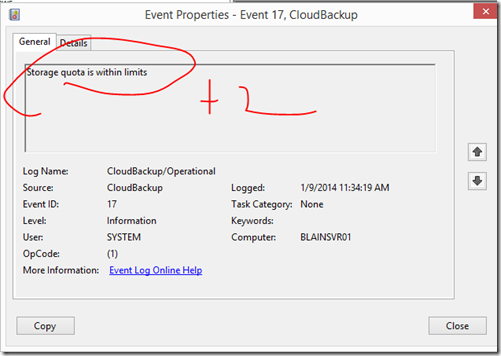
It then checks “Storage quota in within limits”
It then checks again “Storage quota is within limits”
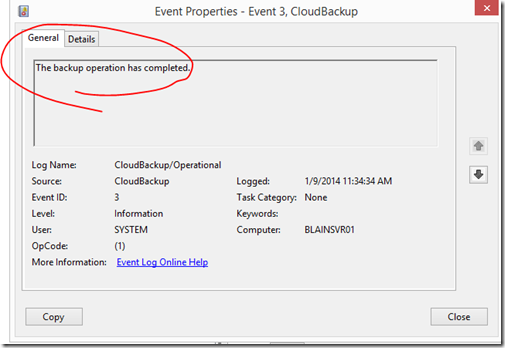
then finally “The backup operation has completed.”
You can then go to the right to Clear Log
You will decide to Save and Clear or just Clear.
The events are cleared
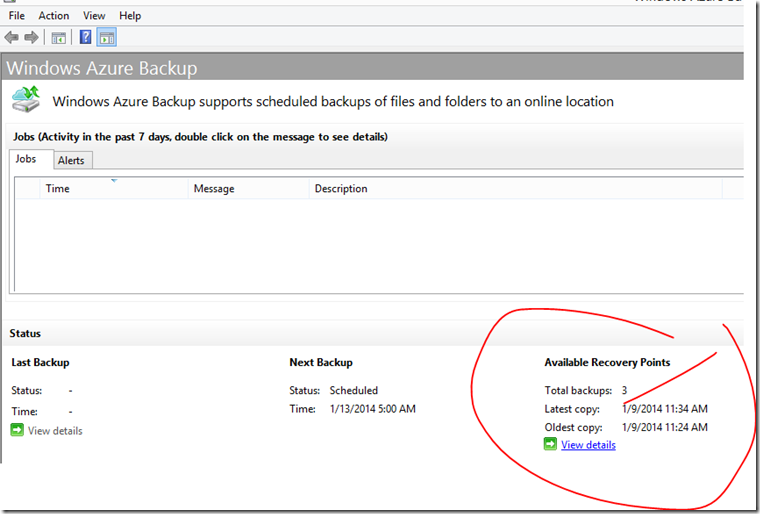
You will see that the Jobs are cleared. You also see that there are still a total of 3 backups for this item listed.
The same 3 you see in the Windows Azure Recovery Services Backup Vault
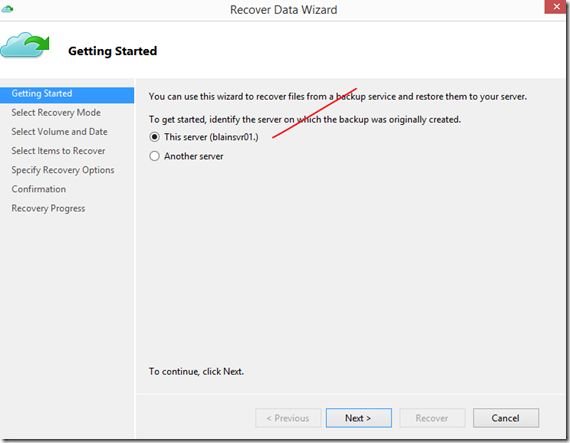
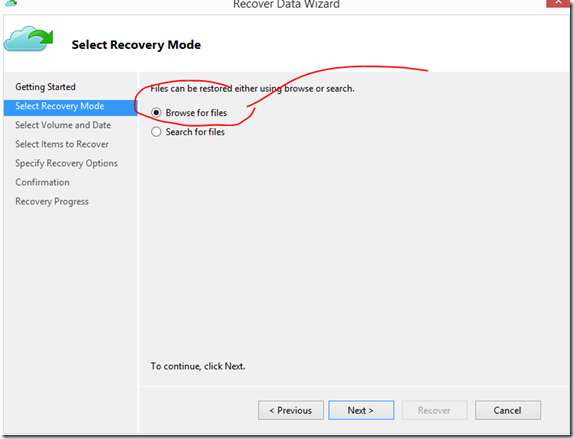
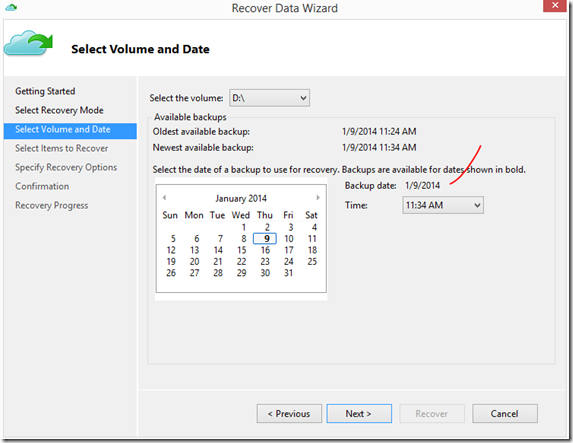
To recover the backed up items, go to Recover Data and start the wizard
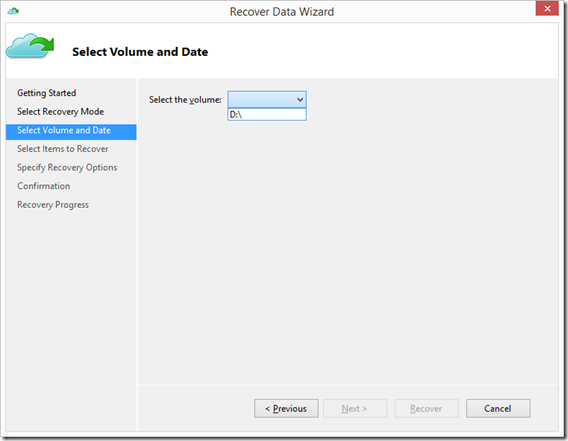
Select Volume and Data
Select Volume and Date
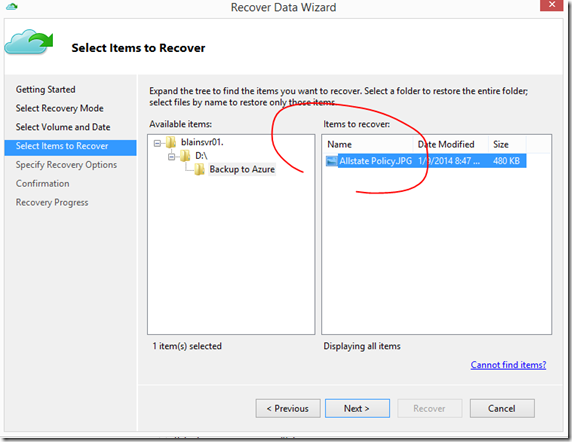
Select Items to Recover
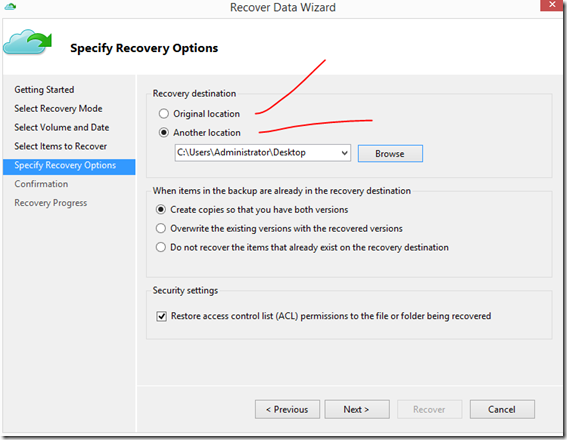
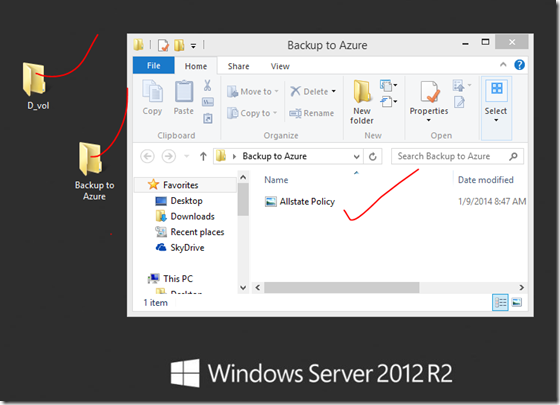
Specify Recovery Options, whether they are in the original location or another, I used the desktop just for the demo,
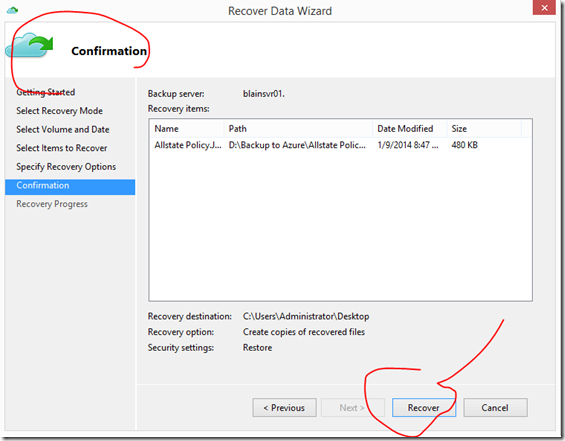
Confirmation, click Recover
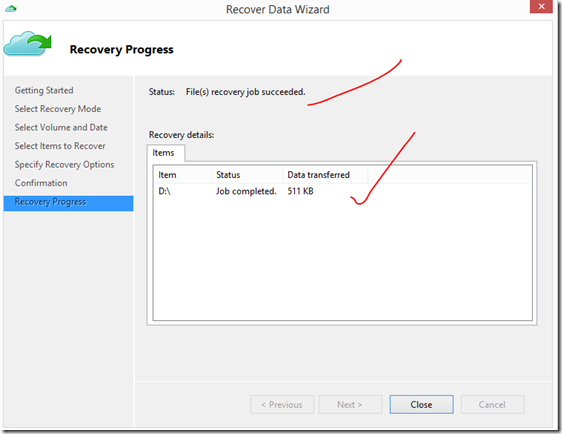
Finished
Success
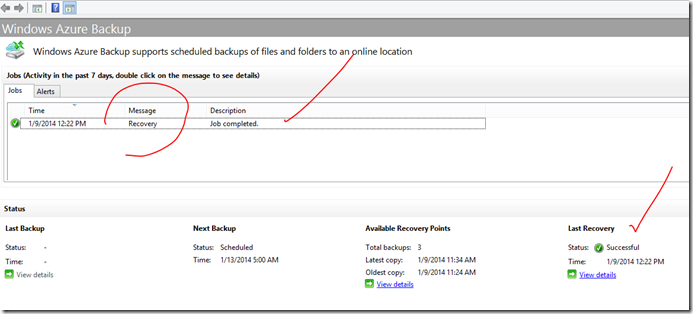
Confirmed in Windows Azure Backup
