Configuring Hybrid Self-Service Site Creation
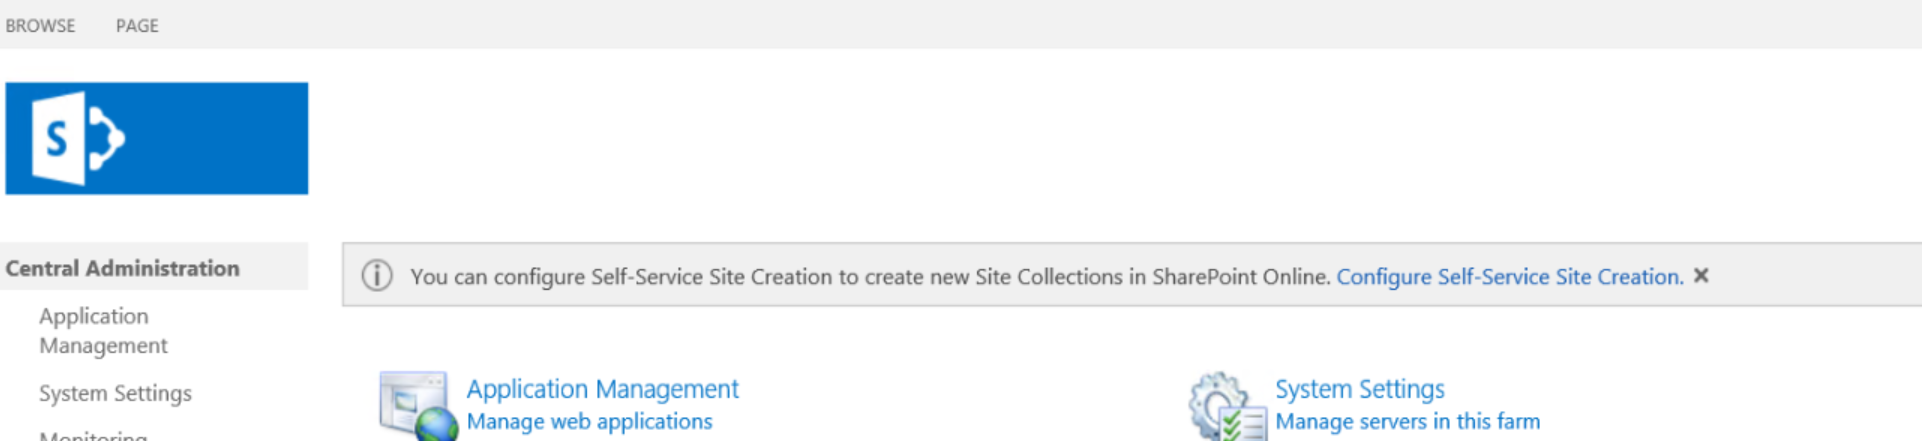
Deploying and initial configuration of hybrid self-service site creation is done by using the hybrid picker in the SharePoint Online admin center, select at least the “Hybrid Self-Service site creation” , input the web application farm and complete the Hybrid Picker execution. Then, in on premises central admin you will also see a top line banner to indicate that the farm meets the prerequisites for hybrid self service site creation.
Note that the Hybrid Self Service Site Creation feature requires SharePoint Server 2013 March 2017 Public Update and is not yet available for SharePoint Server 2016.
To configure hybrid self-service site creation
- Log on to a server in your SharePoint Server farm as the farm administrator.
- From your SharePoint Server computer, open a web browser and log on to Office 365 as a global administrator.
- In the SharePoint Online Admin Center, click configure hybrid.
- On the hybrid picker page, click Hybrid Picker.
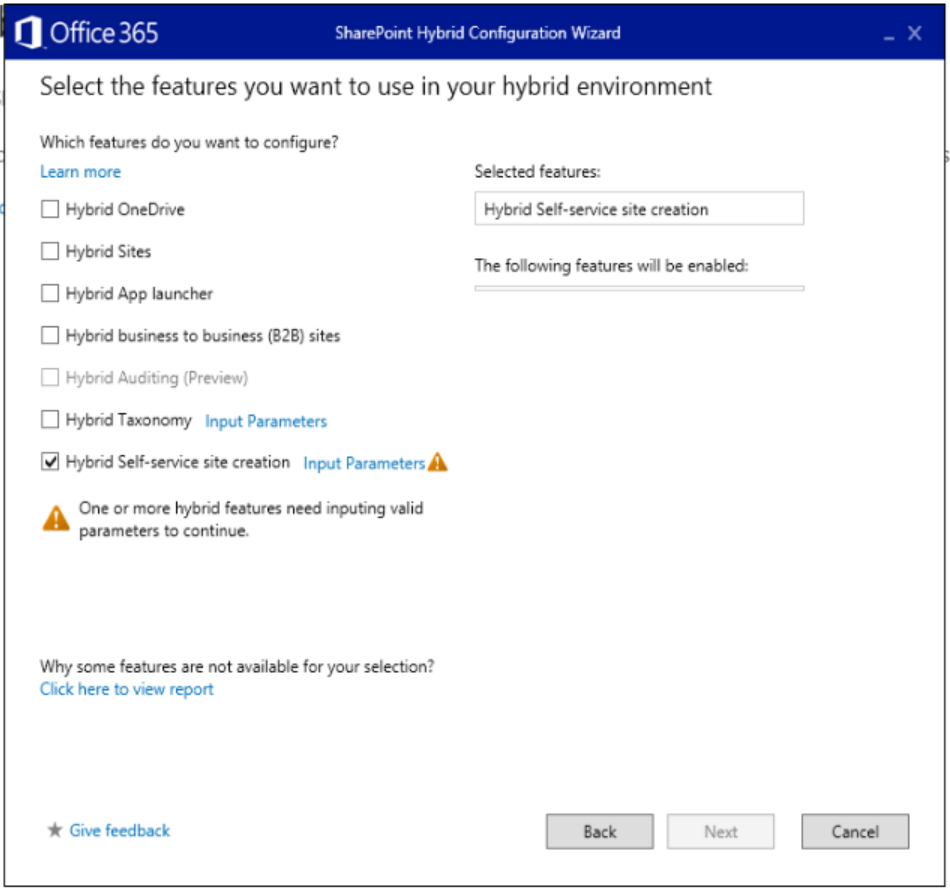
- Follow the wizard and choose Hybrid self-service site creation when prompted, noting that additional information is required before the feature can be deployed.
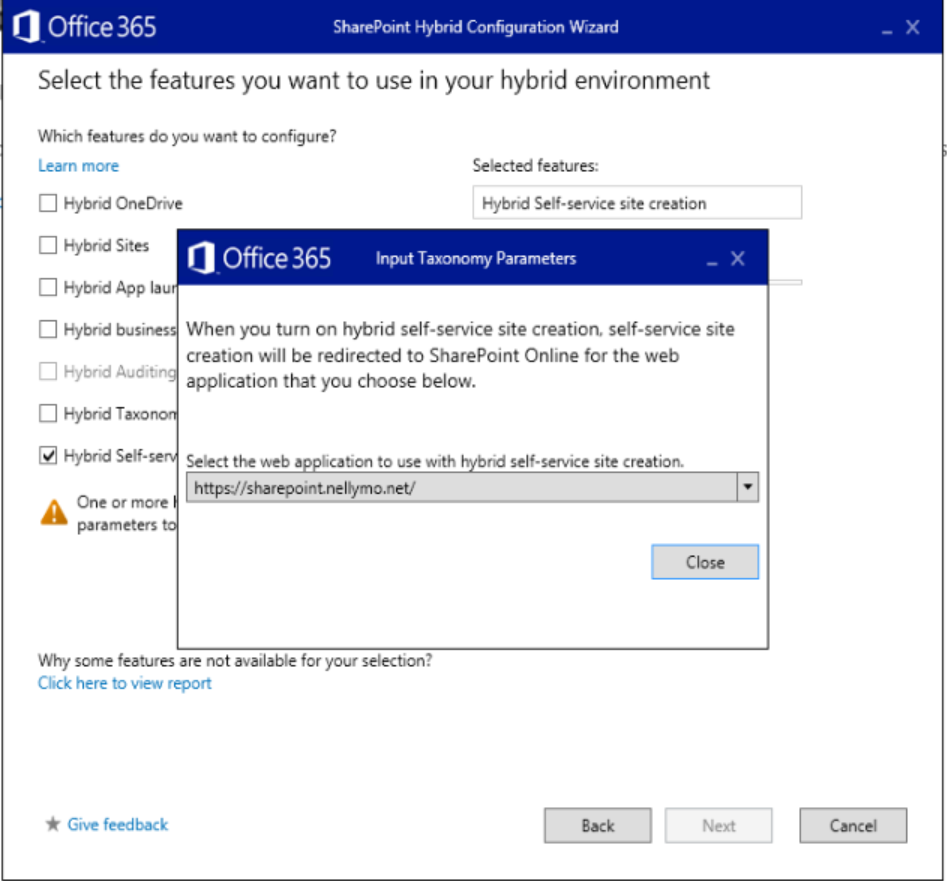
- When prompted, choose the web application with which you want to use hybrid self-service site creation.
- When the web application has been provided, the feature selection show as the screen shot below
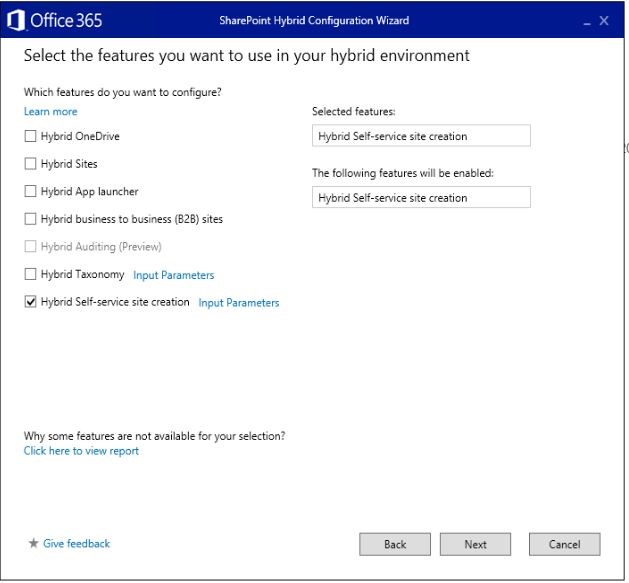
- When the hybrid picker wizard completes, hybrid self-service site creation will be enabled for the web application that you selected.
Manage hybrid self-service site creation in Central Administration
Once you have configured hybrid self-service site creation, you can manage it in the SharePoint Central Administration website.
Note: that while Self Service Site Creation can also be enabled and configured in the Manage Web Applications section of Central Administration (https://<CA SITE URL>/_admin/WebApplicationList.aspx). The Hybrid Self Service Site Creation can only be managed from one place in the User Interface as described below.
- In Central Administration, click Application Management.
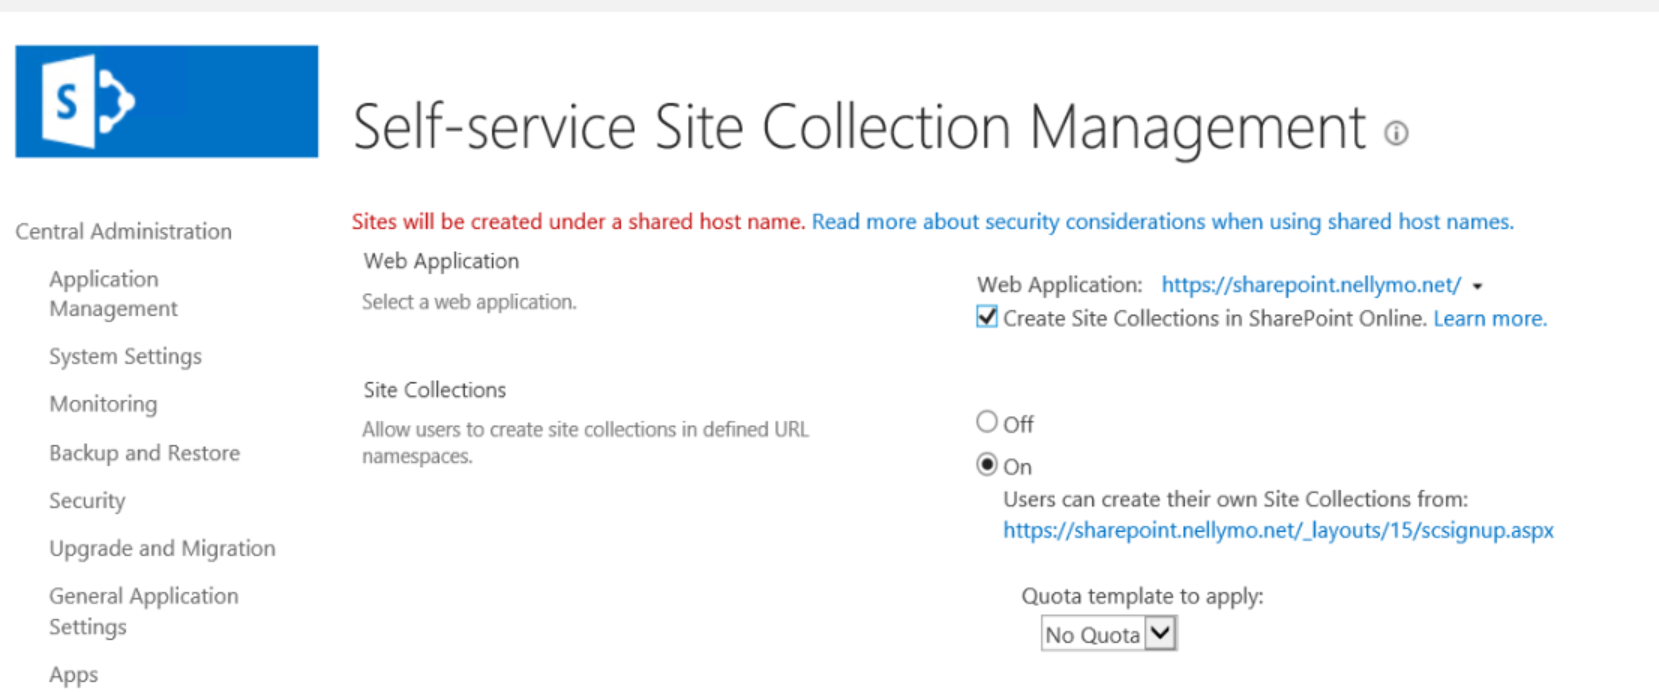
- On the Application Management page, under Site Collections, click Configure self-service site creation.
- In the Web Application section, select the web application where you want to manage hybrid self-service site creation, and then select or clear the Create Site Collections in SharePoint Online check box.
- Click OK
Note: While hybrid users of this web application will be redirected to SharePoint Online for self-service site creation, the other settings on this page continue to apply to any on-premises only users.
Manage hybrid self-service site creation with PowerShell
You can manage Hybrid Self Service Site Creation for a web application with PowerShell as follows
- Get the Web Application Object
$webapp = Get-SPWebApplication https://<web application url> - To Check the current setting of SelfServiceSiteCreationOnlineEnabled property
$webapp.SelfServiceSiteCreationOnlineEnabled
returns True or False - To enable the feature, update the property to True and Validate
$webapp.SelfServiceSiteCreationOnlineEnabled = $true
$webapp.update()
$webapp.SelfServiceSiteCreationOnlineEnabled
Will return True - To disable the feature update the property to False and Validate
$webapp.SelfServiceSiteCreationOnlineEnabled = $false
$webapp.update()
$webapp.SelfServiceSiteCreationOnlineEnabled
Will return False
Validating Hybrid Self Service Site Creation
To validate the Hybrid Self Service Site Creation feature is operational follow the steps below
- Login to the on premises web application configured for hybrid self service sites above as a hybrid enabled user. This means a user synchronized to Office 365 and enabled for hybrid workloads via an audience as explained above.
- Navigate to the url in the Self Service Site Collection Management page, the image above shows https://<On Premises Site url>/_layouts/scsignup.aspx
- A hybrid enabled user will be redirected to O365 Groups Creation page. You may be asked to authenticate and then the following screen is displayed
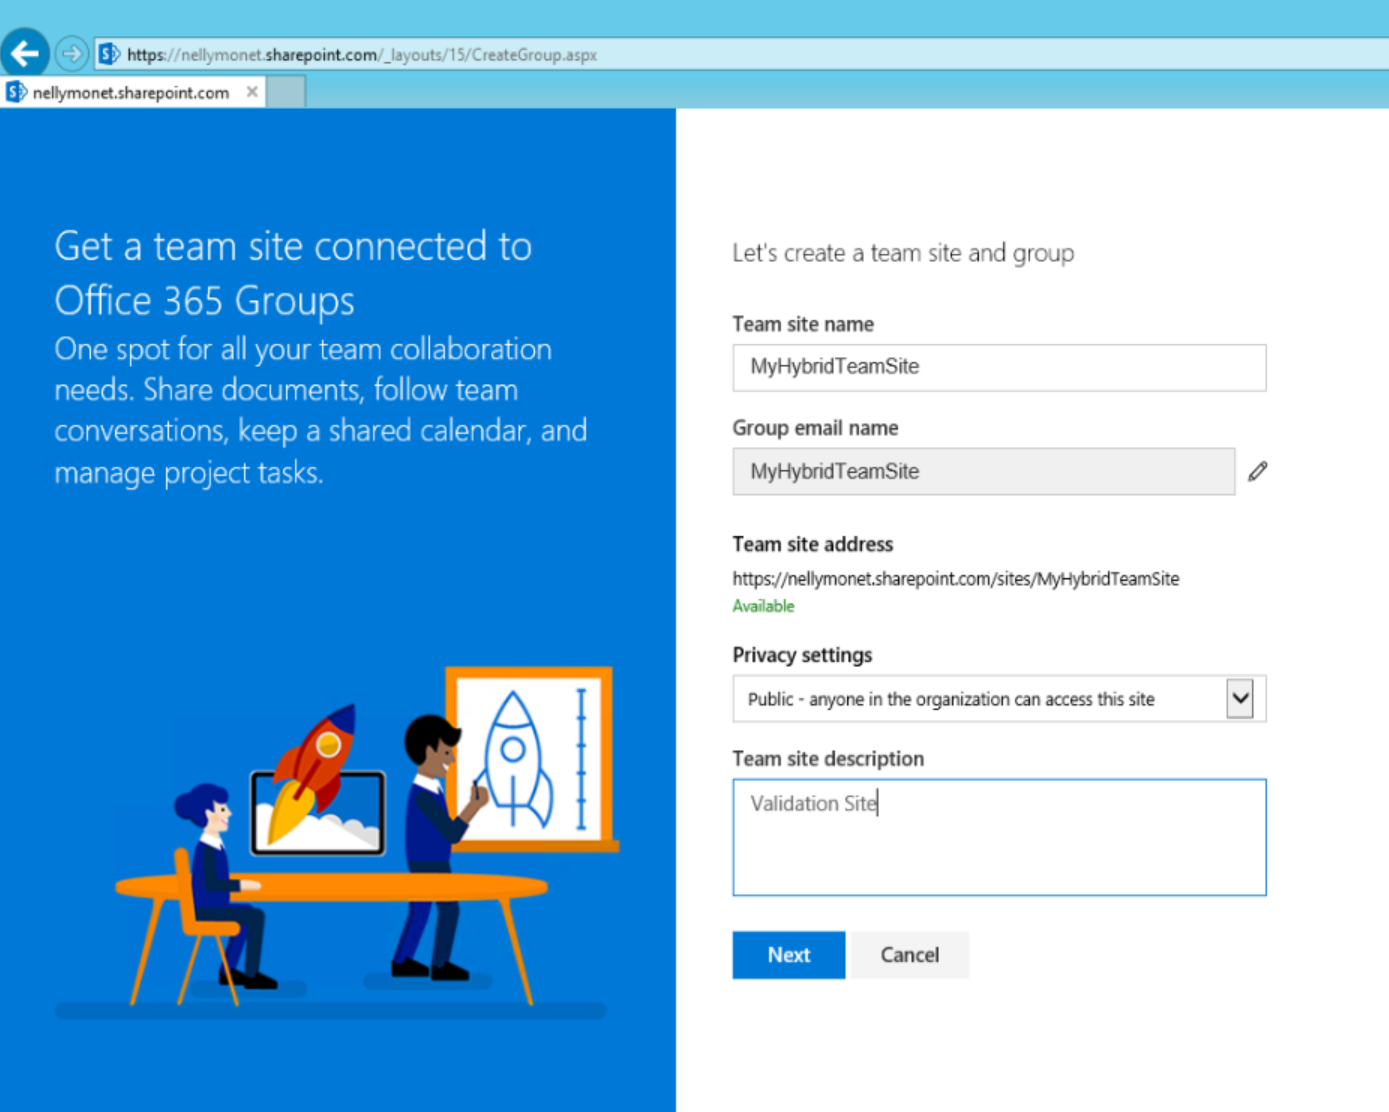
- Enter the required settings and then click Next. Also note the TeamSite name and email address are checked for uniqueness
- Add additional Owners and members if required which the group and site are being created. Click finish when the button is activated

- You will be redirected to the new Site Collection in the O365 tenant
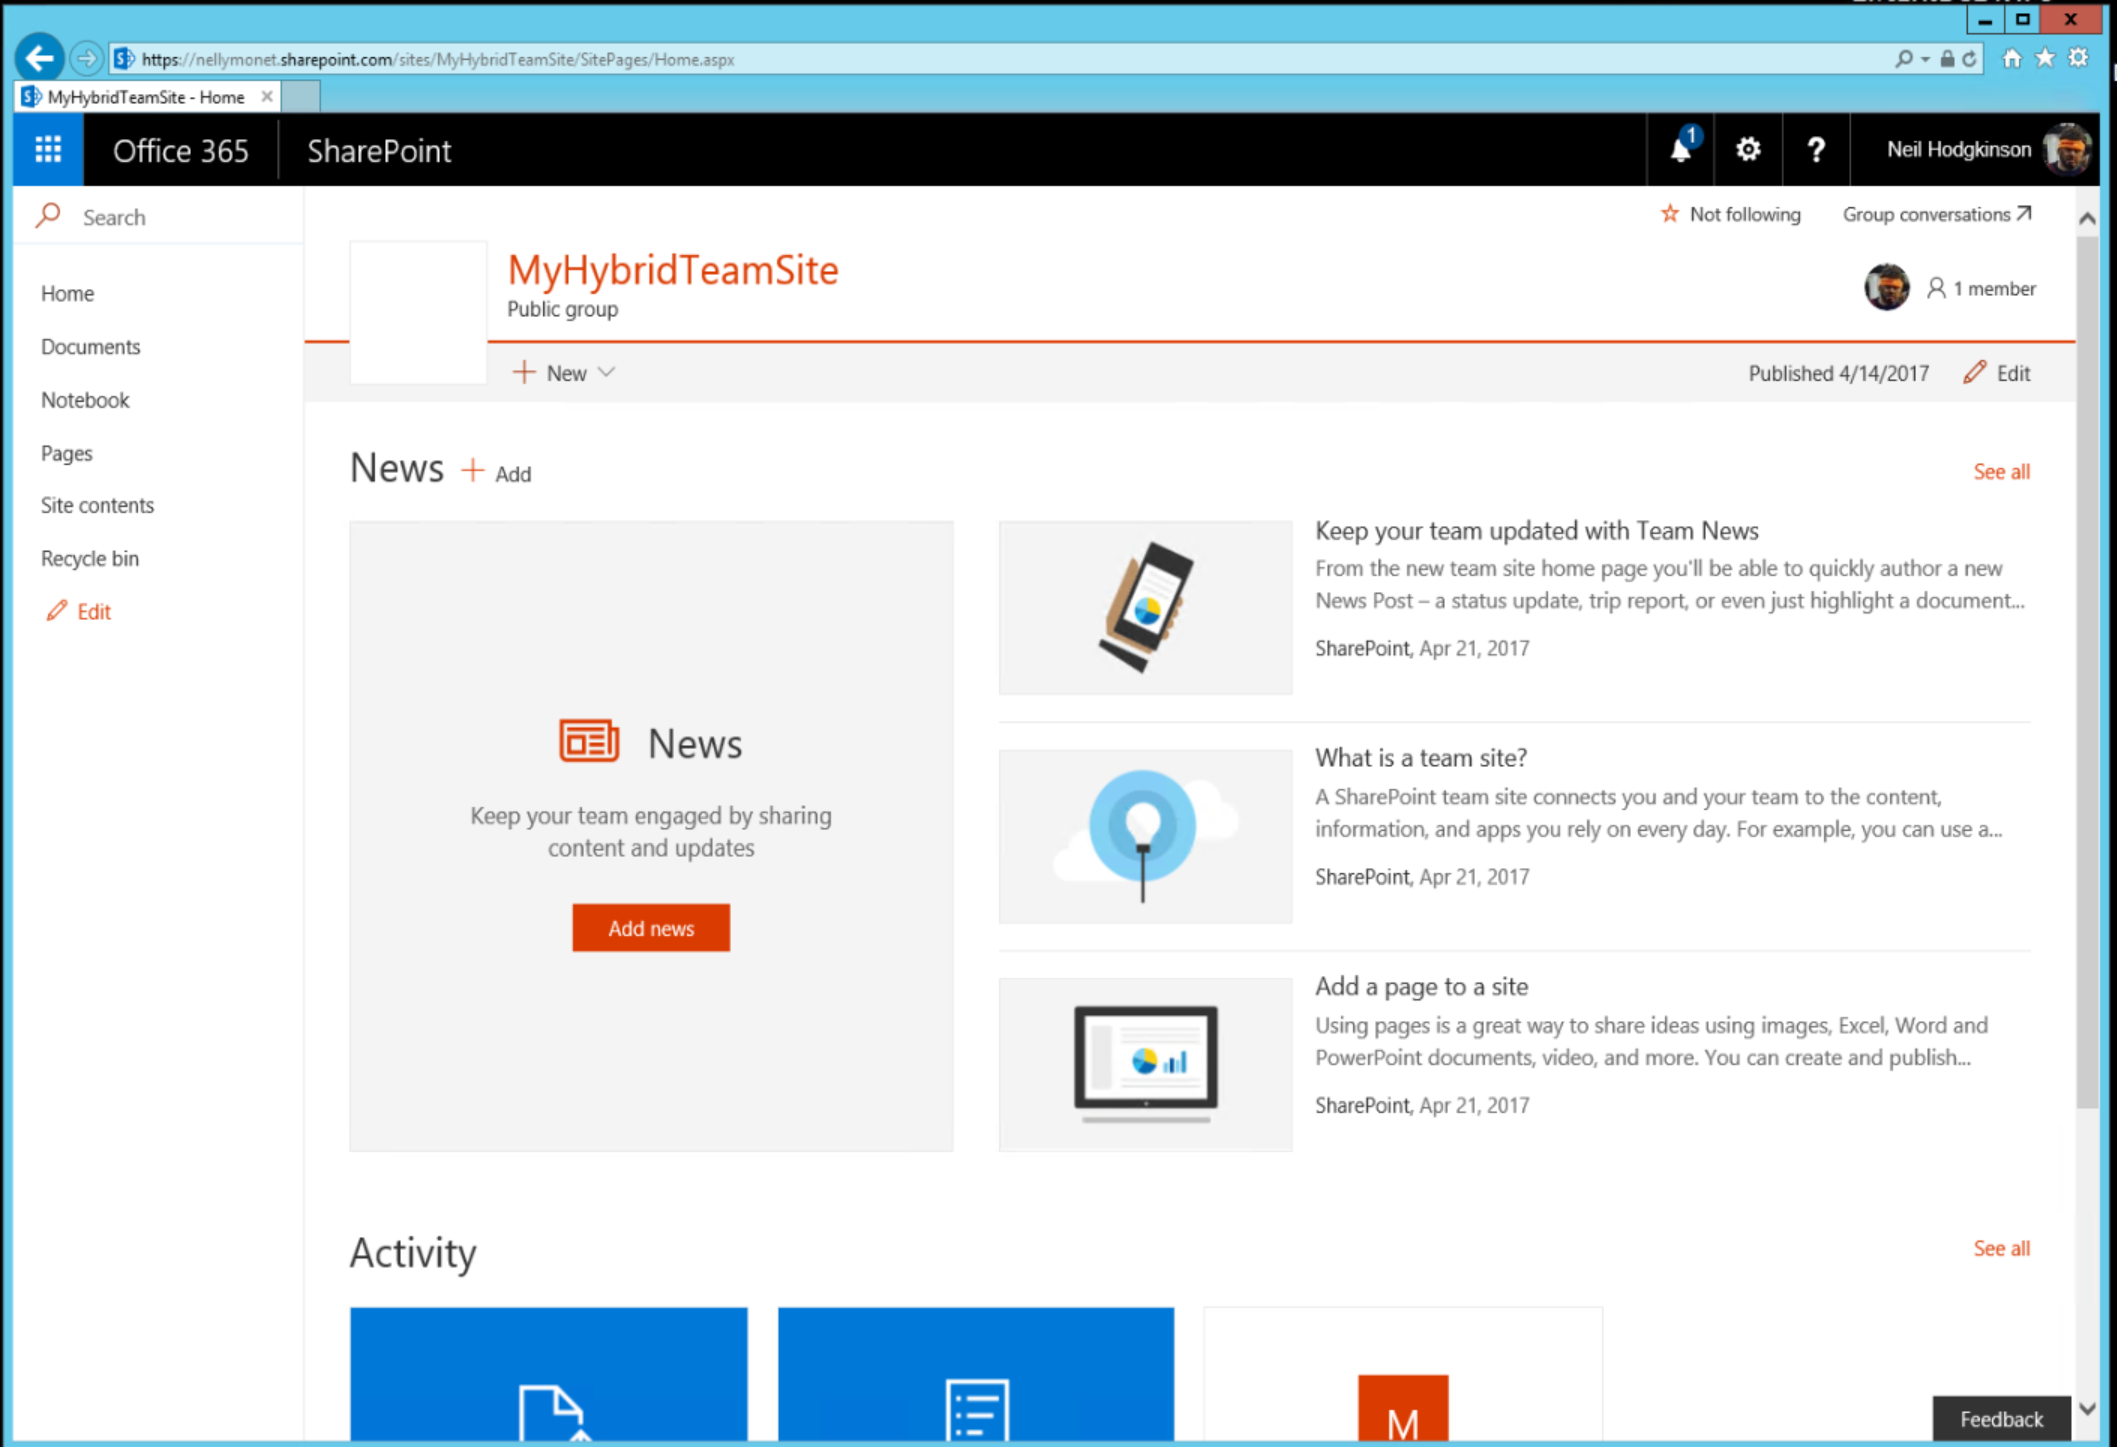
You have now successfully enabled and configured Hybrid Self Service Sites Creation for SharePoint Server 2013 and Office 365