Orchestrator 2012 Deployment & Configuration Step by Step – Part 4 “Build, Testing and Monitoring a Runbook”

In this post series I will go through Microsoft System Center Orchestrator 2012 Deployment and Configuration in Step by Step format with screenshots, and will go into details of the product to help you better understand how you can get benefits from this powerful product.

In this post we will start the configuration steps starting from building, testing and monitoring a Runbook,

In the below Runbook example new runbook is designed to monitor a folder for the addition of a new .TXT file, and when that occurs, it will trigger the Send Event Log Message action, which logs events in the Events tab of the Logs pane. Following that, another runbook will be triggered to start. The next exercise will build the second runbook that will be triggered by the first Runbook, and to do this we will create two test folders on C: drive called “LAB_Monitor1” & “LAB_Source1” and create a test text file called “Setup.txt” and type some line entries inside this test file as the following:

domain=domain

account=account

password=password

And save it inside “LAB_Source1” folder, later in this post we will go through the steps to test the created tasks and Runbook and show how to monitor these tasks in Orchestrator Console,

Steps are as the following:

1- Create Simple Monitor with Event Log:

Step

Description

Screenshot
1 Click Start | All Programs | Microsoft System Center | Orchestrator 2012 | Runbook Designer. The Client console opens.  
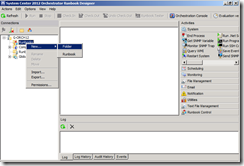
2 In the left hand Connections pane, right-click Runbooks , point to New and then click Folder. 2
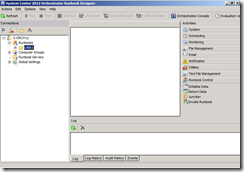
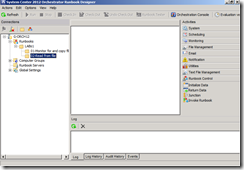
3 A new folder appears and the folder name is highlighted for editing. Type Labs1 in the input box and press Enter 3
4 Right-click the Labs1 folder, point to New and then click Folder.  
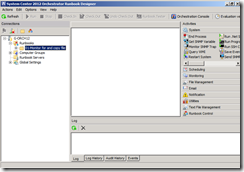
5 Type 01 Monitor for and copy file in the input box and press Enter. 5
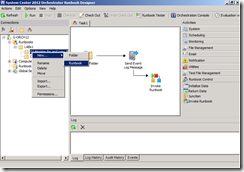
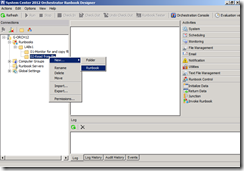
6 Right-click the 01 Monitor for and copy file folder, point to New and then click Runbook. 6
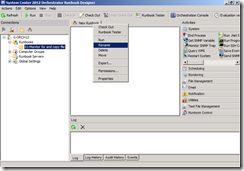
7 A new tab appears in the Designer Workspace named “New Runbook”. Right-click the New Runbook tab and click Rename. 7
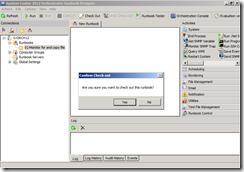
8 At the Confirm Check out dialog, click Yes. 8
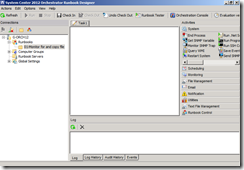
9 Type Task 1 in the input box and press Enter. 9
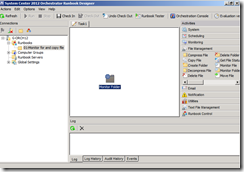
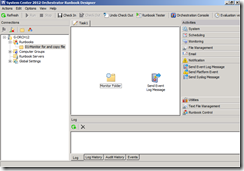
10 In the Activity Pane on the right, click the File Management module button to expand the category, and then drag the Monitor Folder activity into the design window. 10
11 In the Activity Pane, click the Notification module button to expand the category, and then drag the Send EventLog Message activity into the design window to the right of the previous activity. 11
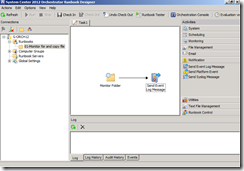
12 Mouse over the right side of the Monitor Folder activity to display the Link arrow. 12
13 Click on the arrow and drag it to the other activity, then release the mouse (see above). This will link the Monitor Folder activity to the Send EventLog Message activity.  
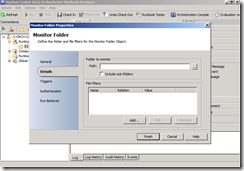
14 Double-click the Monitor Folder activity. The Monitor Folder Properties dialog appears. 15
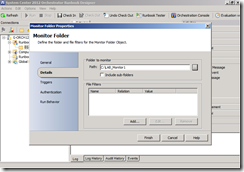
15 Ensure the left Details tab is selected. Then, in the Path field, type C: \ Lab_ monitor1. 16
16 Click the Addbutton below the File Filters list.  
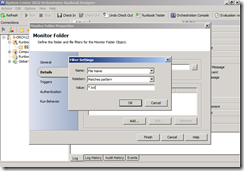
17 In the Filter Settings dialog box, set the following, and then click Ok: Name: File Name Relation: Matches pattern Value: *.txt 18
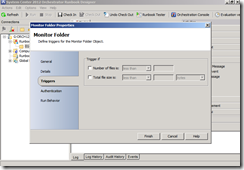
18 Click the Triggers tab on the left. 19
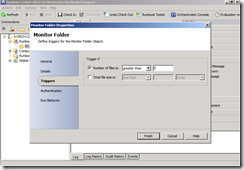
19 SelectNumber of files is, set the dropdown to greater than, and type 0 in the text box. 20
20 Click Finish.  
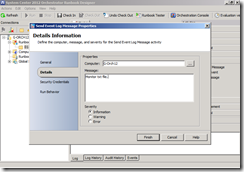
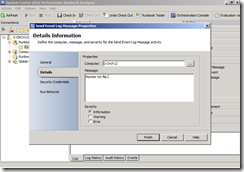
21 Double-click the Send EventLog Message . TheSend EventLog Message Properties dialog appears.  
22 In the Computer field type G-Orch12 22
23 In the Message field, type Monitor txt file. Click Finish 22
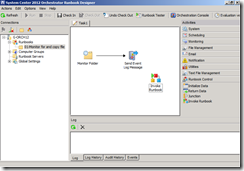
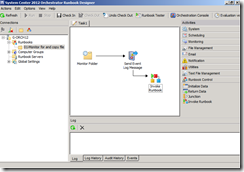
24 In the Activities pane, click the Runbook Controlmodule button to expand the category and drag Invoke Runbook onto the Details pane next to the Send Event Log Message activity. 25
25 Click and drag a link between the Send EventLog Message and Trigger Runbook activities. 26
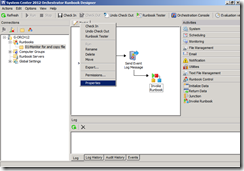
26 Right-click the Task 1 Runbook tab, select Properties . The Task 1 Properties dialog appear. 27
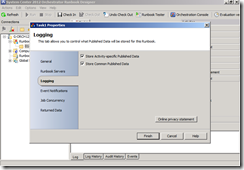
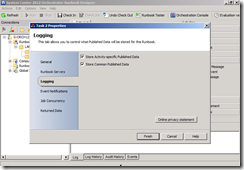
27 Click on the Logging tab and enable both checkboxes: Store Activity - specific ReturnedData and Store Common ReturnedData. 28
28 Click Finish.  
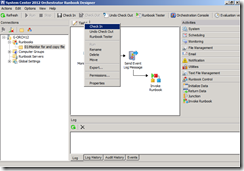
29 Right-click the Task 1 tab and click Check In 30


2- Create a second runbook to read text file and generate an event log entry:

Step

Description

Screenshot
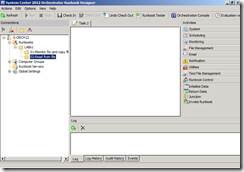
1 Right-click the Labs1 folder, point to New and then click Folder.  
2 Type 02 Read from file in the input box and press Enter. 2-2
3 Right-click the 02 Read from file folder, point to New and then click Runbook. 2-3
4 A new tab appears in the Designer Workspace named “New Runbook” Right-click the New Runbook tab and click Rename.  
5 At the Confirm Check out prompt, click Yes.  
6 Type Task 2 in the input box of the tab. 2-6
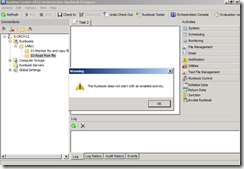
7 Right-click the Task 2 tab and click Check In. Click OK on the Warning dialog. Note: We are checking in the runbook to ensure the runbook name is registered in the database, so that it can be referenced by the other runbook. 2-7
8 Select the 01 Monitor for and copy file folder and click the Task 1 tab.  
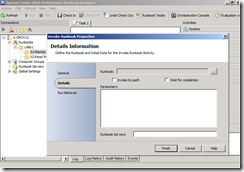
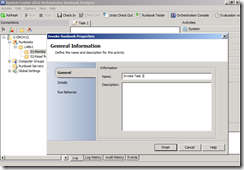
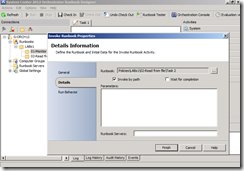
9 Double-click the InvokeRunbook activity. The Invoke Runbook Properties dialog appears. 2-9
10 Click on the General tab on the left and type Invoke Task 2 in the Name text box. 2-10
11 Clickthe Details tab.  
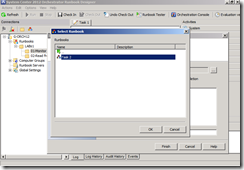
12 Click the ellipsis (…) button to the right of theRunbook field. Browse to Labs1 \ 02 Read from file. 2-12
13 SelectTask 2 and click OK.  
14 SelecttheInvokeby Path check box, and then click Finish. 2-14
15 At the Confirm Check out prompt, clickYes.  
16 Select the 02 Read fromfile folder andclick the Task 2 tab.  
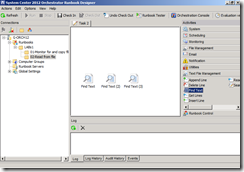
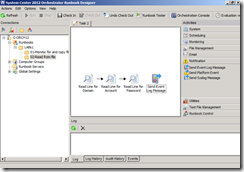
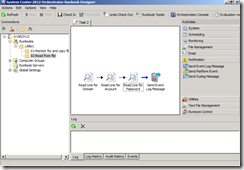
17 In the Activity Pane, click the Text File Management module button to expand the category, and add three (3) Find Text activities to the details pane (at the Confirm Check out prompt, click Yes). 2-17
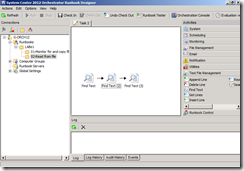
18 Create links between the three Find Text activities. 2-18
19

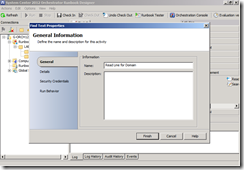
Double-click the first Find Text to open the Find Text Properties dialog.

 
20 Click the General tab.  
21 In the Name field, type Read Line for Domain. 2-21
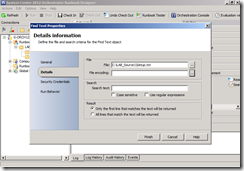
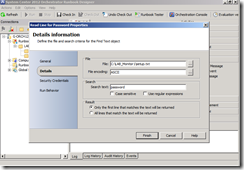
22 Click the Details tab.  
23 In the File text box type C : \ Lab_monitor1 \ setup.txt. 2-23
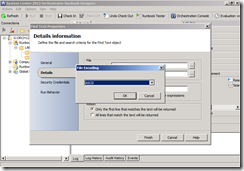
24 Click the ellipsis (…) button next to the File Encoding field.  
25 In the File Encoding dropdown, choose ASCII. Click OK. 2-25
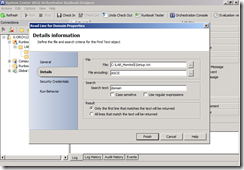
26 In the Search text field, type domain.  
27 Choose Only the first line that matches the text will be returned from the Result options, and click Finish. 2-27
28 Double-click Find Text (2) to open the Find Text (2) Properties dialog.  
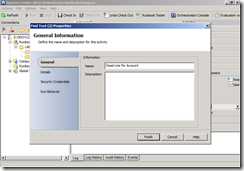
29 Click the General tab.  
30 In the Name field, type Read Line for Account. 2-30
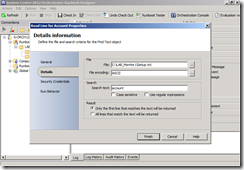
31 Click the Details tab.  
32 In the File text box type C: \ Lab_ monitor1 \ setup.txt.  
33 Click the ellipsis (…) button next to the File Encoding field.  
34 In the File Encoding dropdown, choose ASCII. Click OK.  
35 In the Search text field, type account.  
36 Choose Only the first line that matches the text will be returned from the Result options, and click Finish. 2-36
37 Double-click Find Text (3) to open the Find Text (3) Properties dialog.  
38 Click the General tab.  
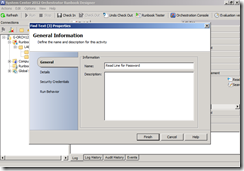
39 In the Name field type Read Line for Password. 2-39
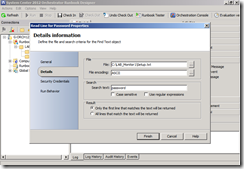
40 Click the Details tab.  
41 In the File text box type C:\Lab_monitor1\password.txt. Note: We are intentionally using an incorrect file name to trigger an error during the testing of the runbook.  
42 Click the ellipsis (…) button next to the File Encoding field, In the File Encoding dropdown, choose ASCII. Click OK, In the Search text field, type password.  
43 Choose Only the first line that matches the text will be returned from the Result options, and click Finish. 2-43
44 In the Activity Pane, click the Notification module button to expand the category, and add a Send EventLog Message activity to the runbook. 2-44
45 Create a link between the Read Line for Password activity and the Send EventLog Message activity. 2-45
46 Double-click the Send EventLog Messageactivity to display the Send Event Log Message Properties dialog.  
47 Change to the Details tab.  
48 In the Computer field, type G-Orch12  
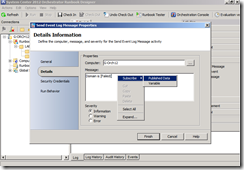
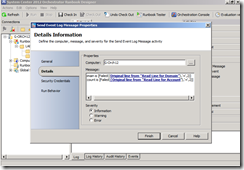
49 In the message text box type the following: Domain is [Field (  
50 Right click and select Subscribe | Returned Data. 2-50
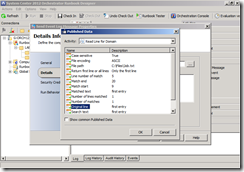
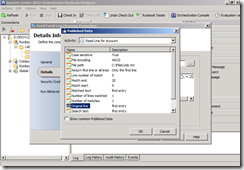
51 Select Read Line for Domain from the Activity dropdown.  
52 Select Original Line and then click OK. 2-52
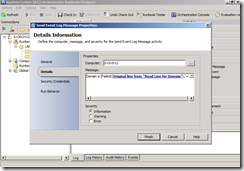
53 Type the following after the text that was just inserted: ,’=’,2 )] 2-53
54 On the next line, type the following: Accountis [Field(  
55 Right click and select Subscribe | ReturnedData.  
56 Select Read Line for Account from the Activity dropdown.  
57 Select Original Line and then click OK. 2-57
58 Type the following after the text that was just inserted: ,’=’,2 )] 2-58
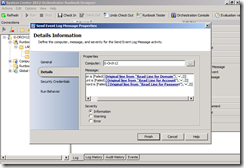
59 On the next line, type the following: Passwordis [Field(  
60 Right-click in the details text box and point to Subscribe and then click ReturnedData.  
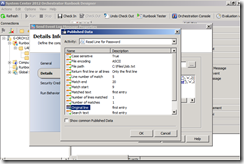
61 Select Read Line for Password from the Activity dropdown.  
62 Select Original Line and then click OK. 2-62
63 Type the following after the text that was just inserted: ,’=’,2)] 2-63
64 Click Finish.  


3- Testing Task 1 Runbook using Runbook Tester

Step

Description

Screenshot
  Test Task 1 Runbook  
1 Select the 01 Monitor for and copy file folder, and click the Task 1 tab.  
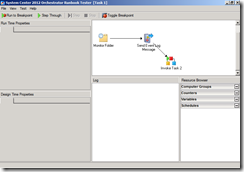
2 Click the Runbook Tester button in the toolbar above the Designer Workspace. Confirm checking out the runbook if asked. The Runbook Tester appears. 3-2
3 In the Runbook Tester, click the Step Over button in the toolbar to start stepping through the runbook.  
4 Note the new entry in the Log pane. 3-4
5 Open Windows Explorer by clicking Start | Windows Explorer.  
6 Browse to the C: \ Lab_ source1 folder. Copy Setup.txt to C: \ Lab_ monitor.  
7 Close Windows Explorer.  
8 In the Runbook Tester click the Next button in the toolbar.  
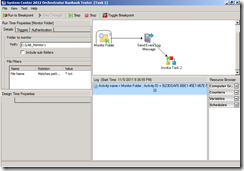
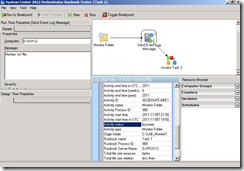
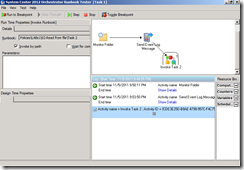
9 After a few moments you will notice that the Log pane entry changes and shows an event for Activity name: Monitor Folder. 3-9
10 Click the Show Details link to see the contents of the Databus for that runbook. 3-10
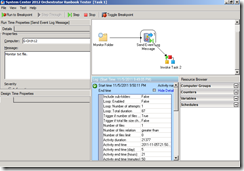
11 Scroll down the list of properties. Note that the ActivityStatus is success indicating that the Monitor Folder activity detected the change in the folder. 3-11
12 Click the Next button in the toolbar.  
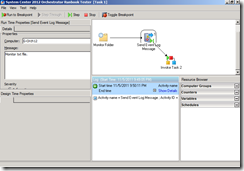
13 Notice that the Log pane changes and shows an event for Activity name: Send EventLog Message. 3-13
14 Click the Show Details link and note that the ActivityStatus is success indicating that the SendEventLog Message activity detected the change in the folder. 3-14
15 Close the Runbook Tester.  
16 Click the Check In button on the toolbar.  
4- Testing Task 2 Runbook

Step

Description

Screenshot
  Test Task 2 Runbook  
1 Right-click the Task 2 Runbook tab, select Properties, then the Logging tab and enable both checkboxes: Store Activity - specific ReturnedData and Store Common ReturnedData. 3-2-1
2 Click Finish.  
3 Click the Runbook Tester button.  
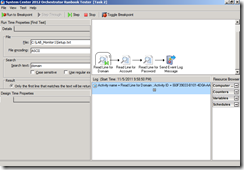
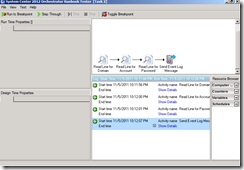
4 In the Runbook Tester, click the Step Over button to start stepping through the runbook. Notice that the Read Line for Domain activity is called to focus and the Next icon appears on it. 3-2-4
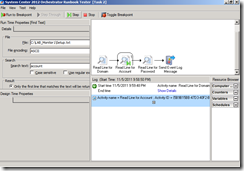
5 Click the Next button in the toolbar. Notice that the Read Line for Account activity is called to focus and the Next icon appears on it. 3-2-5
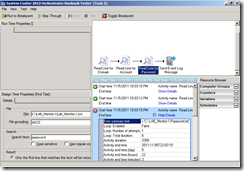
6 Click the Next button. Notice that the Read Line for Password activity is called to focus and the Next icon appears on it.  
7 Click Next.  
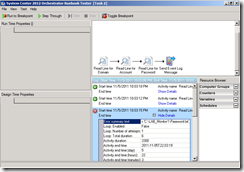
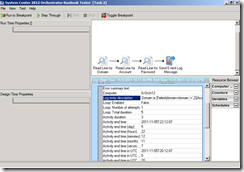
8 Notice that the Log pane displays an error. Click the Show Details link.  
9 Review the Error summarytext and notice that C:\Lab_Test\password.txt could not be found. 3-2-9
10 Click the Read Line for Password activity in the Workspace.  
11 On the Design Time Properties pane, click the button next to File to open the file dialog. Browse to the C: \ Lab_Monitor1 directory. Notice that Password.txt is the wrong file name. It should be Setup.txt. 3-2-11
12 Close the File Open Dialog.  
13 Close the Runbook Tester.  
14 Double-click the Read Line for Password activity to open the Read Line for Properties dialog.  
15 On the Details tab in the File text box, replace password.txt with setup.txt. 3-2-15
16 Click Finish.  
17 Click the Runbook Tester toolbar button.  
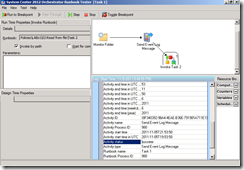
18 In the Runbook Tester, click Step Over, then click Next several times to sequence through each activity. An event will now be written to the Event log. 3-2-18
19 After the Send Event Log Message activity has finished, click Show Details. Note that the Log entry description field displays the text that was assembled from Published Data. 3-2-19
20 Close the Runbook Tester.  
21 Click Check In.  
 
5- Monitor Runbook 2 in Orchestrator Console

Step

Description

Screenshot
1 From the Runbook Designer in Exercise 2, click the Orchestration Console toolbar button.  
2 Log on to the Orchestration Console as Administrator. 4-2
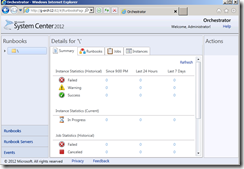
3 In the Navigation pane, select \ .  
4 In the Details for ‘ \ pane click the Summary tab. Note the statistics for Instances and Jobs executed during Exercises 1 and 2.  
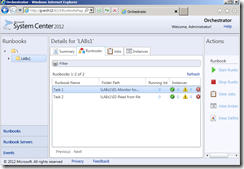
5 Click the Runbook tab. Note the list of runbooks created in Exercise 1, and the associated status information 4-5
6 Click on the Task 2 runbook.  
7 In the Actions pane, click View Definition. Information about the runbook will be displayed.  
8 Click the browser “back” button.  
9 Click the Jobs tab. Note the list of jobs created during Exercises 1 and 2.  
10 Click the Instances tab.  
11 A list of runbook instances is displayed. Click on the topmost instance.  
12 In the Actions pane click View Details. An Instance Summary will be displayed.  
13 In the bottom pane click the Activity Details tab.  
14 Scroll down until you see the details for the Send Event Log Message activity .  
15 Note that the value for the LogEvent - message Property has been assembled from your input and from Published Data  
16 In the Navigation pane select Runbook Servers (the button in the lower left of window).  
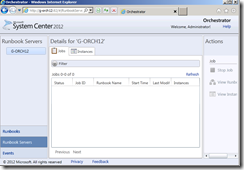
17 There will be only one server “G-Orch12”. In the Details pane note the jobs and instances that ran on this server during Exercises 1 and 2. 4-17
18 Close the Orchestration Console.  

------------------------------------------------------------------