How to set up Windows Deployment Services on 2003 SP2 Servers for Installs of Windows 2003 and XP
Service Pack 2 for Windows Server 2003 ("W2K3" in this post) includes Windows Deployment Services ("WDS"). WDS replaces Remote Installation Services (“RIS”) on W2K3 SP1 and Windows 2000 servers. Upgrading from RIS to WDS is NOT covered here (see: Windows Deployment Services Update Step-by-Step Guide for Windows Server 2003 on TechNet Below is how to set up WDS from scratch, when RIS was not used previously. In other words, WDS in Mixed Mode on a 2003 SP2 server can:
1) install Legacy operating systems (Windows 2003, XP, and 2000) without an existing RIS infrastructure
2) use the WDS management tools, and
3) install Windows Vista and Windows 2008 server from the same 2003 server.
For an in-depth discussion of WDS Server Modes (Legacy, Mixed, and Native) see the TechNet link above. That article also sets forth the requirements for WDS to work, and readers should be familiar with these requirements. However, the article does not cover how to install WDS in Mixed Mode without first installing RIS on an SP1 2K3 server. Why does this matter? In Native mode (as well as Mixed mode, without following steps in this article) only the RIS toolset is available for unattended and over the network installs. By following the procedures here, you will be able to use the WDS Interface and management tools.
Let's get started!
To use the WDS Interface we'll need boot.wim and install.wim from a Vista Install DVD. The wim (Windows Imaging Format) files (WIMinfo for more) are in the "Sources" folder of the DVD.
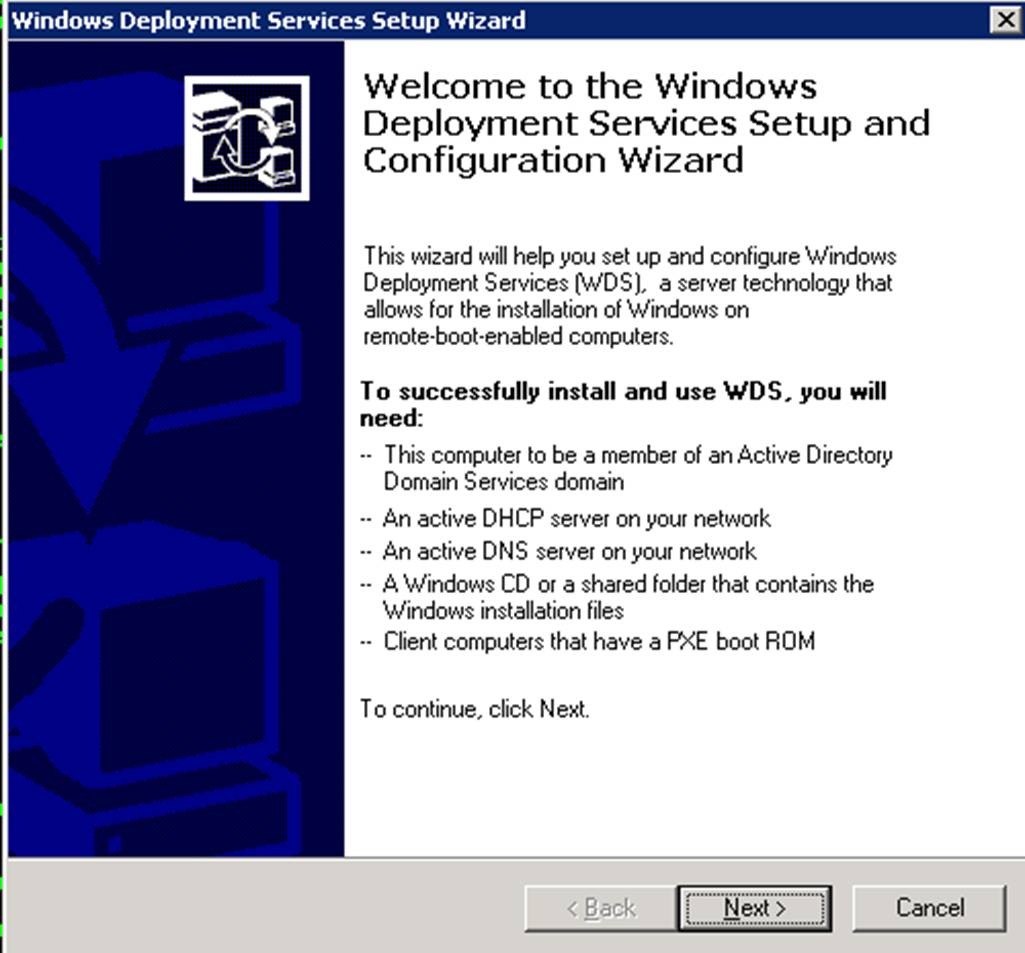
After installing SP2 on W2K3, you'll install WDS using "Add/Remove Windows Components." After rebooting, the Start menu will have two new applications under Administrative Tools, "Windows Deployment Services" and "Windows Deployment Services Legacy." We want the latter, Legacy choice. This will open the WDS Setup Wizard
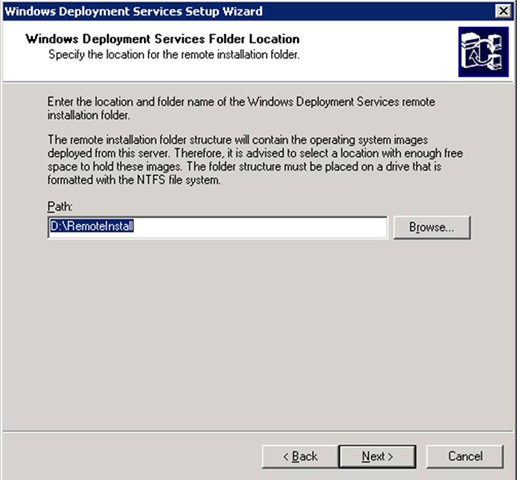
The wizard will default to using C:\RemoteInstall as the folder to contain the O/S install and boot files, Microsoft recommends using a separate spindle from the your server 's system partition, so we'll change to D: on the demonstration server.
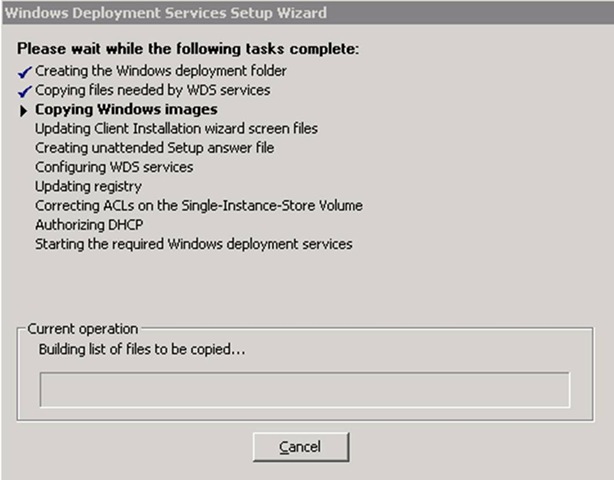
And select Next. Leave the "Respond to client computers requesting service" blank in the next box, we'll configure this later. Then, you'll be prompted for the i386 folder from your setup source, and you'll be prompted for a folder name in WDS, the default is "WINDOWS" we'll change it to "W2K3" to be more descriptive, but, in the next pane, accept the default, "Windows Server 2003, Enterprise." Next, you'll have the opportunity to review your settings; selecting Next will start the installation of WDS. The wizard will display progress; you'll want to see all blue check marks next to each item. Technically, the wizard is running risetup.exe, the executable that will be familiar to those who used the prior version of WDS, Remote Installation Services or RIS.
When finished, you'll have a "Legacy" RIS server. To manage RIS, you'll need to have the Active Directory Users and Computers snap-in installed. Then right-click your server and select properties, then the Remote Install tab. You'll see the RIS property pages as below. Since this blog is about WDS, not RIS, we'll not go into this, but it's a worthwhile check to be sure everything is working so far.

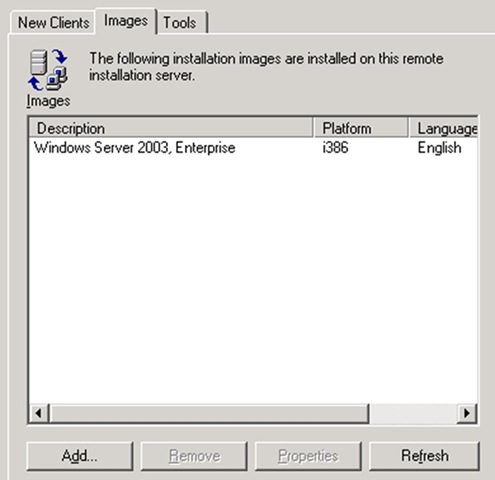
On the images tab, you'll see our "Windows Server 2003, Enterprise" present under description.
Now, we'll configure the new WDS, by going to the Windows Deployment Services (withOUT "Legacy") in Start /Run /Administrative Tools. This will open the WDS management console.

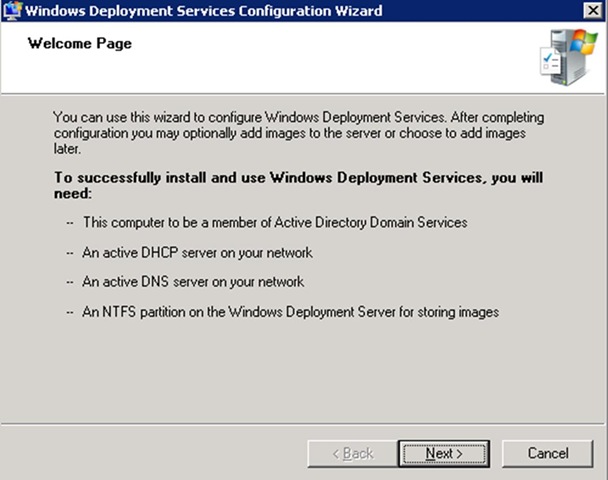
When you expand "Servers" you'll see an icon with your servers name. There will be a yellow bang (!) triangle, indicating the server is not yet configured. If your server is not there, right click the "Servers" node and follow the prompts to add it. To configure your server, right click on it and select "Configure Server" which will display the Welcome Page of the WDS Configuration Wizard, with the WDS requirements.
The next page will display our Remote Installation Folder Location, set previously, D\RemoteInstall and select Next, where you'll be prompted for the PXE Server Initial Settings. This can be changed after the wizard completes, so for now leave the default "Do Not respond to any client computer" and select Finish. The wizard will configure your server and prompt for installation of your images.
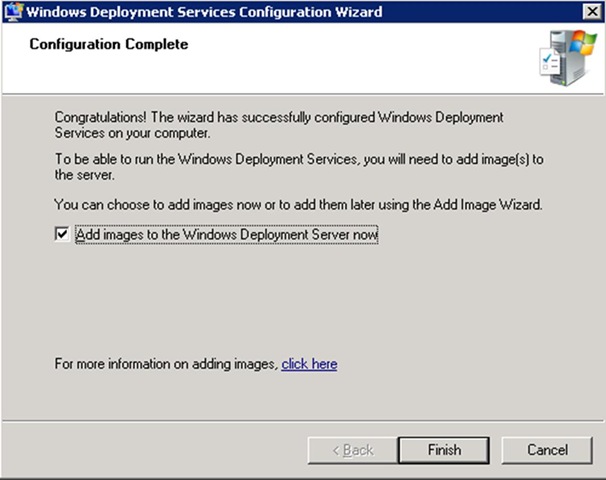
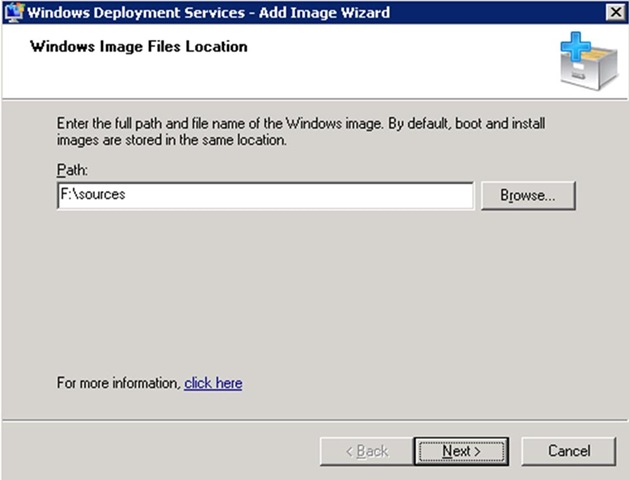
Leave the box checked and select Finish. You then browse to the location of your boot.wim and install.wim files on the Vista DVD. If your DVD is on F:\ you'll configure this page as below. WDS is looking for the "Sources" folder which contains the WIM files.
You'll then be asked to create an image group, the default being "ImageGroup1" Let's change this to something more descriptive, say "VistaImages" and select Next. You'll be given the opportunity to review your settings; Next will add the boot image (boot.wim) and the installation WIM files to your WDS image group

If you select "click here" on the pane shown above, the WDS help files will be opened, since adding the image files will take a few minutes, now's a good time to look. This help file is an outstanding resource for performing installations of Windows, you'll want to be sure to review it carefully if deployments are of interest to you. Its default location is %SystemRoot%\Help\wds.chm.
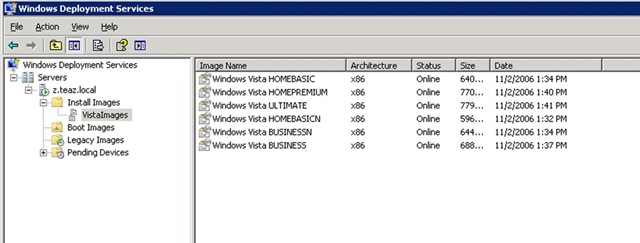
After the images are loaded, you'll be prompted to complete, and your WDS console (with the folders expanded) will look like this. Notice our "VistaImages." You can include as many images into this group as you like, or create more descriptive groups with their install images. We can change the name, by right-clicking on the folder.
Notice also (not pictured) that when Boot Images is selected, "Microsoft Windows Vista Setup (x86)" is present. Before adding our Legacy Images, let's explore the server property pages (right click on your server, and select Properties). First is the General tab; notice our "Remote installation folder" as "D:\RemoteInstall" then go to the "Boot" tab. Here, the default boot programs that run when a client machine connects to the WDS server are listed. We'll cover the connection and installation later. For now note that the default files are indicated here.
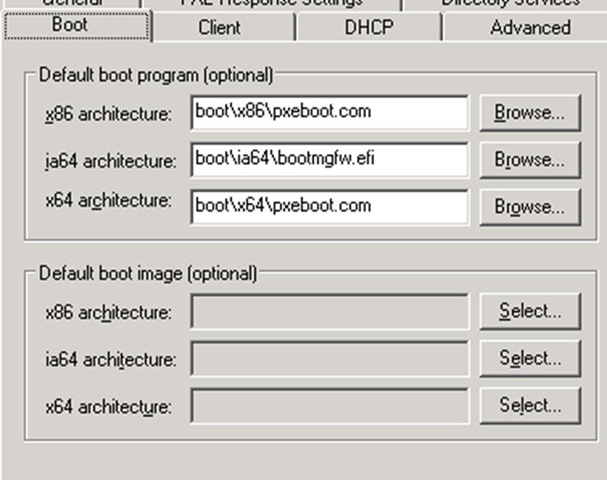
Where are these files in the file system? D:\RemoteInstall\Boot\<Architecture> or for 32 bit systems, D:\RemoteInstall\Boot\x86\pxeboot.com.. Why does it matter? Having the wrong file and/or directory identified is a common misconfiguration.
In the PXE Response Settings, check the box appropriate for your security preferences, and make sure your DHCP settings are correct. Since our Microsoft DHCP server is on another machine, we'll leave both boxes UNCHECKED. This is the default setting, WDS setup assumes your WDS and DHCP servers are separate. The configuration of your MS DHCP server is automatic (you don't need to configure option 60 on it).
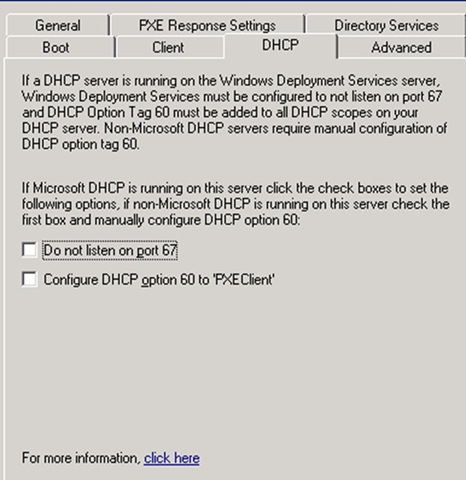
If your WDS server is also a DHCP server, you'll want to check both boxes. This is sometimes an area of confusion. The help files are your friend - "For more information, click here" will take you to the help files, with configuring these options as the open page (i.e. the help files are "context sensitive").
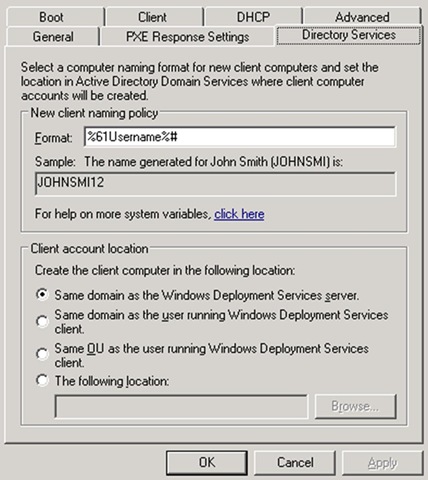
The pane below shows the default "Directory Services" tab, configuration. You can create client machine names to most any scheme imaginable, in any trusted domain.
When we select "Legacy Images" in the WDS console we'll see our image created during the legacy install.
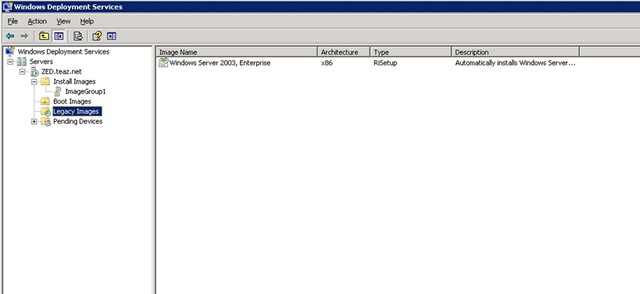
In explorer, you'll find the legacy files here: D:\RemoteInstall\Setup\English\Images\WINDOWS\i386 Why does this matter? It doesn't, unless you already know RIS, and want to keep using it and modifying your Setup Information files. RIS is covered here:
RIS Overview and Tools Requirements
Now we're ready to begin installation on a network attached system. You may need to modify the machine's BIOS setting so it will boot from the Preboot Execution Environment ("PXE") network card installed. Most modern NICs are PXE-enabled, but you may need to install one if not. On boot up, you should see the following

After pressing F12, you'll be presented with the following options (RIS is the debault)
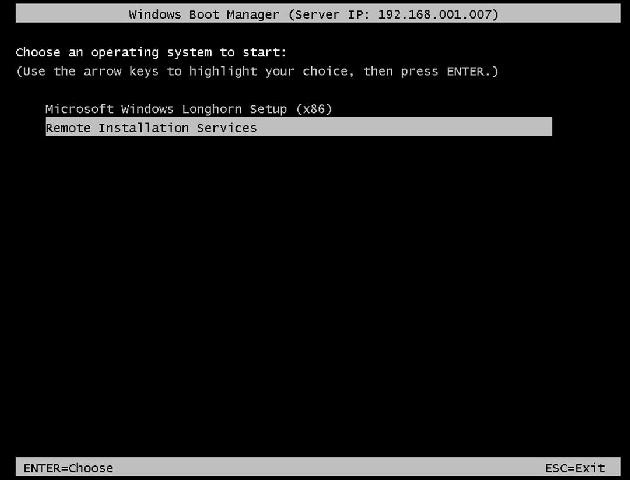
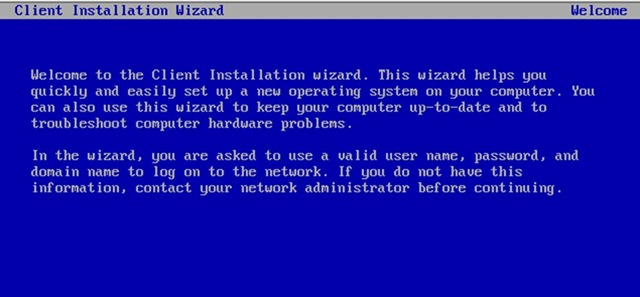
you'll then be presented with the Client Installation Wizard, an you're on your way to installing Windows 2003 server.
Conclusion
Enabling a new WDS server, on a server where RIS was not previously installed, requires utilization of the next generation Windows image files (boot.wim and install.wim) for us to be able to use the WDS console. We can use the legacy RIS tools without doing the image installs, but the WDS console is much more powerful and adds additional boot and install options for both legacy and Vista and Longhorn servers.