Step-By-Step: Simplified Office 365 deployments with Configuration Manger 1702 Tech Preview
With the release of ConfigMgr 1702 Technical Preview, the Office 365 deployment is simplified with a built-in wizard to download binaries and customize settings for deployment.
You no longer need to perform manual steps of downloading Office 365 and then creating an Application/Package definitions for deployment.
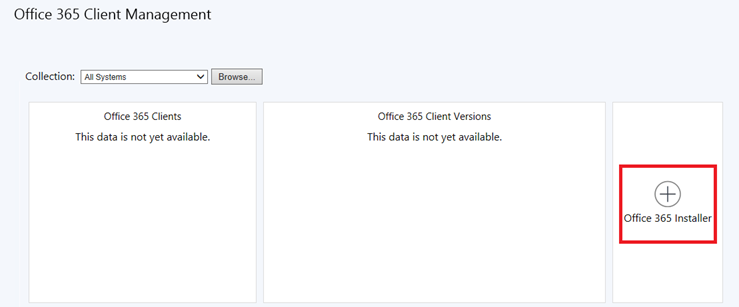
- The Office 365 Client Management dashboard has a new button Office 365 Installer.
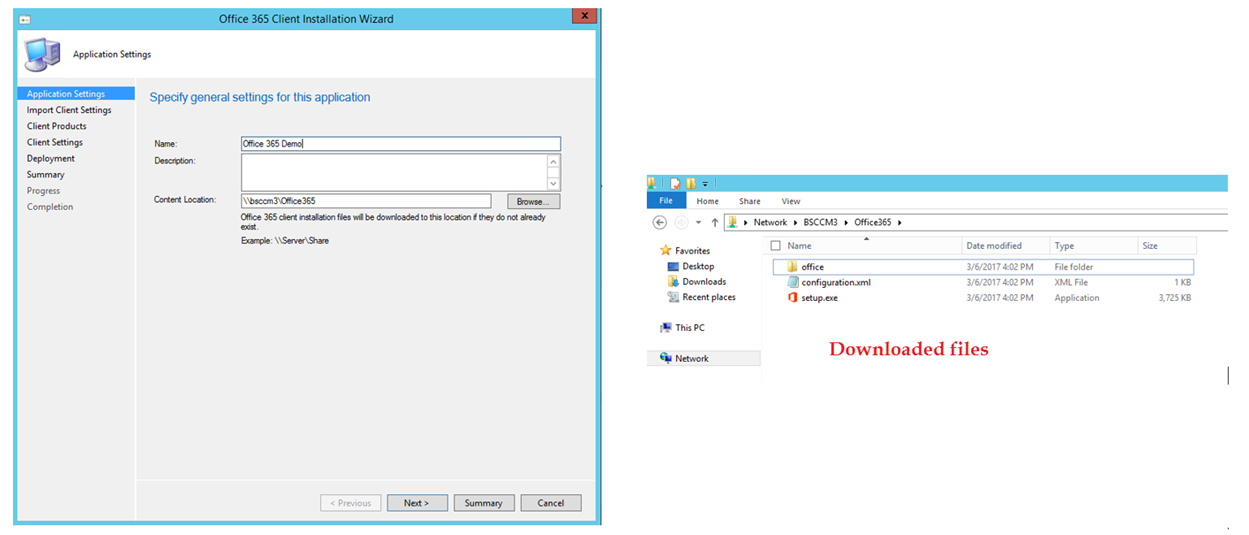
- Enter a Name. [This will be the Application Name of the application created under Software Library > Application Management > Applications]
- Content Location is the server share where the Office 365 binaries will be downloaded. [The path should be an empty folder]
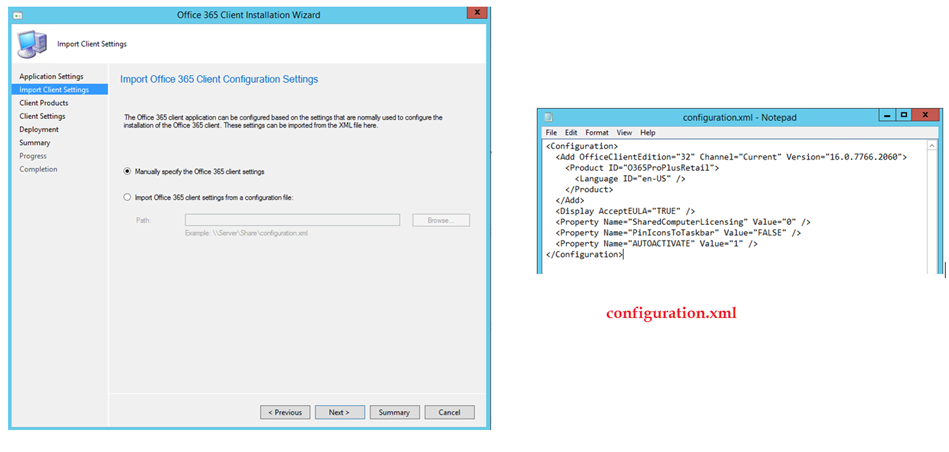
- Next you can either import a custom Configuration.XML file or use the default.
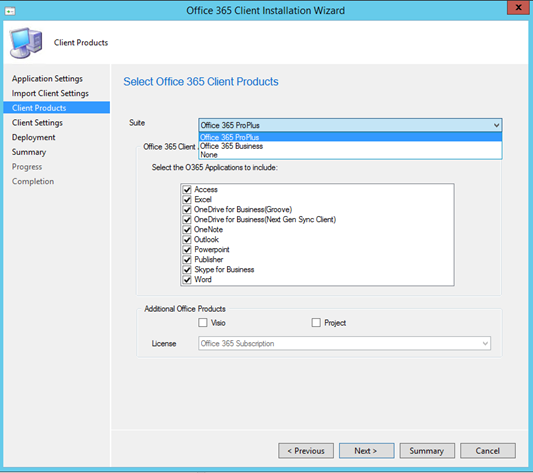
- Next you choose the Office Suite for the client. You can choose between Office 365 ProPlus and Office 365 Business
- You can check/un-check the applications to include.
- Additional products like Visio and Project is also available.
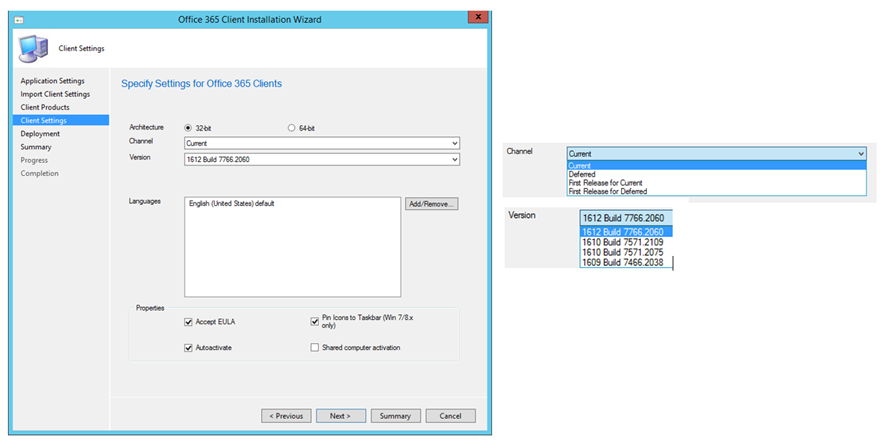
- Next specify the Architecture
- Select a Channel [Current/ Deferred/ First release for current/ First release for Deferred]
- Select a Version [Changes as per latest available builds]
- Select additional properties [Accept EULA/ Autoactivate/ Pin Icons/ Shared computer activation]
These selections dynamically build the configuration.xml file at the source location.
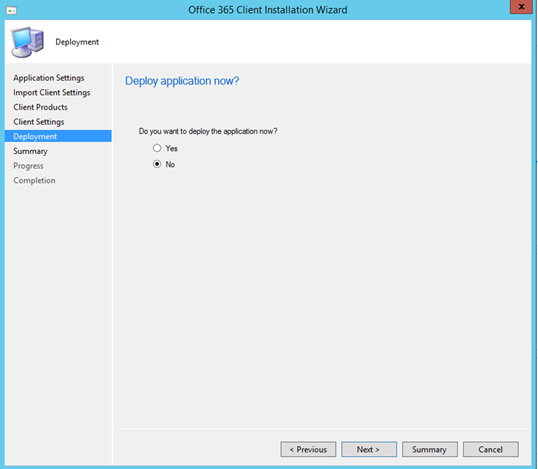
- Next you can proceed to directly deploy the application to a collection or choose to deploy at a later point of time.
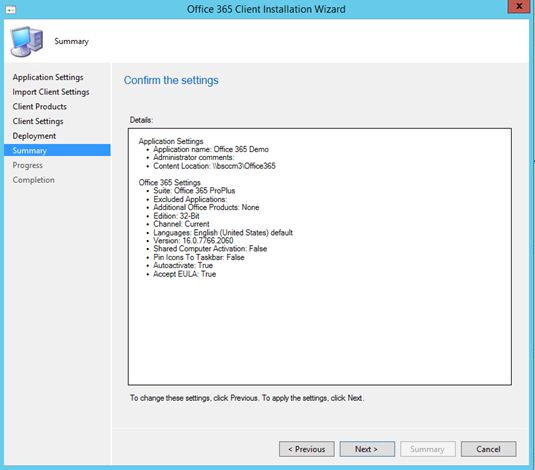
- Finish the wizard.
Once you finish the wizard, to track the progress, you can refer the logs and XML files located under %Temp% 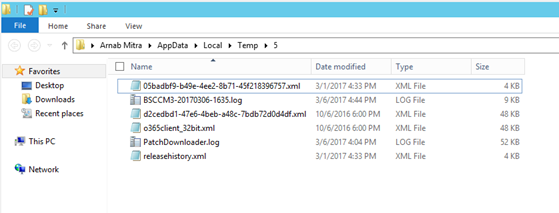
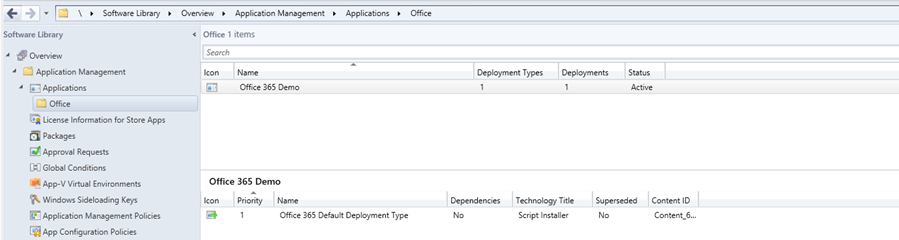
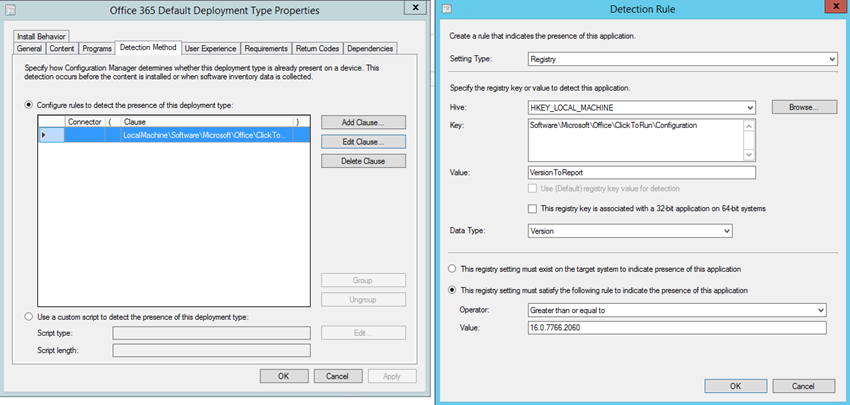
- Refer the Application and Deployment Type properties, all the information is auto-populated.
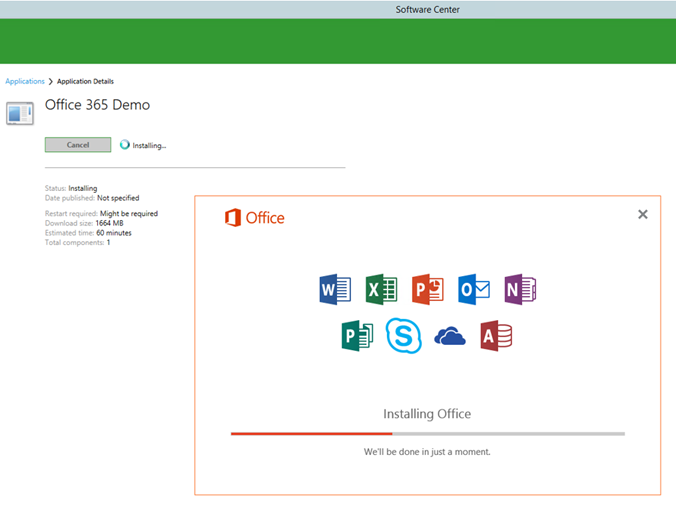
- Distribute the application to the desired DP's and Deploy to the desired collections.
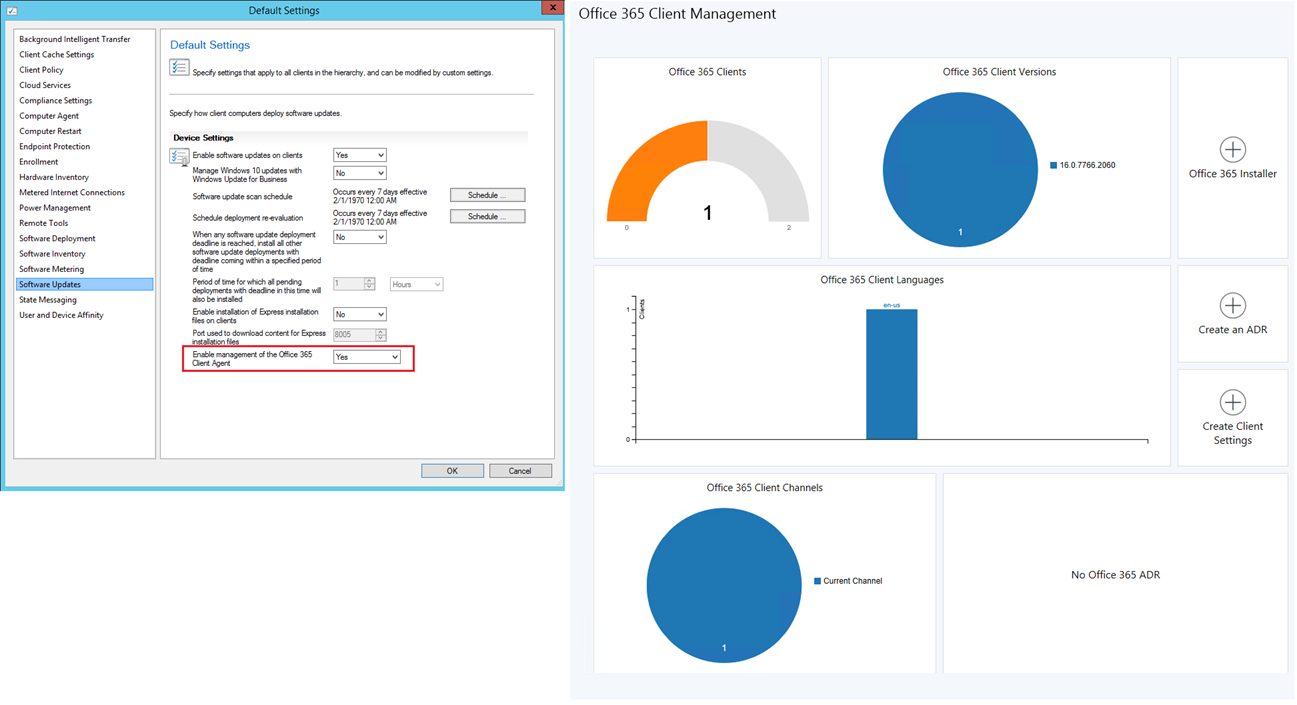
If you are wondering why the Office 365 Client Management dashboard is still empty, you need to enable this data via Client Settings.
- Software Updates > Enable management of the Office 365 Client Agent. [Set this value to Yes]
Post a successful inventory, the client will start reporting data in the console.
Thanks,
Arnab Mitra