SCE Sunday Part 11 – Restore
The test of any backup is can you get back to where you were, so in this weeks screencast I have taken the data I backed up last week and applied it to a clean installation of SCE…
Although I ruthlessly followed the TechNet resources on restoring SCE (here), I had to do a couple of other things to bring the system back to health again..
- I restored the registry key entries I backed up last week
- the WSUSCertificateRestore utility to get SCE to import the Windows Server Update Service (WSUS) key needs to be run with these switches..
WSUS /Restore WSUS /Path [path to certificate you backed up with a pfx extension] /Password [password used to protect the certifcate]
where WSUS indicates you are using group policy
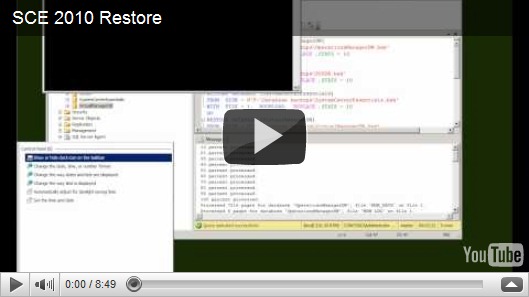
- When I started up SCE I couldn’t get the Virtual Machine Manager (VMM) to work properly in that the host wasn’t showing up. SCE doesn’t allow you to remove a host from the UI. Fortunately SCE has the powershell snap-in for VMM and I ran these commands to remove the host:
#addin for VMM
Add-PSSnapin Microsoft.SystemCenter.VirtualMachineManager
#declare the SCE2010 server
Get-VMMServer –ComputerName “SCE2010.contoso.com”
#set a variable for the physical host
$VMHost = GetVMHost –ComputerName “Hotblack.contoso.com”
#remove the host declared in the above variable
Remove-VMHost –VMHost $VMHost –Force –Confirm
Then I added the host back in from the UI (you might need to uninstall the VMMAgent on the host before you do this, but you don’t need to reboot.
Next week I’ll have a look at the Virtual Machine Manger elements of SCE as a way of introducing how a small private cloud might work using this tool.
In the meantime, If you want to try SCE yourself it’s included in the TechNet Subscriptions here or you can get a time bombed trial version here.