SQL Server 2008 R2 August Technical preview Installation Guide
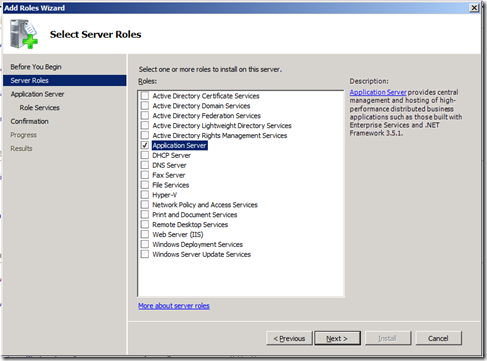
I have decided to install the SQL Server 2008 R2 August technical preview (aka CTP2) on Windows Server 2008 R2. On this new OS there is a specific role the application sever role that you should setup before installing SQL Server
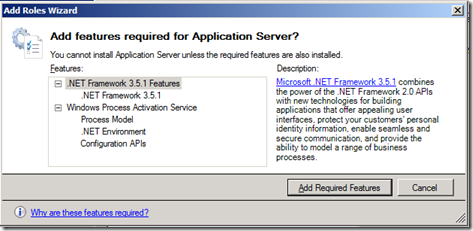
This role adds in the .Net framework 3.5 sp1 that SQL Server needs as you can see in the dialog that pops up when you select it
If you’re using another OS, then the SQL Server installer will branch out and start to install this. In my experience this can take nearly as long as the SQL server install and cause at least one reboot, after which you will need to restart the install.
I have already pulled down the install using my TechNet subscription and on running this for the first time I got an error ..
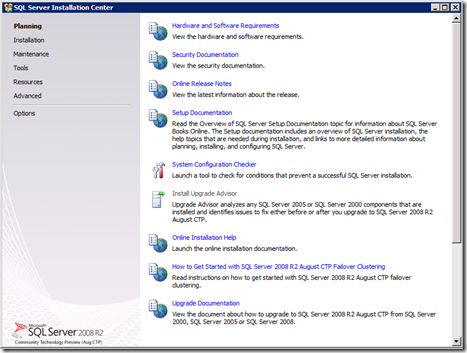
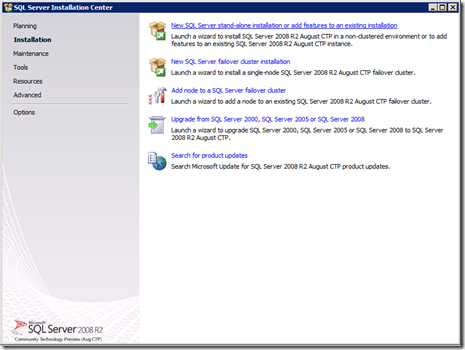
when I ran the install again this went away to bring up the SQL Server Installation Center which came in with SQL Server 2008
Like a lot of Microsoft dialogs, the sequence of steps is shown on the left and the step you are at is shown in bold, in this case the Planning step. This starts what seems like an endless chain of checks ..
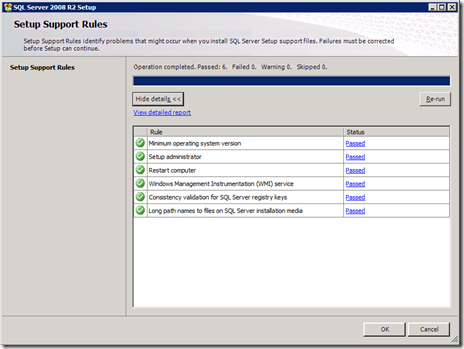
but I think this is a much better way of doing things than for the installation to fail halfway through and leave your environment in a confused state. This first set of tests is to make sure the install itself will run OK and in my case all is well.
On Clicking OK I get the inevitable license screen
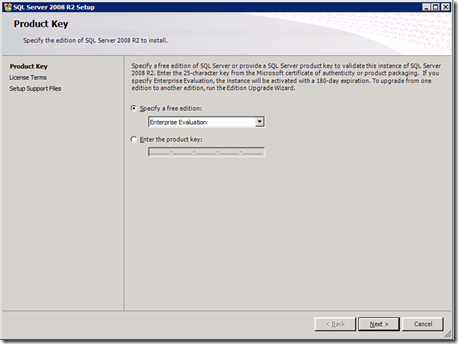
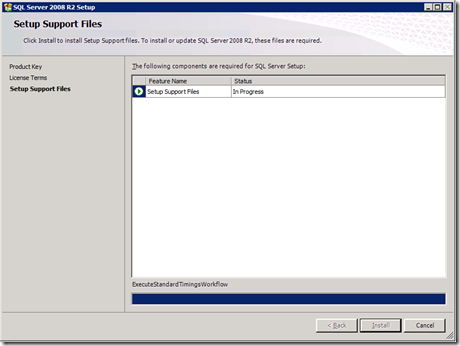
the technical preview doesn’t need a key so we can continue by installing the setup support files
Now we get to the actual installation step screen in the sequence.
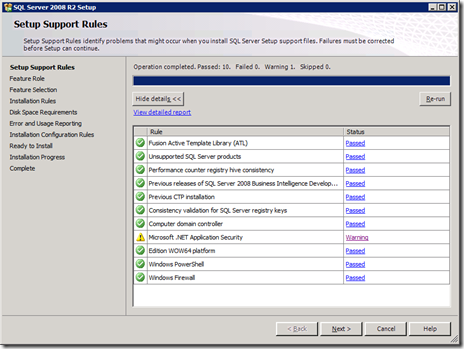
Being in impetuous evangelist I am going straight for the top option, New “SQL Server standalone installation..” when I click next the installation does another set of checks to ensure that there aren’t any potential issues wiht installing SQL Server itself e.g. incompatible products (e.g. SQL Server won’t install on a domain controller).
I have one alert here, which turned out to be because I don’t have an internet connection, so I ignored it and clicked next.
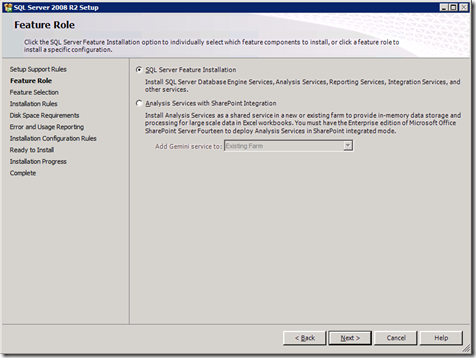
Now you can see the difference in SQL Server 2008 R2 for the first time; there is now an option to install analysis services in integrated mode. I can’t do that at the moment as I can’t share any information about SharePoint 2010 for the time being. and so I am going with the default, SQL Server Feature Installation.
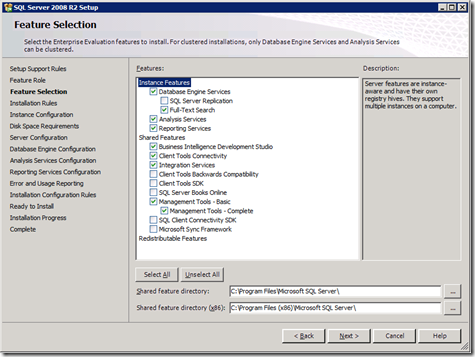
Now I can choose which bits of SQL Server 2008 R2 I want to install. This selection then allows the installation process to work out which rules to apply to establish whether these features will install successfully 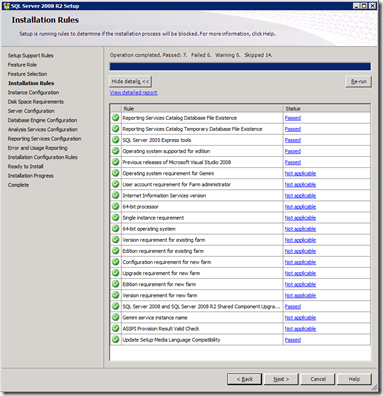
i.e. this set of checks relates to whether what I have selected can be installed properly. All is well so now I can configure how SQL Server is to be installed..
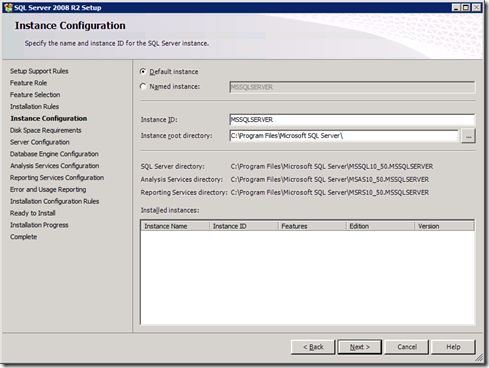
Instances are separate installs of SQL Server. For example I have had an instance of SQL Server 2000, alongside, 2005 and 2008 all on the same box and you can also install the same versions multiple times – a common reason to do this is to isolate security because some applications demand to have sys admin rights which you might not want to give across all your databases.
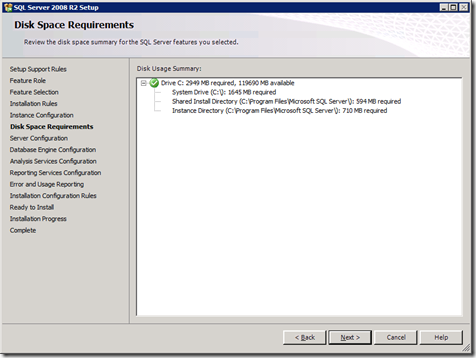
Anyway I am going for the default instance and clicking next confirms check the disk space requirements…
I only have the one disk and it has enough space. Now I am asked about collation and for the service accounts which will run the various components of SQL Server..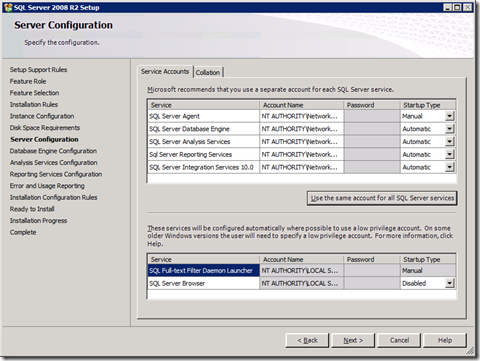
I am leaving the collation as the default, and for the service accounts I have picked a basic low privilege local account NTAUHORITY/Network Service. If your machine is domain joined then you should use a low privilege account on the domain that or domain administrator will create for you. and if that’s you then it needs the act as part of the operating system and have the logon as a service privileges. This can easily be changes post installation if need be.
Now I can set the way the database engine is to be setup and the most important thing here irrespective of the host operating system is to ensure I can login to SQL Server post installation and to do that I can select “add current user” to add myself!.
I am also going to select mixed mode authentication which means that SQL Server will accept windows logins and also use its own internal authentication mechanism, which means that you also need to specify the internal sys admin account password. This should be a strong password or passphrase (e.g. a sentence like “I love SQL Server”) and for added security you can change the name of this account post installation as per my post here.
Next I want to check where SQL Server will store it’s data by clicking on the data directories tab..
In production you would be putting setting these location across the storage you have available to maximise performance, but I am going with the defaults as I only have the one drive
I have asked for analysis services to be installed and so I get a similar screen for how that’s going to be setup..
again you should add yourself with the “add current user” button. Note there is also a tab for setting where analysis services will store its databases which need to be set if you don’t want everything on your C drive
I also asked for reporting services so I also have to configure that. I just need it in native mode and I am happy for the installer to set it up for me.
Next I am asked to participate in reporting errors back to Microsoft
as I work for them I have checked yes but even if I didn’t I would select these as it does help improve SQL Server in an anonymous way. There is then a final rule check which picks up the options I have selected and establishes they are viable e.g. I haven’t selected a FAT32 volume for my data..
Finally I get an opportunity to review what I have selected..
and now the installation proper can start..
Finally at the end of the process you get an installation report and some resources to use which I have expanded out..
To wrap up, installation in SQL Server 2008 R2 is pretty much the same as SQL Server 2008. They both have a lot of steps and while this looks complicated each of them fits into a logical flow (like all the testing) to ensure that what is installed actually works.
A couple of other things to note are:
- There would be fewer steps if I just wanted to install the db engine or analysis services for example.
- You can install SQL Server from the command line and automate the whole process if you have to do this regularly. The resources for this are on TechNet here and you may also wish to check out the FineBuild utility on codeplex from my good friend Ed Vassie
