Configure Windows 2012 R2 as iSCSI target
iSCSI target allows your Windows Server to share block storage remotely. iSCSI leverages the Ethernet network and does not require any specialized hardware. iSCSI target is a service available in Windows 2012 R2 and can enabled from Add Roles and Features Wizard.
Target: Targets are created in order to manage the connections between the iSCSI target server and the servers that need to access them. You assign logical unit numbers (LUNs) to a target, and all servers that log on to that target will have access to the LUNs assigned to it.
iSCSI Target Server: iSCSI target server is the server where iSCSI target service is running. In Windows 2012 there is a service called iSCSI service that you can install to configure iSCSI target server.
iSCSI virtual disk: iSCSI virtual disks are created on iSCSI target server and associated to the iSCSI target. iSCSI virtual disk represents an iSCSI LUN, which are connect to the clients using iSCSI initiator.
iSCSI initiator: Microsoft® Internet iSCSI Initiator enables you to connect a host computer that is running Windows® 7 / Windows Server® 2008 R2 or higher to an external iSCSI-based storage array through an Ethernet network adapter. iSCSI initiator service runs on the client and used to make a connection to the iSCSI Target by logging on to a Target server.
For more details you can refer :
Windows iSCSI initiator feature - https://technet.microsoft.com/en-us/library/ee338474(v=WS.10).aspx
Manage iSCSI Targets - https://technet.microsoft.com/en-us/library/cc726015.aspx
This article talks about how to configure the iSCSI service in Windows 2012 R2.
1. Go to Add Roles and Features Wizard and install the iSCSI target server role under file server role.

2. Install the iSCSI target server role.

3. Once the iSCSI service is installed you can go ahead create the virtual iSCSI virtual disks and then connect it to the servers you want. Click on New iSCSI virtual Disk:

4. As Windows 2012 R2 allows you to manage other servers, you can select the server where you want to create the iSCSI VHD.

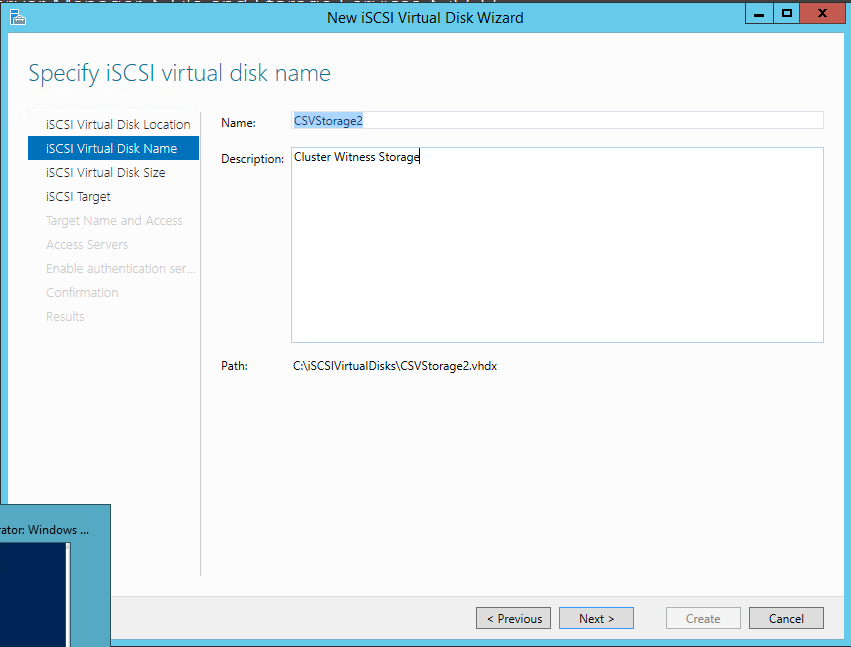
5. Provide a name to the iSCSI virtual disk. As you would notice now it has support has for .vhdx file.
6. Different options that you can select for your disk including fixed size, dynamically expanding disks and differencing disk. As I do not have a dedicated storage for the disk, I want to select the Dynamically expanding storage.

7. If you have an iSCSI target created, you can add the iSCSI virtual disk to the same iSCSI target or created a new iSCSI target. Once an iSCSI initiator connects to the iSCSI target all virtual iSCSI virtual disks will be available to the server.

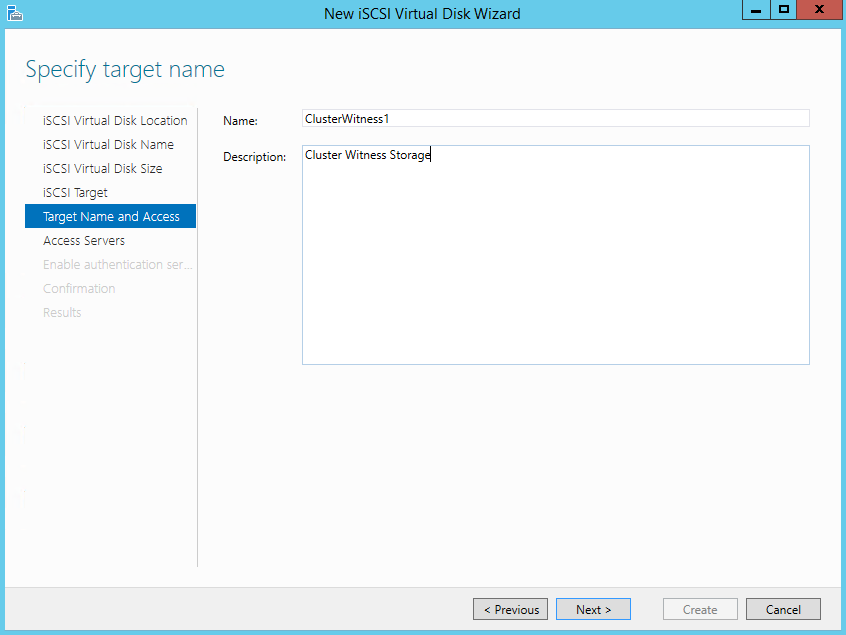
8. Provide a name to the iSCSI target.
9. Add the iSCSI initiator server which will access the iSCSI target. There can be more the one initiator that you can specify here, I have added two servers under iSCSI initiator.

10. Add the iSCSI initiator that will access this iSCSI target.


11. Select an authentication method that is used to connect to the iSCSI target. As this is just a lab I didn’t select any authentication method.

12. Target is created


Connecting iSCSI initiator to the iSCSI target server
Typically, the iSCSI initiator and iSCSI Target are on different machines (physical or virtual). You will need to provide the iSCSI Target server IP or host name to the initiator, and the initiator will be able to do a discovery of the iSCSI Target. All the Targets which can be accessed will be presented to the initiator.
1. Once the iSCSI target is configured, go to the Windows 2012 R2 server where you want to connect to the iSCSI virtual disk. Open the iSCSI intiator from server tools and provide the IP address / hostname for the iSCSI target server.

2. It displays the targets which are configured on the server. Connect to the iSCSI target. Once connected to the iSCSI target, it provides you access to all the iSCSI virtual disks that are associated to the iSCSI target.
Advanced configuration by specify IPs for iSCSI connection: If you want to dedicate iSCSI traffic to a specific set of the NICs, you can specify that in the “Connect using”. By default, any IPs can be used for iSCSI connection.

3. Create new volume
Once the connection is established, the iSCSI virtual disk will be presented to the initiator as a disk. By default, this disk will be offline,. For typical usage, you want to create a volume, format the volume and assign with a drive letter so it can be used just like a local hard disk.

