End-to-End Bare-Metal Provisioning with SCVMM 2012 SP1 / R2 - Part 3 - Configuring WDS
Hello, in this third post of this series, I cover the configuration of the Windows Deployment Services (WDS) role to prepare it for integration with SCVMM. If you haven't already done so, have a look at the two initial posts in this series:
Windows Deployment Services (WDS) is a Windows Server role which provides the PXE services needed by SCVMM. Once WDS is configured, it can be integrated and managed with SCVMM. In this post, we discuss how to enable the WDS role and configure it for SCVMM's consumption.
I am going to install and configure the WDS role on the same host where I installed the DHCP server service in my previous post. This is not a pre-requisite, but it makes configuration slightly easier.
First, install the WDS feature and management tools. If you are using Windows Server core (and you should maximize Windows Server Core deployments in your organisation), you do not need the management tools of course to be installed on this same host. To install the role and associated management tools, open an elevated PowerShell command prompt and enter the following command
Install-WindowsFeature WDS -IncludeManagementTools
Next, open the Windows Deployment Services management snap-in. You will see the following message indicating that WDS is not configured yet.

To configure the server, highlight the server hostname and select Configure Server from the Action menu. This launches the Windows Deployment Services Configuration Wizard. This wizard is pretty simple. The following windows may require your input. Otherwise, you can accept the defaults.
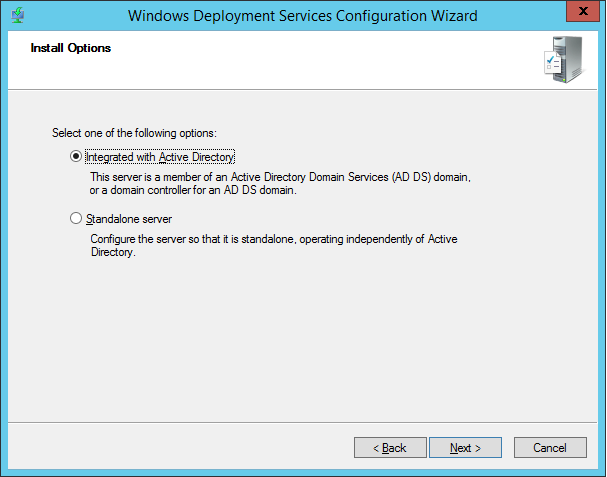
The Install Options window asks you to choose whether to have WDS integrated with AD or not. There are many reasons to integrate WDS with AD and I have not come across a use case of any of them with respect to SCVMM. SCVMM will work fine with the Standalone server option.
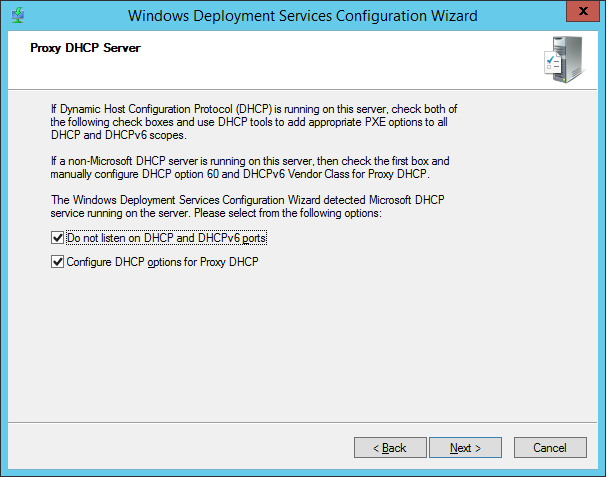
If you have a separate DHCP Server installed on the same server as WDS such as our case, you will want to leave this window to its defaults. If DHCP is not installed on the same host, you will want to uncheck the second option and configure the DHCP PXEClient option manually as I discussed in the previous post.
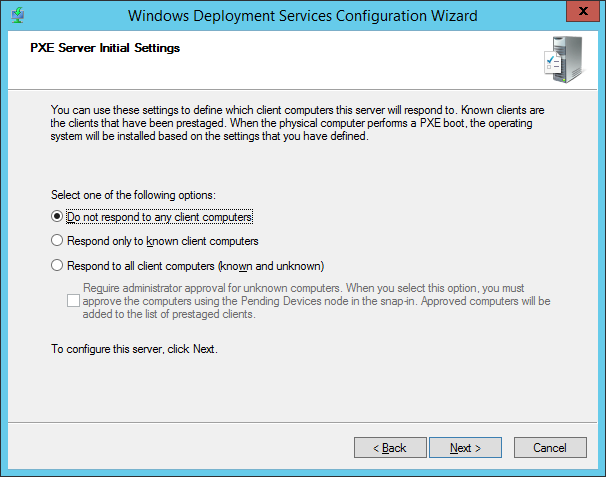
For SCVMM, you need to configure WDS to not respond to any client computers. What this does once the WDS server has been integrated with SCVMM is to forward the PXE requests to the SCVMM Management Server.
That's it. Accept default in this wizard otherwise. When asked about where to install WDS content (which defaults to C:\RemoteInstall), you can point it to folder on your system. The WDS Wizard will warn you if you are installing it on the system drive.
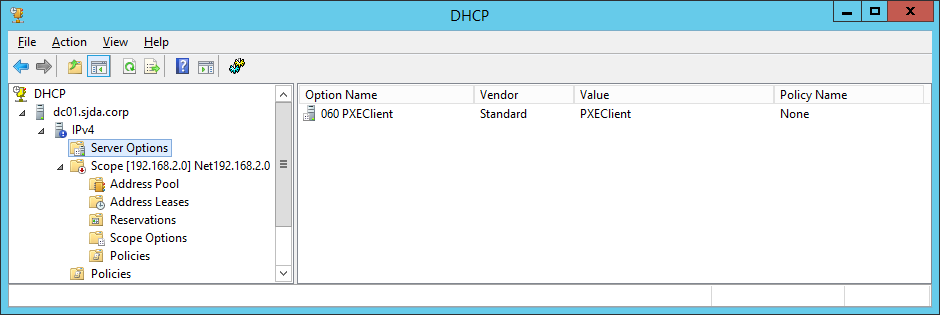
Once the wizard has completed, ensure the WDS service is started. If you have installed WDS on the same host where DHCP is installed, you should now see the PXEClient option under the Server Options from the DHCP management snap-in.
Your WDS server is now ready for integration with SCVMM. You can now add it to SCVMM.
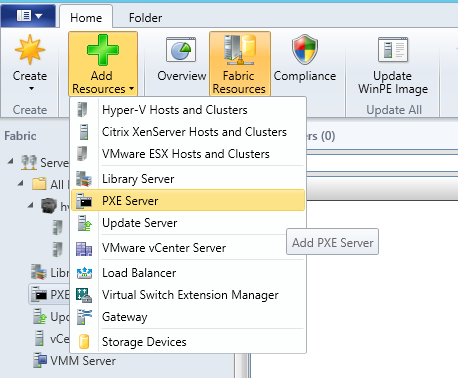
From the SCVMM Console, navigate to the Fabric workspace. From the ribbon, select Add Resources and then select PXE Server.
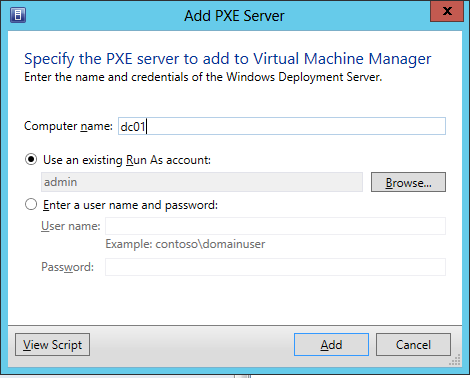
From the Add PXE Server window, add the PXE Server hostname and the Run As account. The Run As account needs to have local administrator privileges on the target PXE server.
You can check the SCVMM jobs log to ensure everything installed correctly. Once the PXE Server has been added to SCVMM, you will see the System Center Virtual Machine Manager Agent service added on the WDS / PXE Server
To ensure the VMM OSD (Operating System Deployment) provider has been integrated correctly with WDS, you run the following command from an elevated prompt on the WDS Server
wdsutil /get-server /show:config
Navigate to the WDS PXE Providers section. You should see the VMMOSDProvider at the top of that list like this:
WDS PXE Providers:
Name: VMMOSDProvider
Path: C:\RemoteInstall\DCMgr\bin\OSDPxeProvider.dll
Order: 1
Critical: Yes
Name: WDSDCPXE
Path: C:\Windows\system32\wdsdcpxe.dll
Order: 2
Critical: No
You are done! WDS is now ready for bare-metal deployment with SCVMM. In the next post, I will discuss how to develop a fully patched reference image for deployment.
Till next time.
Adiy