Build a test environment of SQL Server 2012 AlwaysOn Availability Group from scratch
Recently I started learn SQL Server 2012 AlwaysOn Availability Group (AG). After reading some online documents, I couldn't wait to create my own Availability Group to practice it. Meanwhile, I had lots of trials and failures and learned a lot of new knowledge, and that's why I want to share the process. If you are also new to AG and want to get your hands wet with it, just follow me:)
Overall, there are 3 steps.
- Install Windows Servers and setup a test domain.
- Setup a Windows Failover Cluster.
- Create an AlwaysOn Availability Group.
Why do I need to setup a test domain? Well, because the title contains words "from scratch". And, more importantly, I don't have permission to create failover cluster object on my corporate domain. I believe that's the common case for most of the developers in a big company. So, let's start the details with server and domain setup. If you already have 2 servers in the same domain ready to use, and you also have permission to create Failover Clusters, you can skip step 1.
1. Install Windows Servers and setup a test domain
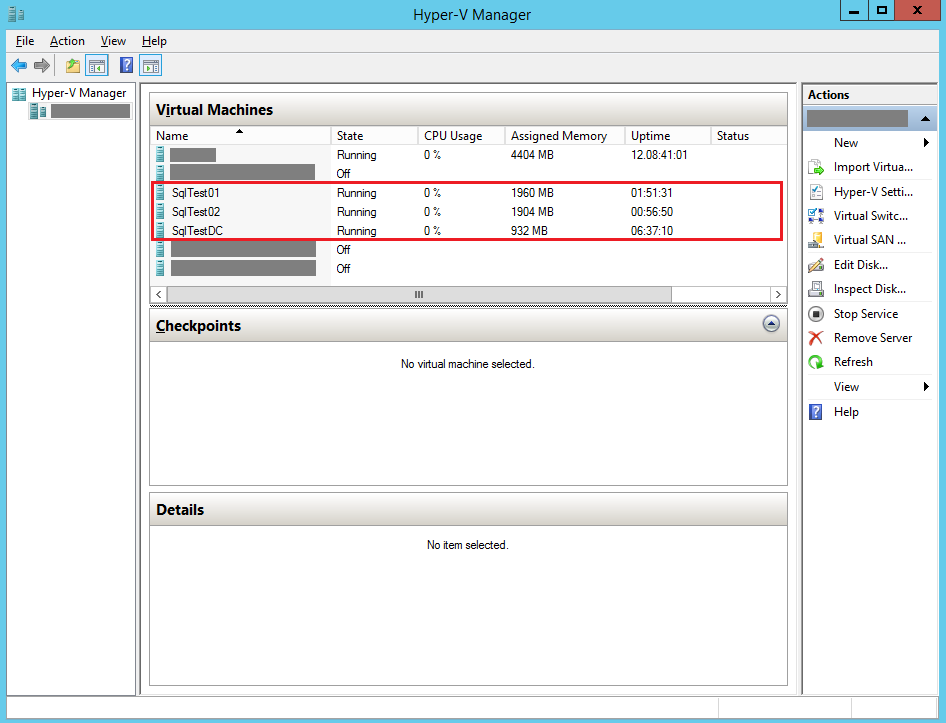
1.1. Install 3 servers with Windows Server 2012 R2 Datacenter edition. Name them SqlTestDC, SqlTest01 and SqlTest02. SqlTestDC is the domain controller, while SqlTest01 and SqlTest02 are the AG replicas. I host all these 3 servers on my Hyper-V server.
1.2 Create the test Active Directory forest on SqlTestDC. Log on SqlTestDC, start PowerShell as Administrator, and run the below commands.
 Get-WindowsFeature AD-Domain-Services | Install-WindowsFeature
Get-WindowsFeature RSAT-ADDS-Tools | Install-WindowsFeature
Import-Module ADDSDeployment
Install-ADDSForest -DomainName SqlTestDOM.contoso.com -DomainNetbiosName SqlTestDOM -DomainMode Win2012 -ForestMode Win2012 -DatabasePath "C:\Windows\NTDS" -SysvolPath "C:\Windows\SYSVOL" -LogPath "C:\Windows\NTDS" -InstallDns:$true -SafeModeAdministratorPassword $(ConvertTo-SecureString "<password>" -AsPlainText -Force) -NoRebootOnCompletion:$false -Force
You can replace the highlighted parts with your own values. For the password, make it complex enough, "V3RYstr0n9Pa$$w0rd" is a good example.
SqlTestDC will be rebooted automatically and after that, log on it by user SqlTestDOM\Administrator.
To learn more about the parameters in creating an Active Directory forest, refer to this help page: https://technet.microsoft.com/library/hh974720(v=wps.620).aspx. To learn more about the Windows feature identifiers, refer to this document: https://technet.microsoft.com/en-us/library/cc732757.aspx.
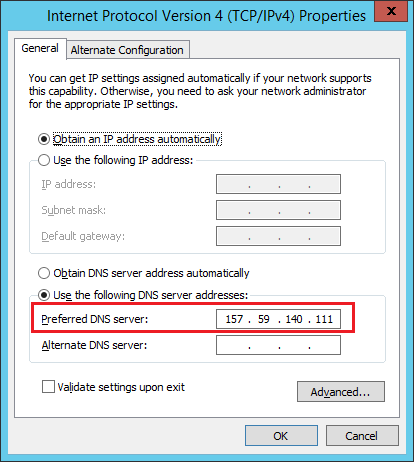
1.3 Change the DNS server for SqlTest01 and SqlTest02 to the IP address of SqlTestDC. Suppose that the IPv4 address of SqlTestDC is 157.59.140.111, then the DNS server address on SqlTest01 and SqlTest02 should be changed to 157.59.140.111.
1.4 Join SqlTest01 and SqlTest02 to SqlTestDOM.contoso.com domain. When prompt for credential, use SqlTestDOM\Administrator. After joined to SqlTestDOM.contoso.com domain, the System page of SqlTest01 should look like below screenshot. SqlTest02 is similar. 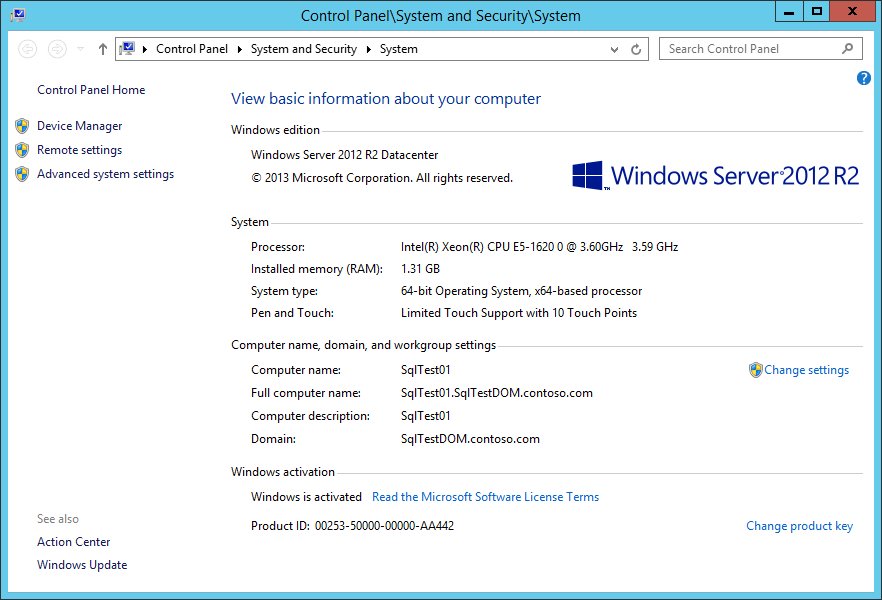
After restarting, log on to SqlTest01 and SqlTest02 as user SqlTestDOM\Administrator.
1.5 Turn off Windows Firewall on all the three servers. This is a shortcut to avoid connection failure when setting up AG. This is valid only on test servers. On your production servers, open required ports instead.

2. Setup a Windows Failover Cluster
2.1 Install Failover Clustering feature on SqlTest01 and SqlTest02. In Server Manager, click Add Roles and Features, and check Failover Clustering feature and click Next and then Install.

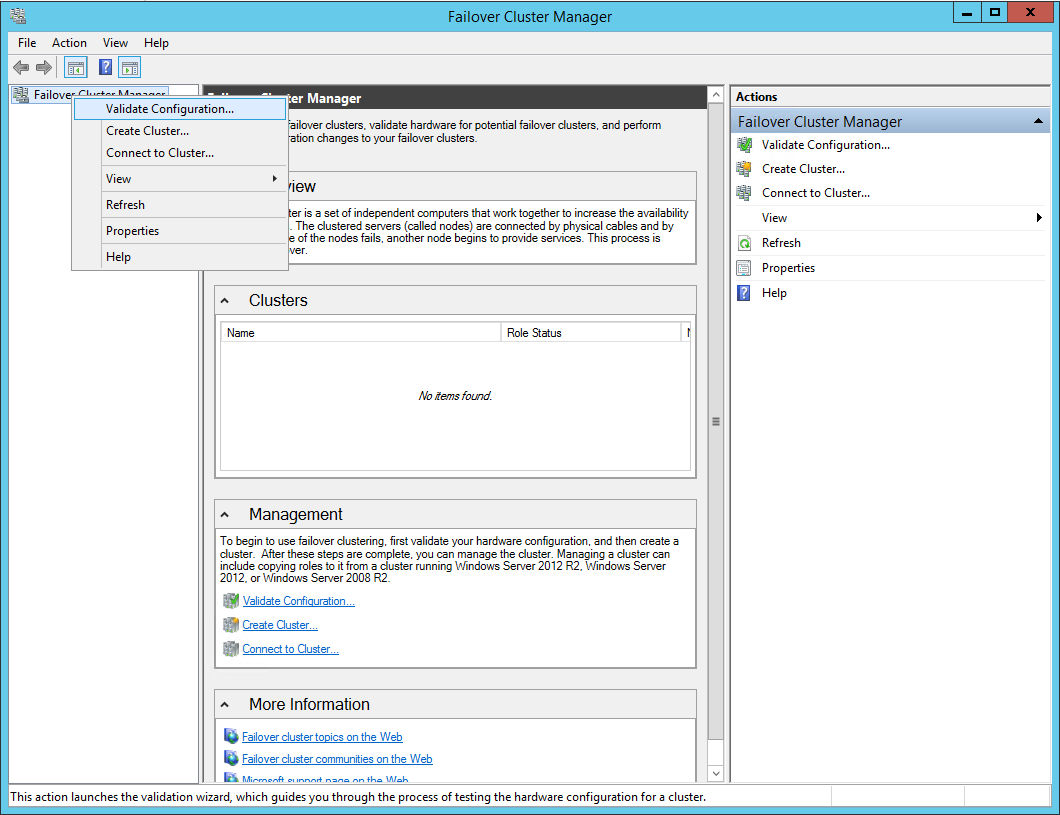
2.2 After Failover Clustering feature is installed on SqlTest01 and SqlTest02, go to SqlTest01 and open Failover Cluster Manager. Right click Failover Cluster Manager node, and select Validate Configuration... .
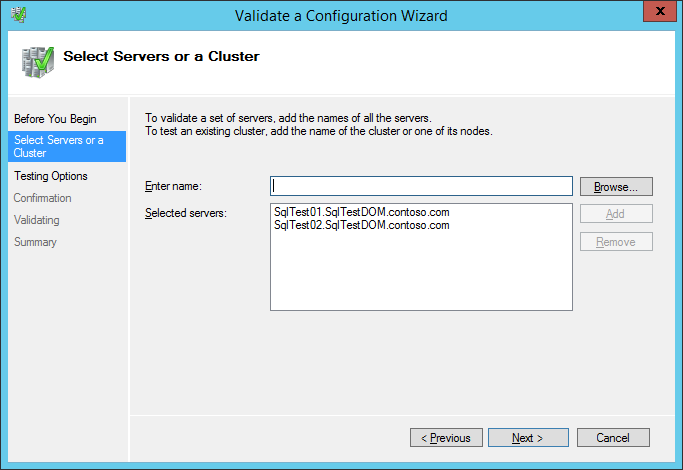
2.3 Follow the Validate a Configuration Wizard. Add SqlTest01 and SqlTest02 to Selected servers, and click Next.
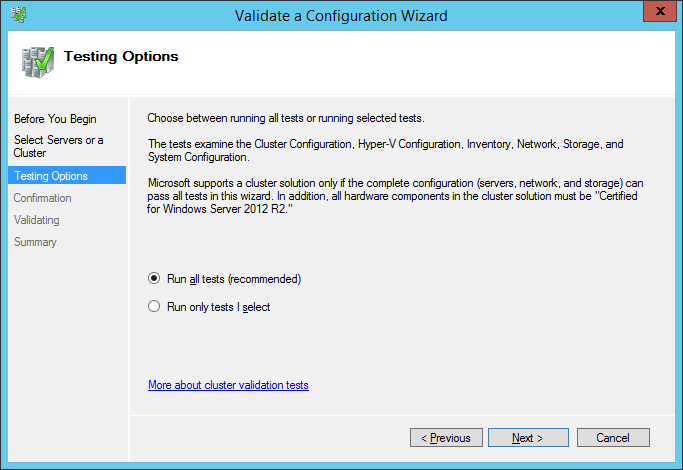
2.4 Select Run all tests (recommended) in Testing Options page and press Next, and Next again on the Confirmation page.
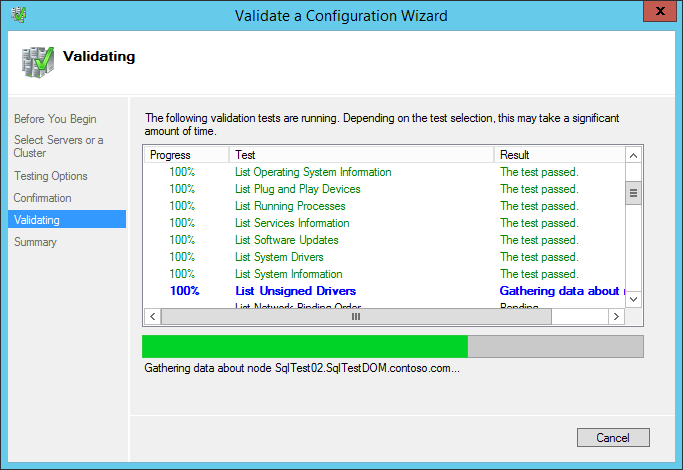
2.5 Now tests are running to validate the failover cluster.
2.6 The validation summary will be shown shortly. Click View Report... to check if there is any error.
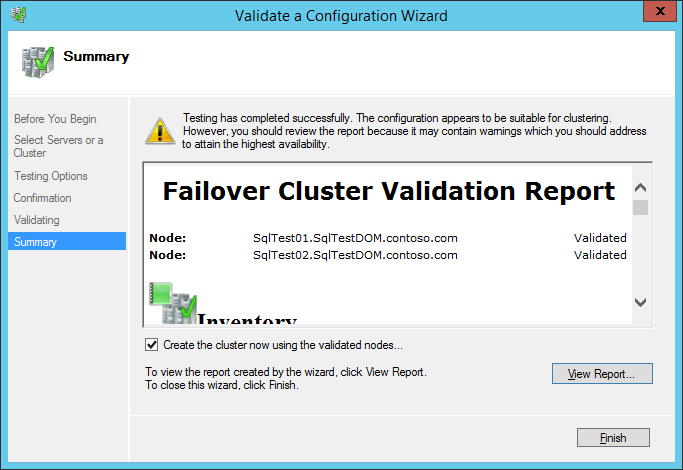
In the validation report I got, there are several warnings, which relate to network and disk. They are not critical. So I just move on with Failover Cluster creation. Here is the validation report I got https://msdnblog.blob.core.windows.net/sqlag/FailoverClusterValidationReport.mht
2.7 Make sure that Create the cluster now using the validated nodes... is checked on the summary page above. Click Finish to create the Windows Failover Cluster.
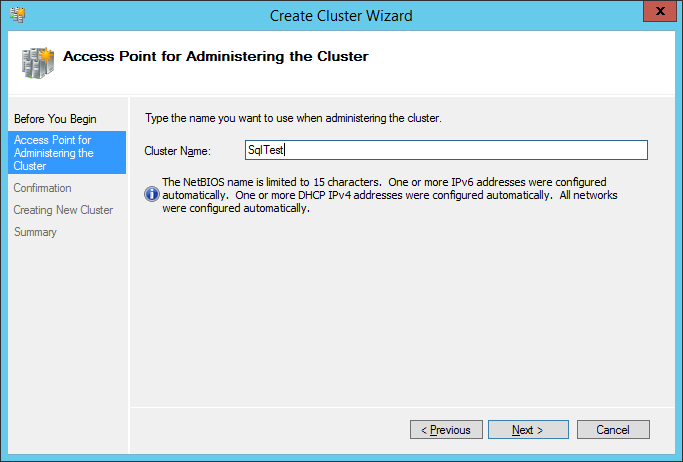
2.8 Follow Create Cluster Wizard. On Access Point for Administering the Cluster page, input your desired Cluster Name. I use SqlTest. Click Next.
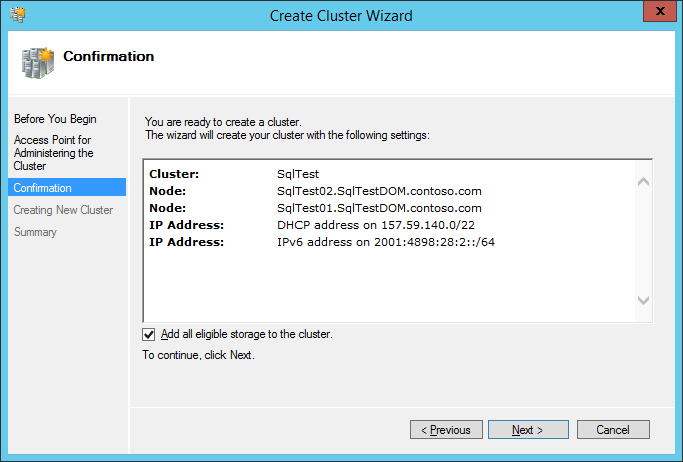
2.8 On the Confirmation page, make sure that Add all eligible storage to the cluster is checked, and click Next.
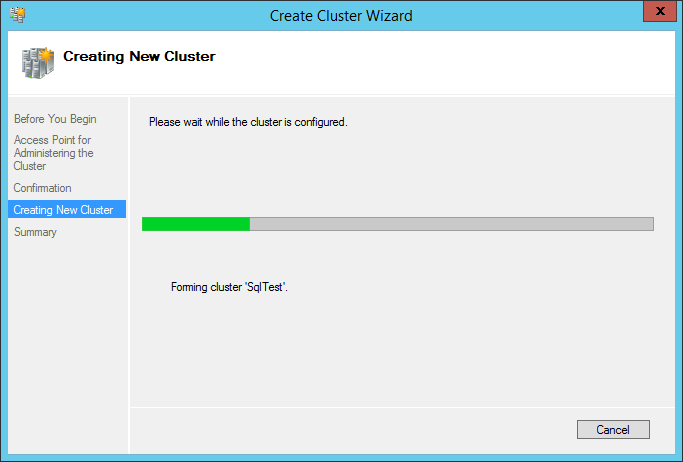
2.9 Now Create Cluster Wizard is creating the new cluster for you.
Wait for a while and you will be told that "You have successfully completed the Create Cluster Wizard". Click View Report... to view the report, and then click Finish to dismiss the wizard. Here is the report that I got https://msdnblog.blob.core.windows.net/sqlag/CreateClusterSummaryReport.mht 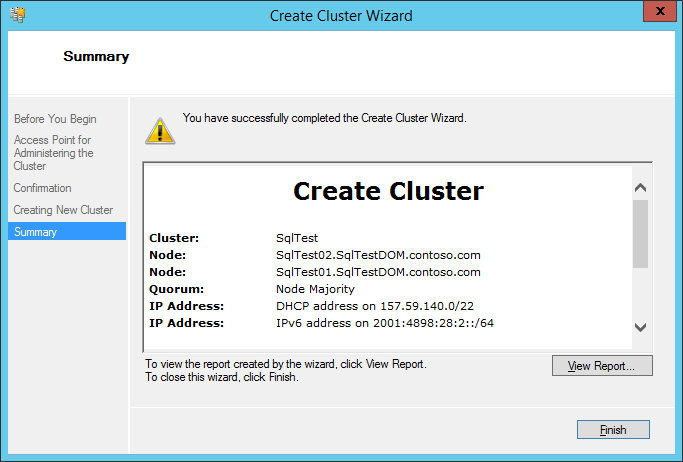
Congratulation! Now you have created a failover cluster! One big step closer to the success of Availability Group creation:)
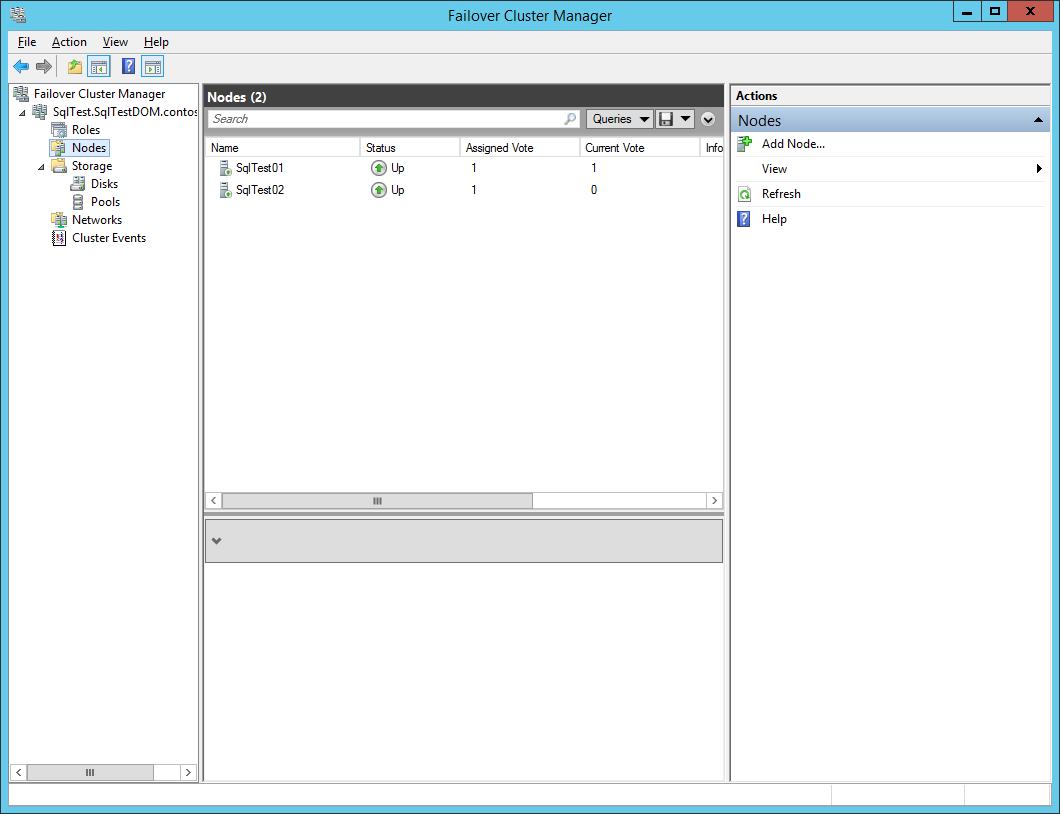
2.10 Now you can view the cluster SqlTest.SqlTestDOM.contoso.com in Failover Cluster Manager, on both SqlTest01 and SqlTest02. And SqlTest01 and SqlTest02 are in the Nodes of the failover cluster. Note that we only finished the Create Cluster Wizard on SqlTest01.
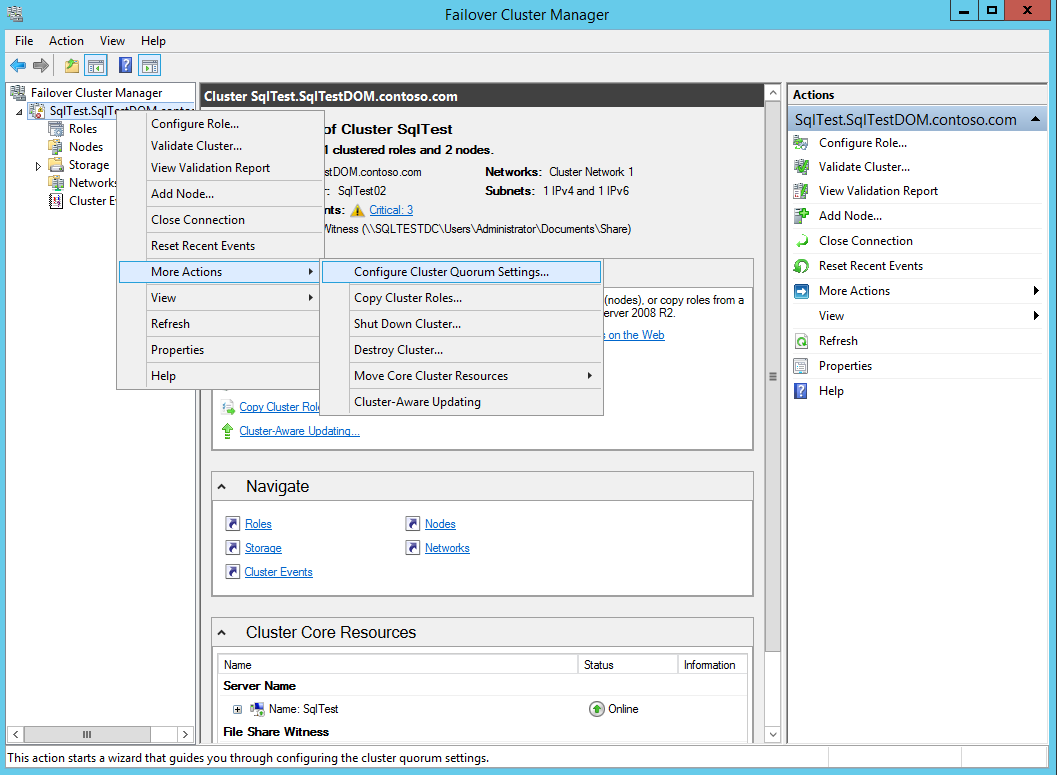
2.11 (Optional) add a file share quorum to the failover cluster. It is necessary if you want your AG to support failover with data loss. Right click on the cluster name SqlTest.SqlTestDOM.contoso.com, and select More Actions > Configure Cluster Quorum Settings.
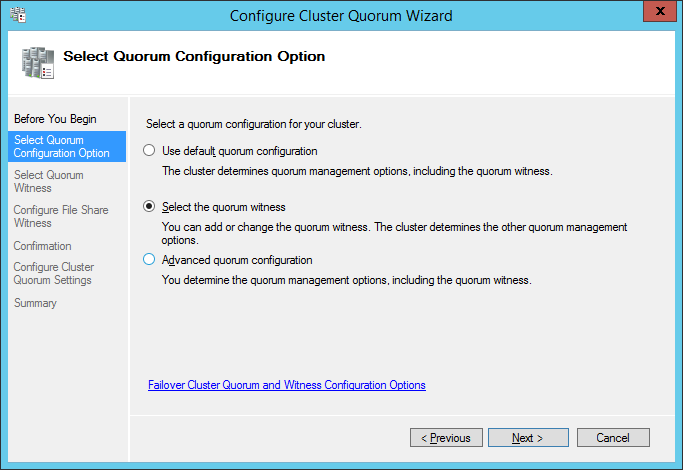
Follow the Configure Cluster Quorum Wizard.
On Select Quorum Configuration Option page, choose Select the quorum witness, and click Next.
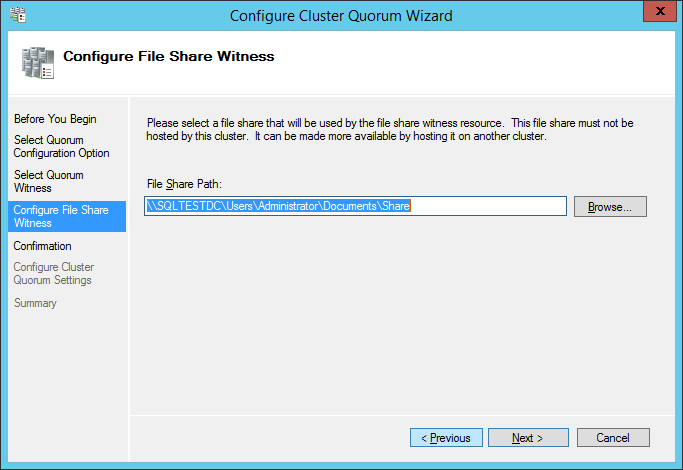
Create a share folder on SqlTestDC, and make sure Read/Write permissions are granted to SqlTestDOM\Administrator. Input the File Share Path on Configure File Share Witness page. I use \\SQLTESTDC\Users\Administrator\Documents\Share .
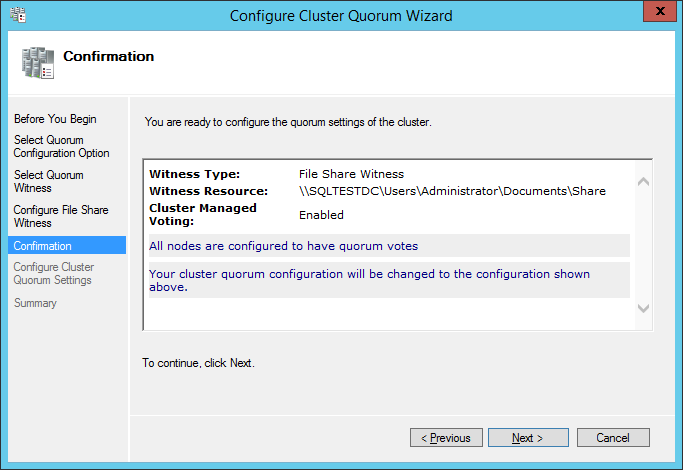
Click Next on Confirmation page.
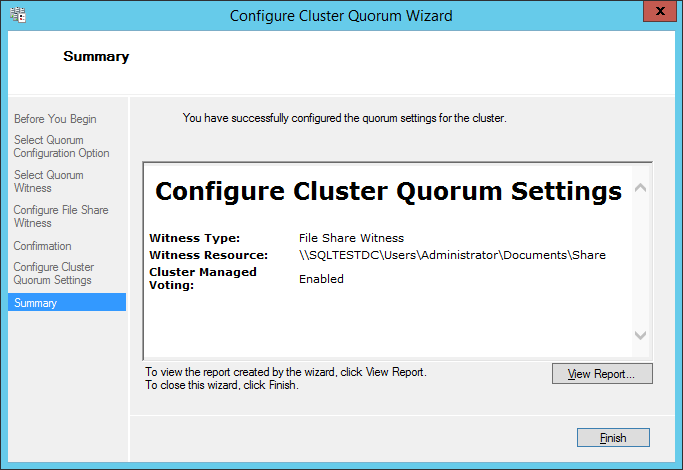
You will be told that "You have successfully configured the quorum settings for the cluster" shortly.
We are done with the failover cluster creation and configuration at this moment. Let's move on to SQL Server installation and AG creation, which is the most exciting part!
3. Create an AlwaysOn Availability Group
3.1 Install SQL Server 2012 Enterprise Edition on SqlTest01 and SqlTest02. According to "Features Supported by the Editions of SQL Server 2012" (https://msdn.microsoft.com/en-us/library/cc645993.aspx), SQL Server 2012 Enterprise Edition is the only choice.
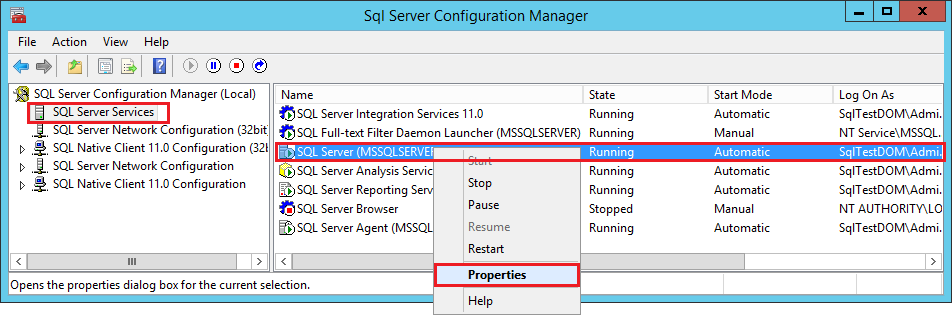
3.2 After installation of SQL Server 2012 Enterprise Edition, change the Log On account of SQL Server to SqlTestDOM\Administrator. To do so, open SQL Server Configuration Manager, choose SQL Server Services, and right click SQL Server (MSSQLSERVER) , choose Properties in the context manual.
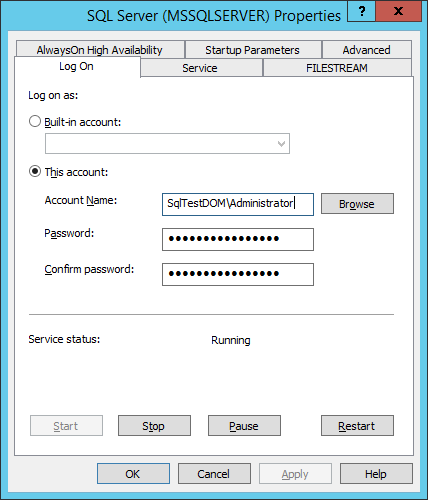
Under Log On tab, select This account: , and input SqlTestDOM\Administrator and its password.
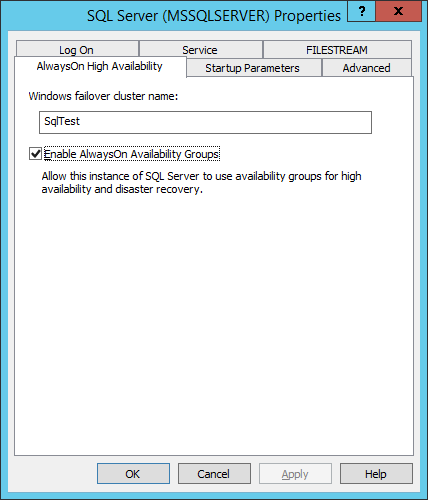
3.3 Verify that the AlwaysOn Availability Group is enabled on SqlTest01 and SqlTest02. To do so, open SQL Server Configuration Manager, choose SQL Server Services, and right click SQL Server (MSSQLSERVER) , choose Properties in the context manual, and SQL Server (MSSQLSERVER)\Properties. Under AlwaysOn High Availability tab, ensure that the Enable AlwaysOn Availability Groups check box is checked.
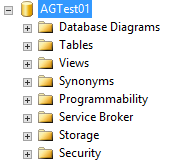
3.4 Connect to SQL Server engine on SqlTest01 via SQL Server Management Studio. Create a database on SqlTest01. Name it AGTest01.
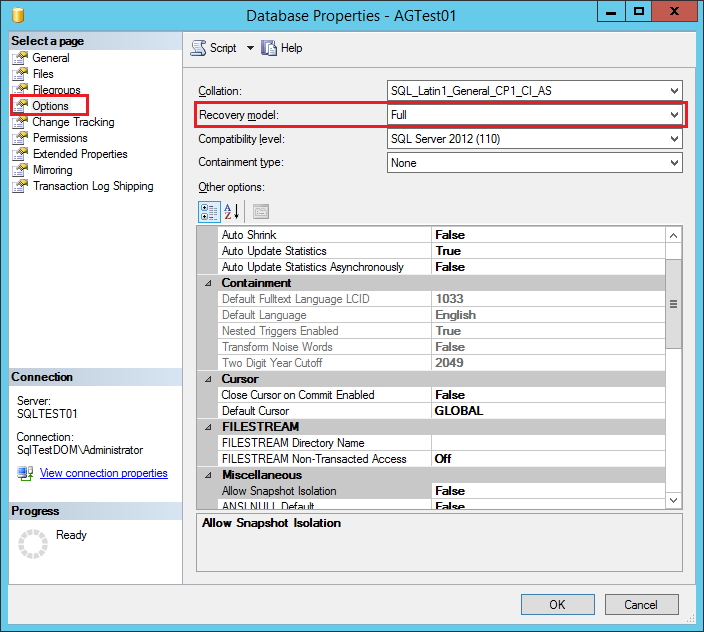
3.5 Right click database node AGTest01, click Properties… , and go to Options page. Change the Recovery model to Full.
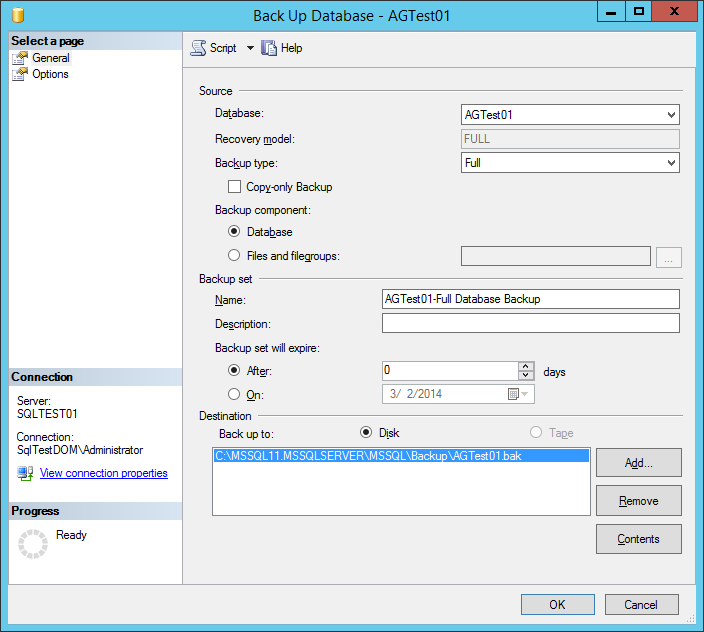
3.6 Create a full backup for AGTest01. Right click database node AGTest01, click Task > Back Up… . Leave the settings on Back Up Database - AGTest01 as their default values, and click OK. When prompted that the backup was created successfully, click OK to dismiss.
3.7 Finally, we are ready to create the first Availability Group. Whew...
On SqlTest01, right click AlwaysOn High Availability, and click New Availability Group Wizard… .

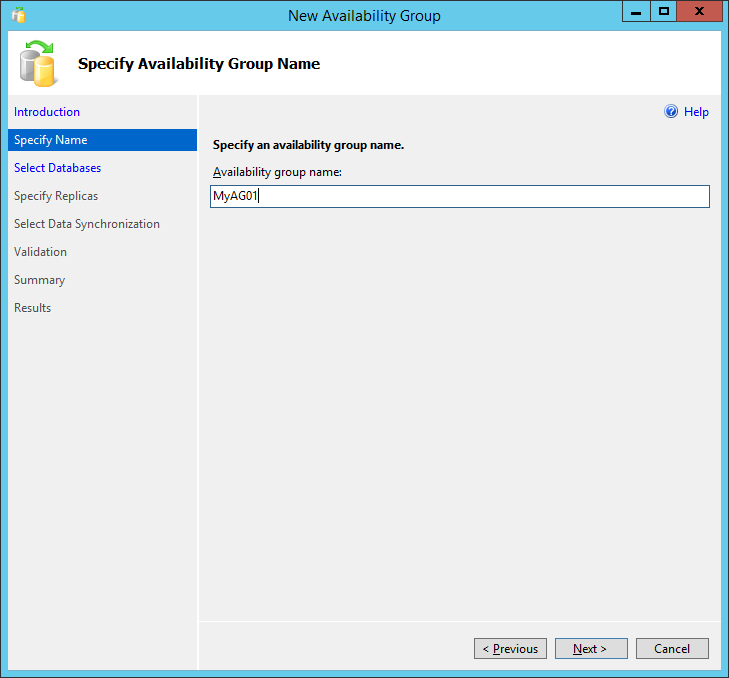
On the Specify Name page, insert the Availability group name that you like. I will call it MyAG01.
Check database AGTest01 on Select Databases page. Only databases with Full Recovery Model and a full back up meet the requirements to join an Availability Group.

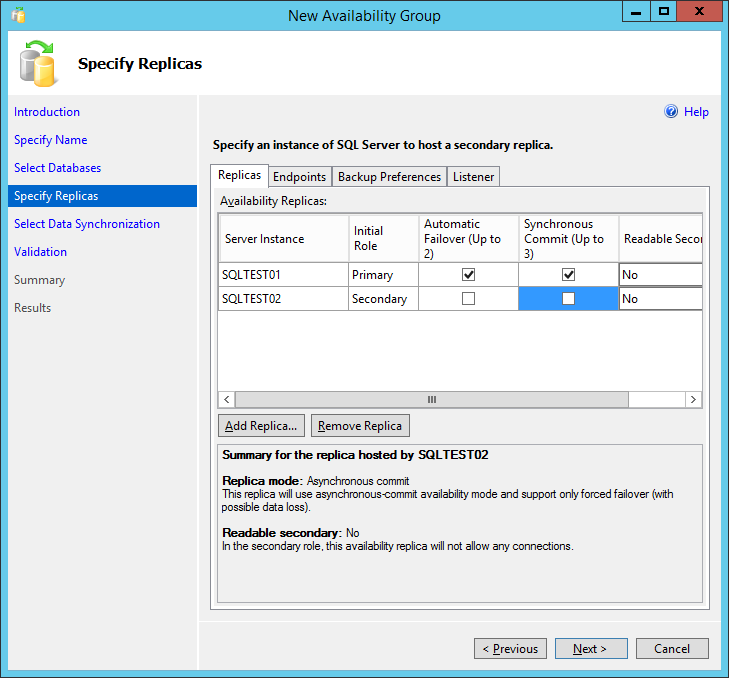
On Specify Replica page, add SqlTest01 and SqlTest02 to Replicas tab. Don't worry about the Automatic Failover and Synchronous Commit settings at this moment. You will be able to configure them after the AG is created.
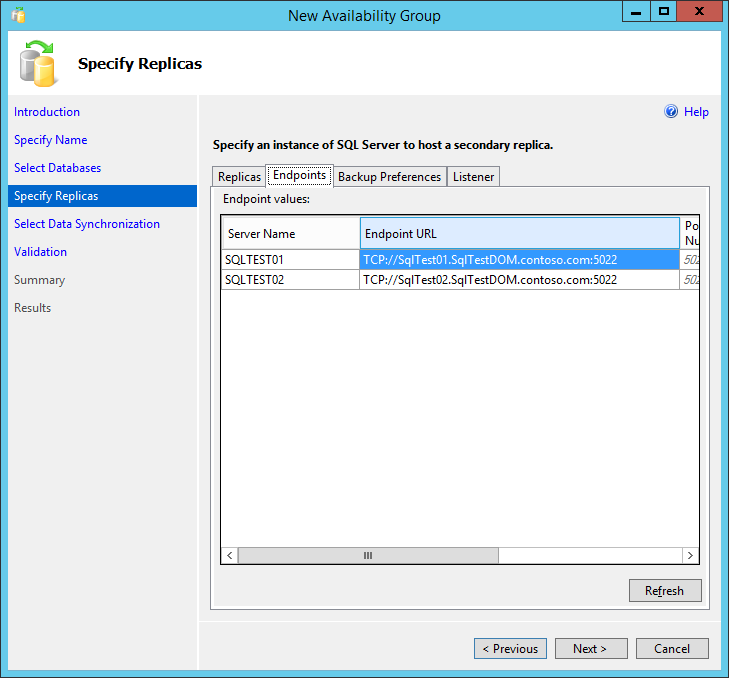
Make sure that the Endpoint URLs in Endpoints tab are using port 5022.
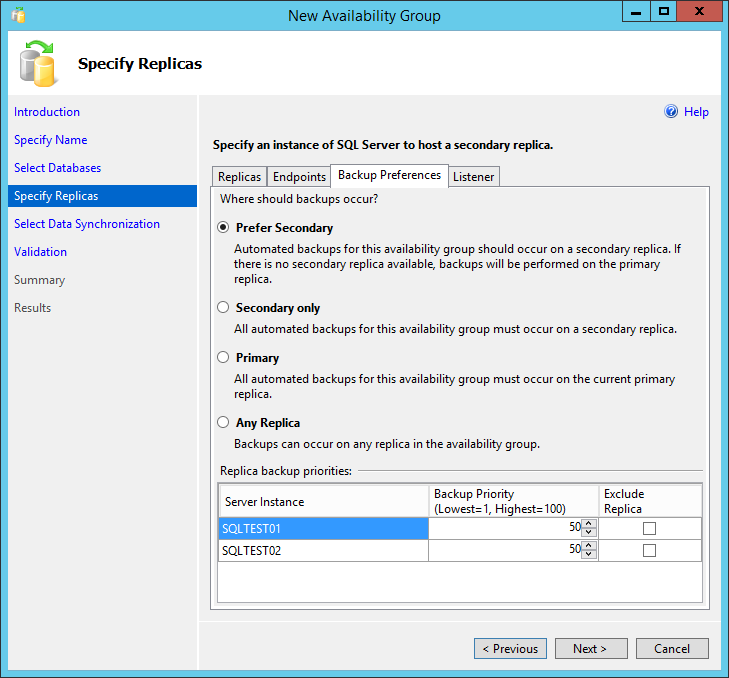
Leave the default settings in Backup References tab unchanged.
On Listener page, input the Listener DNS Name you like (I use MyAG01), input 1433 as Port, DHCP as Network Mode, and choose the IPv4 subnet. I choose to use DHCP because I don't have the permission to reserve a static IP address in the DHCP server.

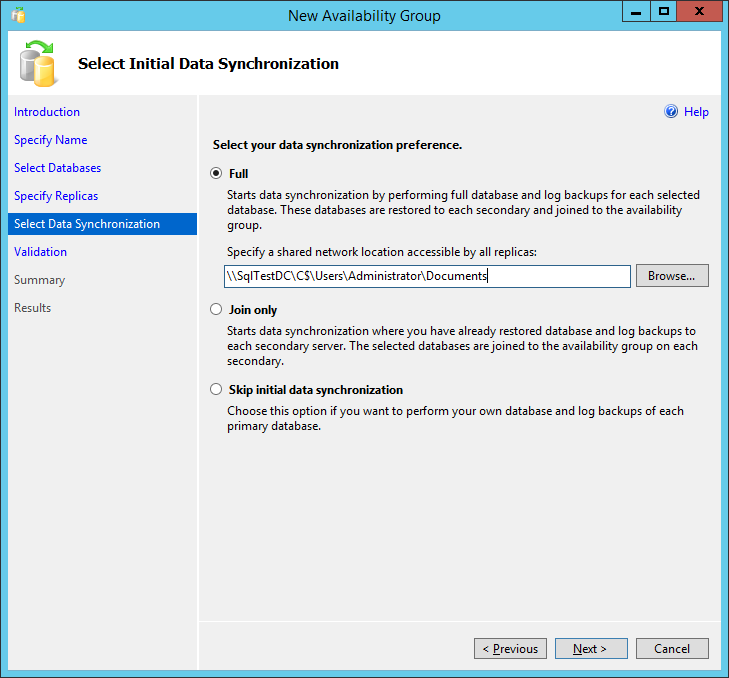
On Select Data Synchronization page, choose Full and specify a shared network location. I use a share folder on SqlTestDC, but you can use anyone as long as the SQL Server service account has read and write permissions to that share folder.
Run validations on Validation page. Make sure there is no error.

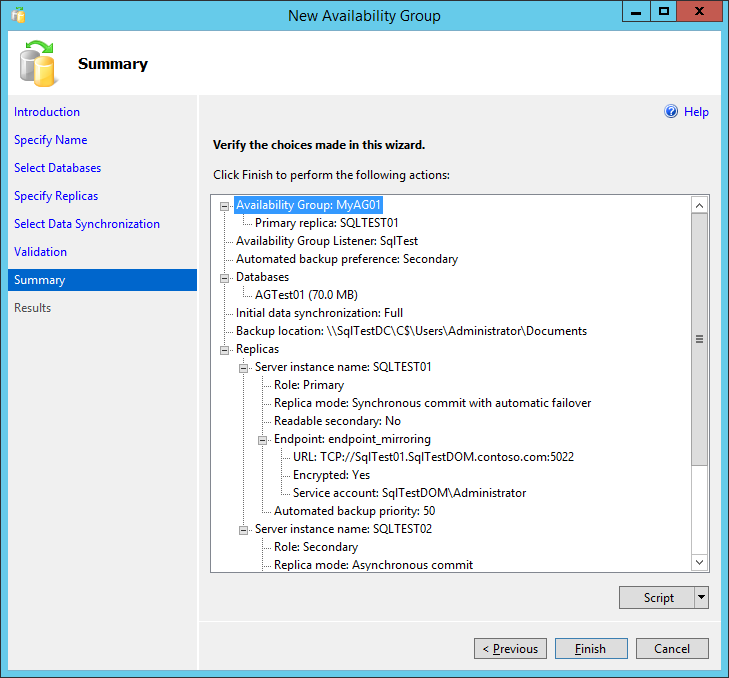
On Summary page, you can get the SQL script to create the AG by clicking Script > File... . Here is the script that I got https://msdnblog.blob.core.windows.net/sqlag/NewAvailabilityGroup.sql.
Click Finish.
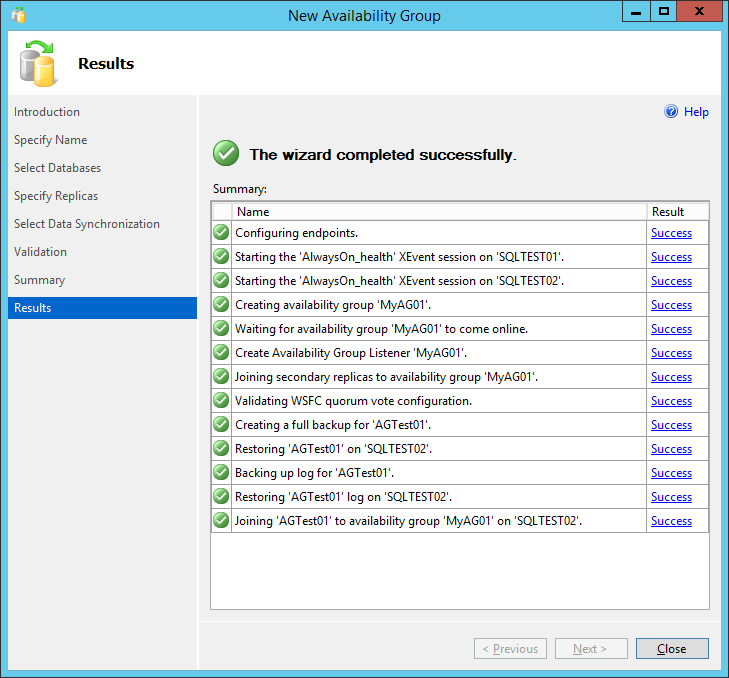
Wow! You have successfully created your first Availability Group! Click Close on the Results page.
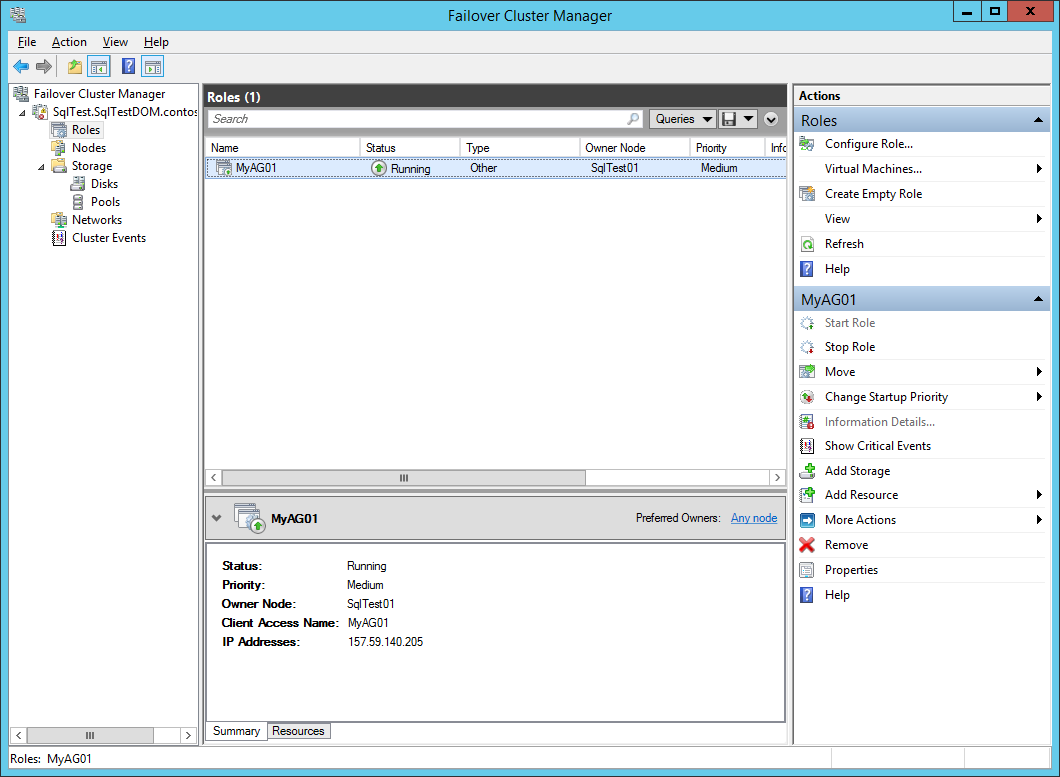
3.8 If you go to the Failover Cluster Manager on SqlTest01 and SqlTest02, you will find that there is an entry named MyAG01 created automatically under the Nodes of the failover cluster SqlTest.SqlTestDOM.contoso.com. The name MyAG01 matches the one we specified for Listener DNS Name when we created the AG.
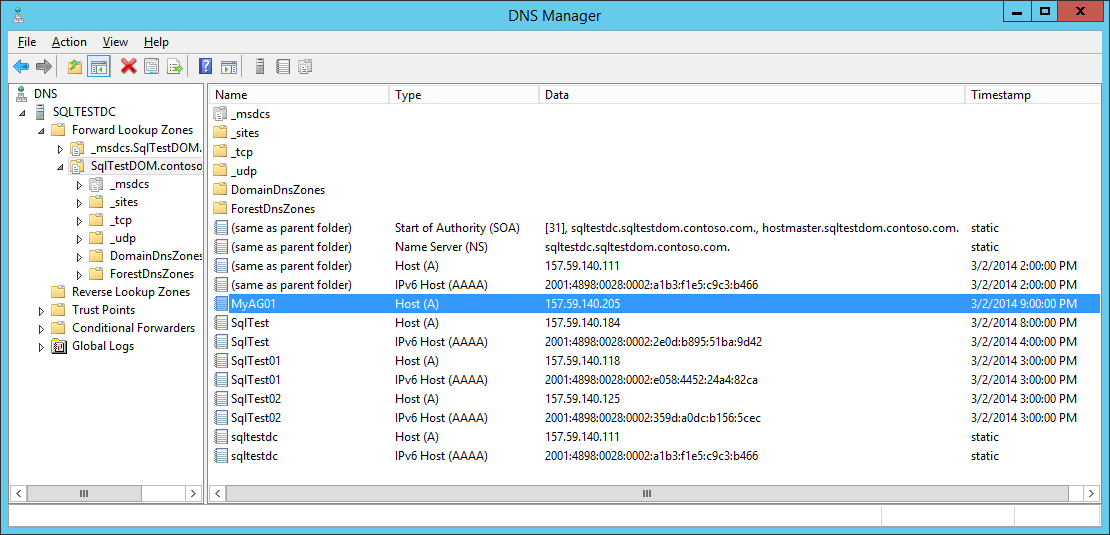
3.9 Open DNS Manager on SqlTestDC, and you will find a new Host (A) has been created automatically. Its name, MyAG01, matches the Listener DNS Name when we used when creating the AG.
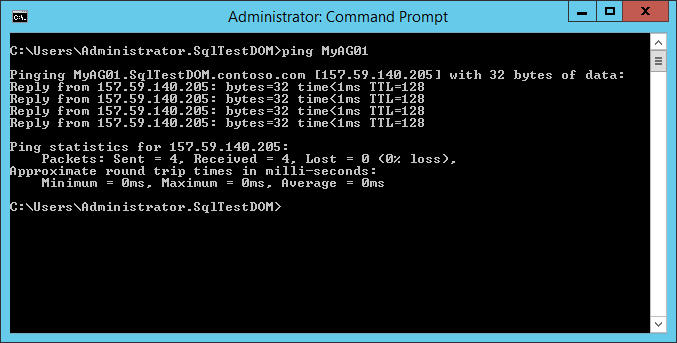
3.10 You can ping MyAG01 within your local network. The ping can succeed only when the Primary replica is alive. That means it is the primary replica server that is responding.
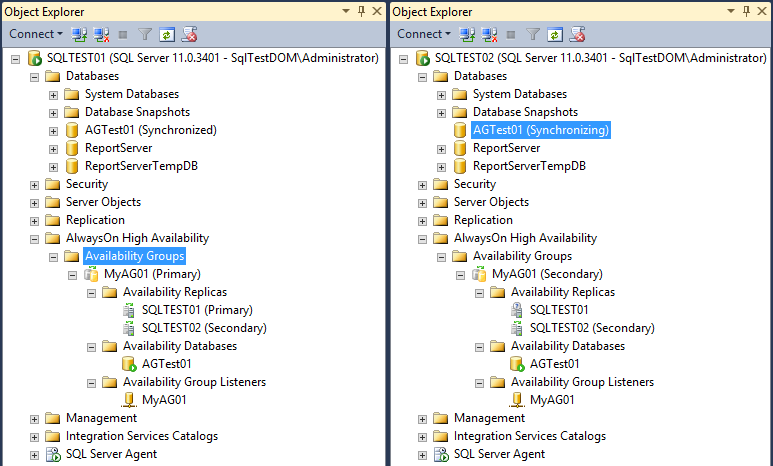
3.11 View SqlTest01 and SqlTest02 from SQL Server Management Studio. Note that SqlTest01 is the Primary server in the AG, while SqlTest02 is the Secondary.
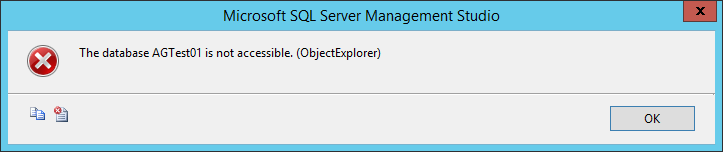
3.12 If you attempt to expand the database node AGTest01 on SqlTest02, you will get an error that "The database AGTest01 is not accessible." That is because Readable Secondary is set to "No" for SqlTest02.
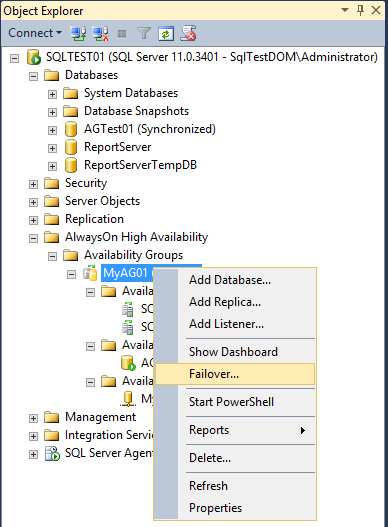
3.13 Let's do a failover now. On SqlTest01, right click the node MyAG01 (Primary), and select Failover... .
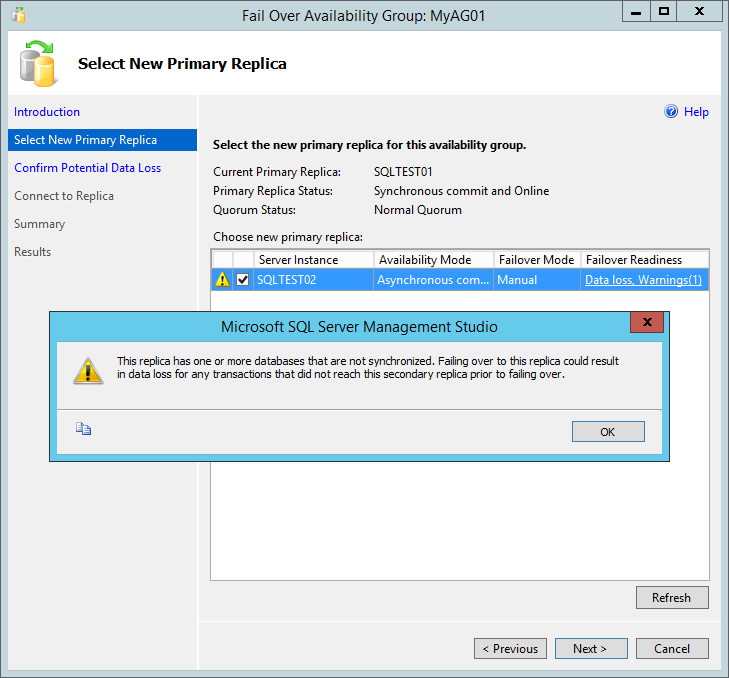
On the Select New Primary Replica page, you will see a warning. By clicking Data loss, Warnings(1) , the details of the warning is displayed. It complains about that replica SqlTest02 has some databases that are not synchronized. That's because we left the Synchronous Commit box unchecked on the Specify Replica page in step 3.7. Although it is still possible to do a failover with data loss, let's cancel the failover now. Click the Cancel button.
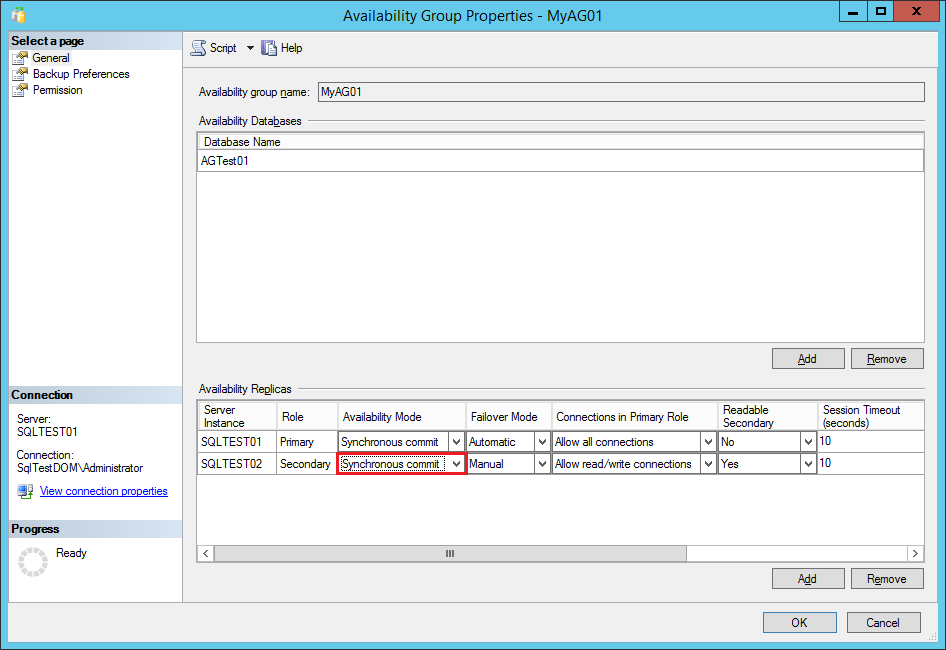
3.14 Right click the AG node MyAG01 (Primary) on SqlTest01. On the General page, change the Availability Mode to Synchronous commit for SqlTest02. Click OK.
3.15 Now, if you try to failover again, there will be no warnings.
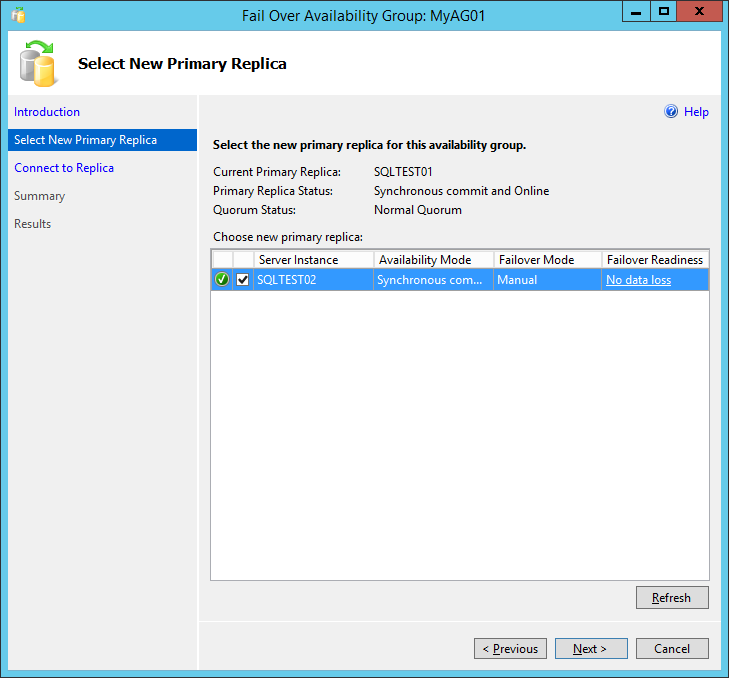
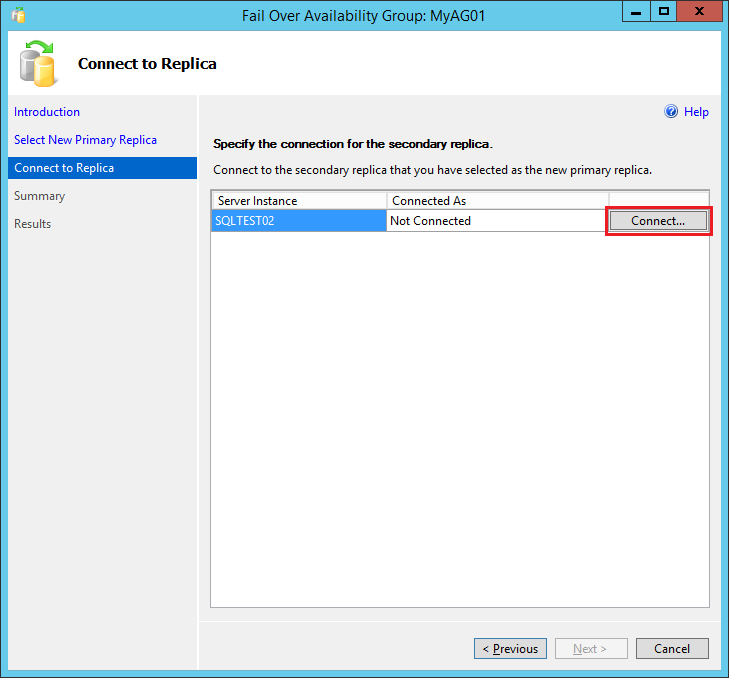
Click Next. On Connect to Replica page, click Connect... and connect to SqlTest02 with account SqlTestDOM\Administrator. The Next button is not enabled until you are able to connect to SqlTest02.
On the Summary page, you can save the SQL script for AG failover by selecting File > Script... . Here is the script I got https://msdnblog.blob.core.windows.net/sqlag/AGFailover.sql 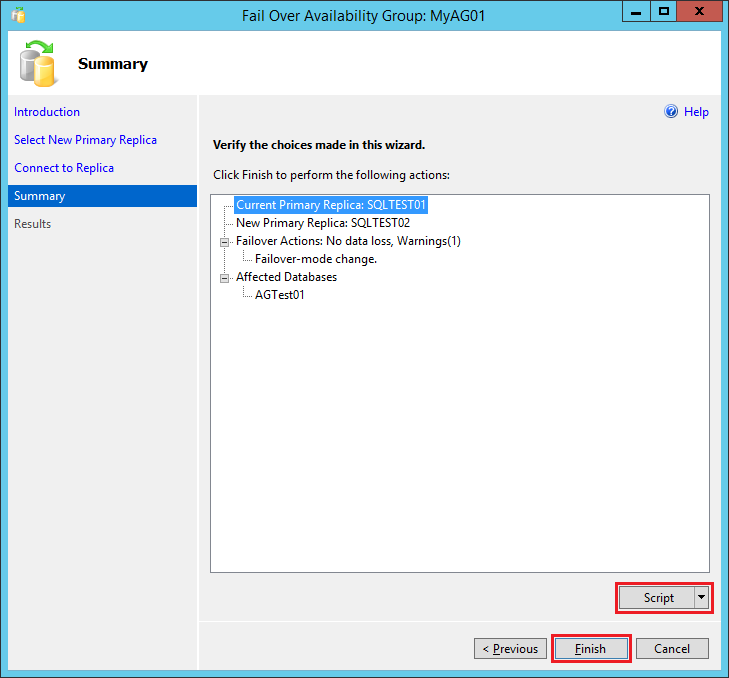
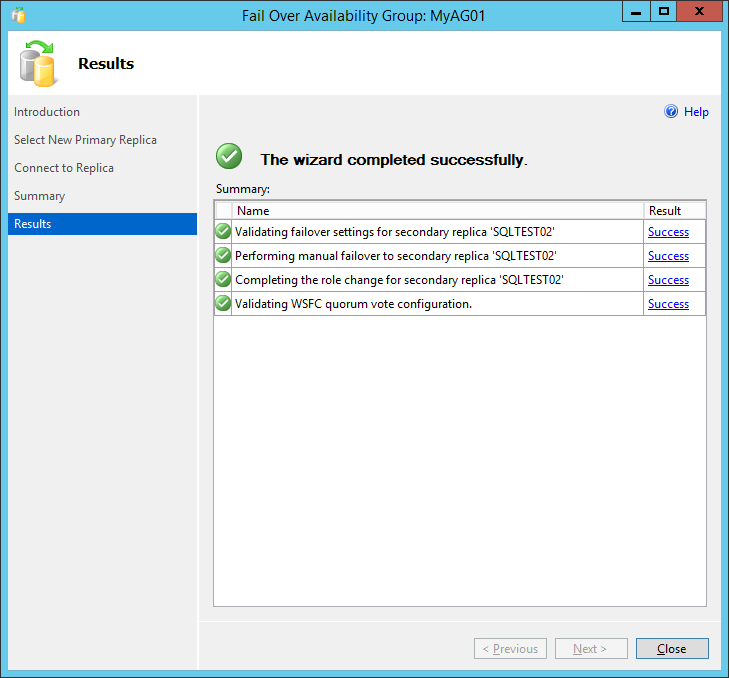
Click Finish and the failover will complete shortly.
3.16 Let's write some C# code to connect to the database in AG MyAG01. Assume that you've created a table called Table1 in database AGTest01.
 public static void Main(string[] args)
{
 string connectionString = "Data Source=MyAG01;Initial Catalog=AGTest01;Connection TimeOut=60;Max Pool Size=1000;Integrated Security=SSPI;persist security info=False";

 using (SqlConnection connection = new SqlConnection(connectionString))
 {
 connection.Open();
 Console.WriteLine("DataSource: {0}", connection.DataSource);

 using (SqlCommand sqlCommand = connection.CreateCommand())
 {
 sqlCommand.CommandText = "SELECT * FROM Table1";
 sqlCommand.CommandType = CommandType.Text;

 sqlCommand.ExecuteReader();
 }
 }
 }
Run this application on SqlTestDC, and you will see the output is "MyAG01", i.e., the Listener DNS name. BTW, that is different from SQL Mirroring, in which the DataSource is the current principal server.
3.17 Now you can play with Availability Group by yourself. Try various Availability Modes, Failover Modes, replica readability settings, adding more databases and/or more replicas, etc. Before that, don't forget to take a checkpoint for the servers, so that you can rollback to the current status easily. Enjoy!