Display XML content in a publishing site when using the custom XML indexing connector for SharePoint 2013
In our blogpost “Create a custom XML indexing Connector for SharePoint 2013” we showed you how to set up the custom XML connector, make some simple content, and feed & index this. In this blog we will show you how to surface these items in a publishing site including a navigation structure that will look much like if the data where originating from a product catalog.
So at this point you have set up the XML connector, created and mapped the manage property ItemCategoryText , and crawled your XML data from your local directory, so everything is indexed and ready to be fetched by search.
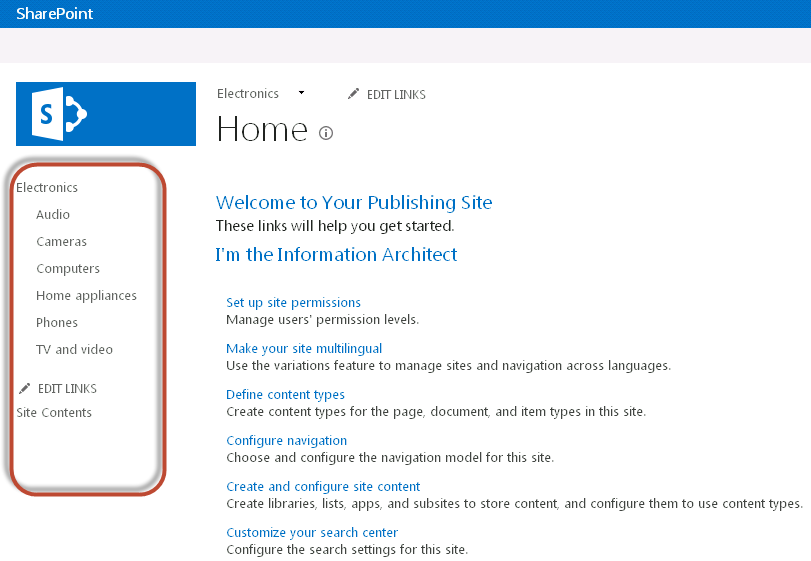
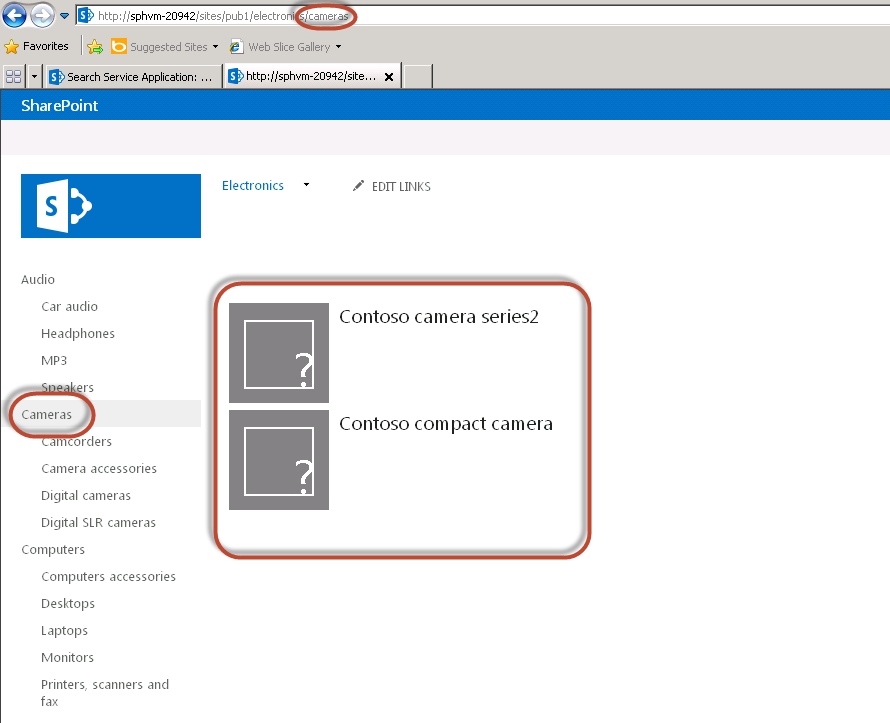
The publishing site, on which you want to display this content, uses managed navigation By specifying a query in a Content Search Web Part that contains terms from your managed navigation term set, you can display indexed items that are associated with each term. To do this, a field in the .xml file has to have the same value as a term in the term set that drives your managed navigation. In our sample .xml file, the field ItemCategoryText contains this value. This value specifies to which term in the term set the entry belongs. For example, for the item with the title “Contoso series2”, the value for ItemCategoryText is “Cameras”.So, when users navigate to the "Cameras" page on the publishing site, the Content Search Web Part can display all entries that have the value "Cameras" for ItemCategoryText (I will show you how to specify the query in the Content Search Web Part later in this blog).
To create a publishing site
The next step is to create a publishing site where the .xml data should be displayed.
- On the home page of the SharePoint Central Administration website, in the Application Management section, click Create site collections.
- On the Create Site Collection page, enter a title and URL for the site collection.
- In the Template Selection section, click the Publishing tab, and select the template Publishing Portal template.
To import a term set to the publishing site
By default, a publishing portal site collection uses managed navigation. You will use the ImportTaxonomy PowerShell script to import the term set as defined in the Taxonomy file. This term set will then be set to drive managed navigation on the publishing portal.
- Right click on the file ImportTaxonomy, and select Run with PowerShell.
- At the prompt, type the URL of the newly created publishing site.
- To verify that the term set has been added to the navigation, open a browser and navigate to your publishing site.
To create a new page and associate it with the terms driving managed navigation
- In your publishing site collection, navigate to Site content, and Pages.
- Click on the Files tab, and select New Document and Article page.

- Give it a Title, e.g. Rollup page 1. The page URL will automatically be filled in.
- For the Page layout, choose (Catalog-item-reuse) Blank catalog Item.
- Click Create.
You now need to associate this page with the term set you have created.
- In Site settings, Term store management, expand the site collection node.
- Click on Site navigation and click the Term-driven pages tab.
- Select the Target Page Settings checkbox, and use Browse to find your recently created page (Rollup-page-1).
- Click Save.
You now have an empty page associated to all your terms in your navigation tree.
To set query in a Content Search Web Part to display the .xml content
- Navigate to the newly created page by clicking on “Cameras”.
- Click the Settings menu, and Edit Page.
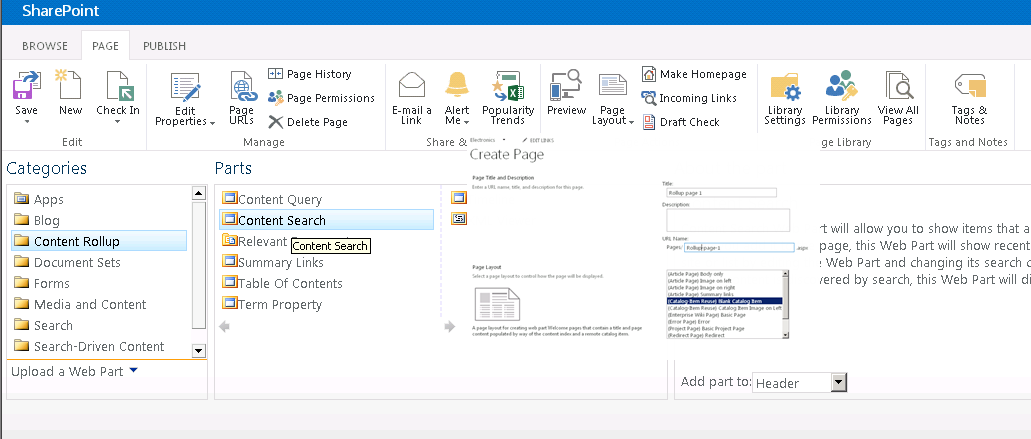
- In the Web Part Zone, click Add a Web Part.
- In the Categories section, click Content Rollup. In the Parts section, click Content Search, and then click Add.
- Click Edit Web Part. In the Web Part tool pane, in the Properties section, click Change query.

- In the Web Part query builder, click Switch to advanced mode.
- In the Query text section, type ItemCategoryText={URLToken.1}
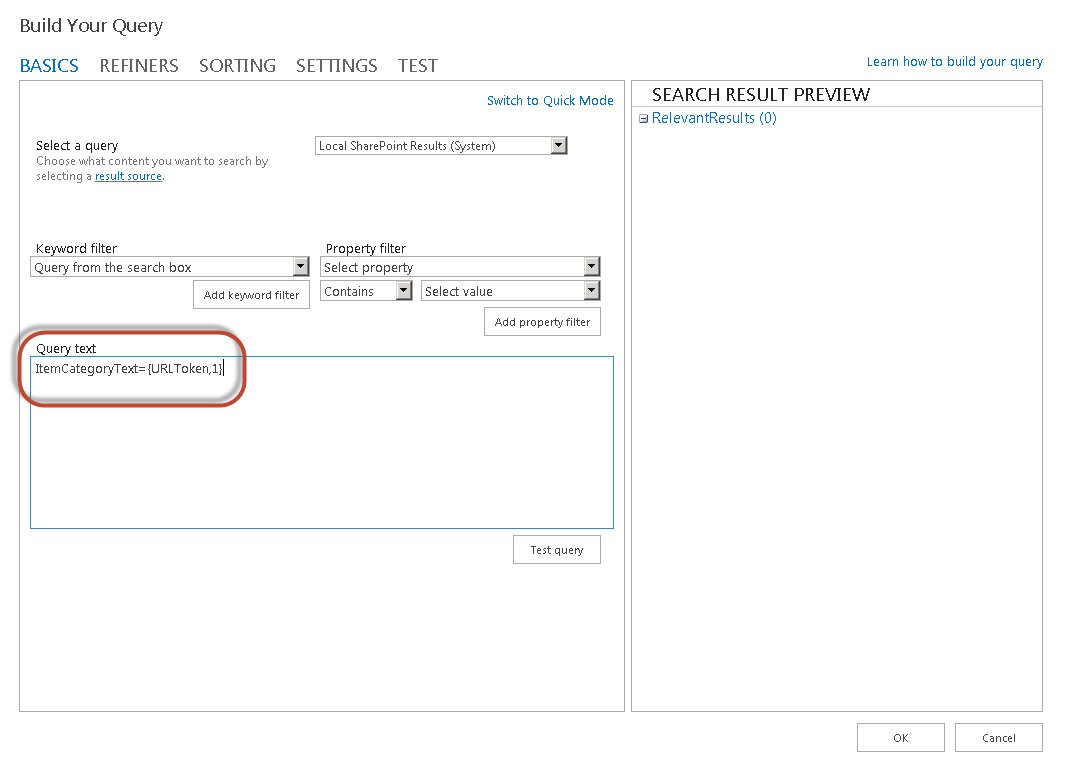
When this query is run (i.e. when a user clicks on this page), the variable {URLToken.1} is replaced with the last property in the URL.
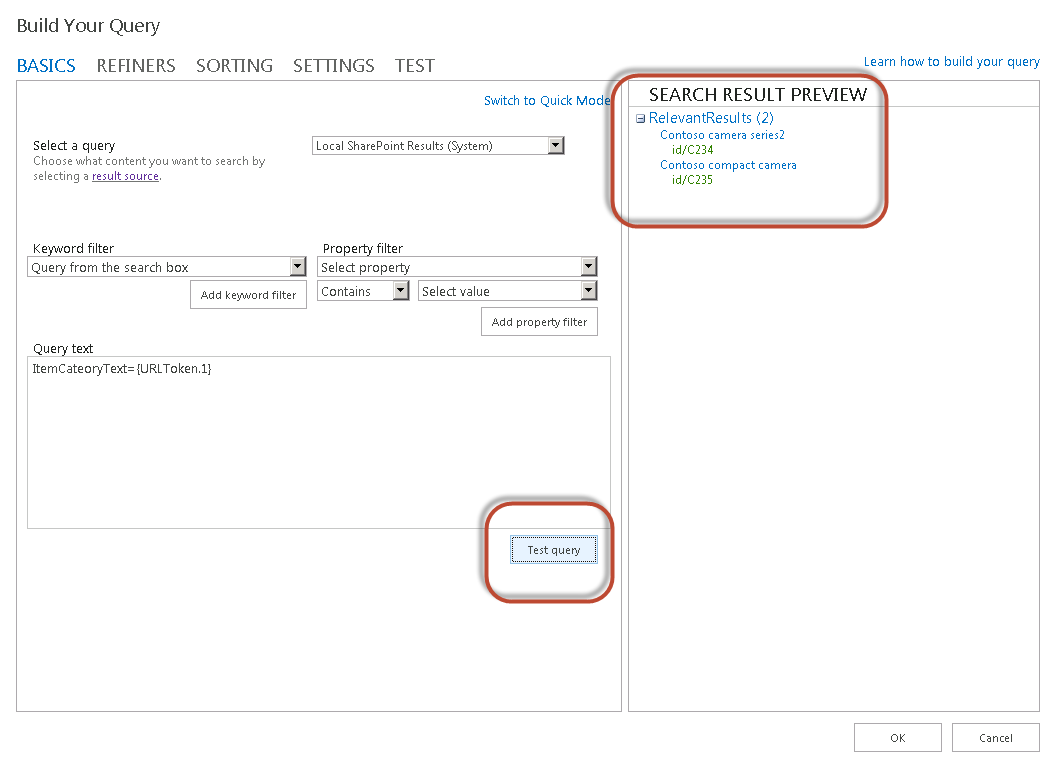
- To see how the query will resolve, click Test Query.
- Save your work, and return to your main page and click on Cameras.
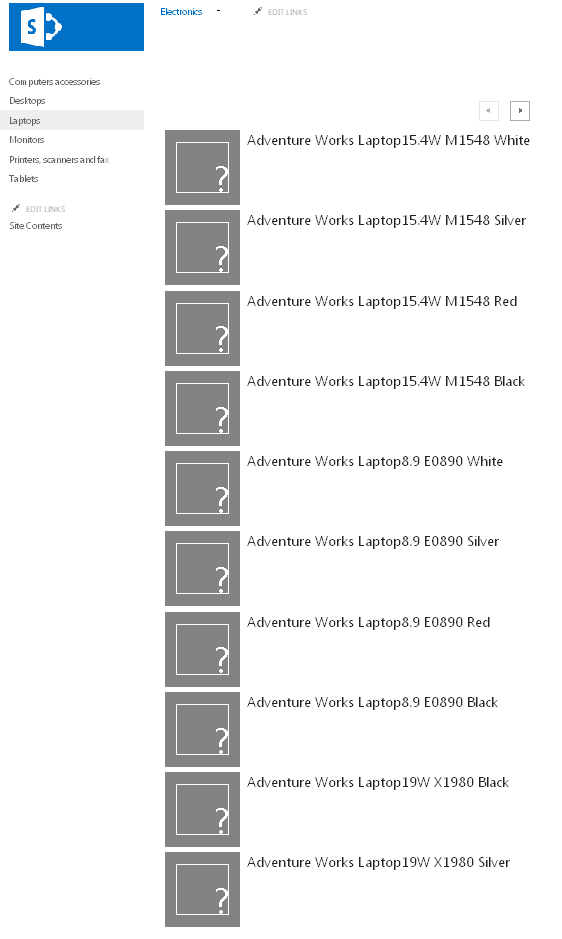
Tip: If you are using the 800 item XML file, there are more than 2 items in a term. By default the web part is set up to show only 3 items. Change this by going into the web part editor again.
Set Number of items to show =10
Set Display template => Control = List with paging.

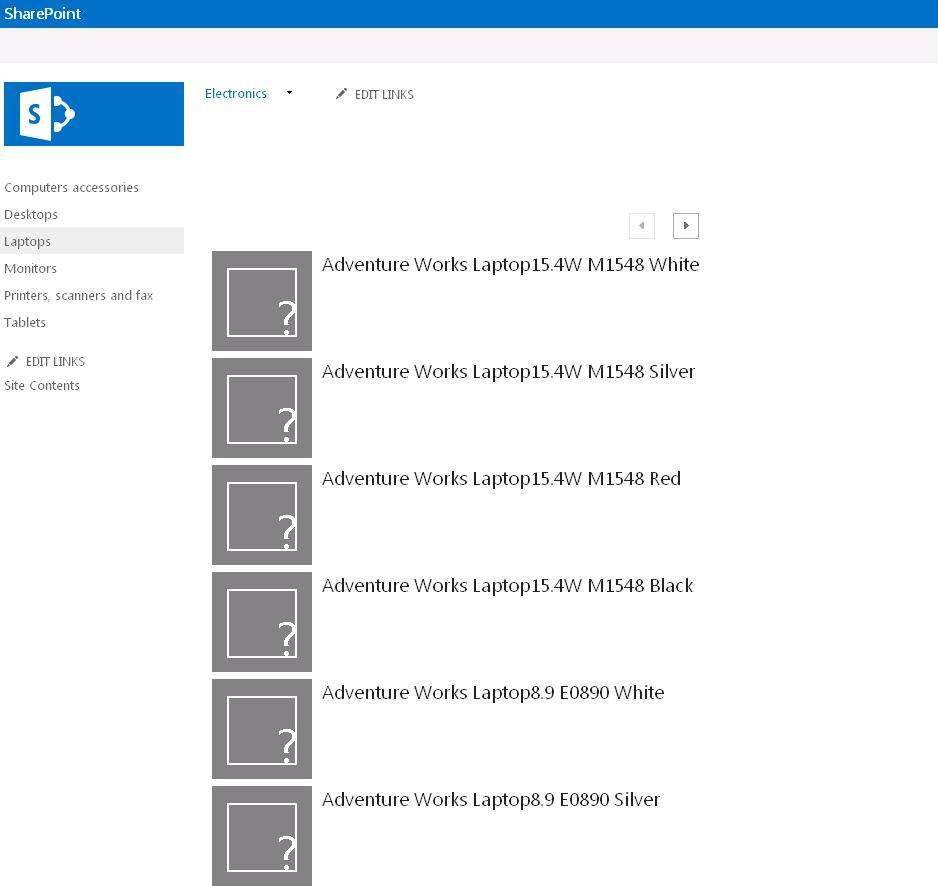
Save your work and return to the main page and navigate to Computers/Laptops.
Your page should now look like:
How to make the publishing site available for anonymous users.
In order to make this publishing web site accessible to anonymous users, you will have to configure “Anonymous access” in:
- The web application
Central Admin => manage web applications=> <your web application> => Authentication providers =>Default =>Anonymous access
- The Site collection
Site settings => Site permissions => Anonymous access
This ends this blog