Support-Tip (Connectors): Creating SharePoint Profile Store Management Agent
FOCUSED PRODUCT / PRODUCT(S) USED FOR BLOG
Here is the list of products, build versions that I utilized for this blog write up!
- Microsoft Identity Manager 2016 Service Pack 1 (4.4.1302.0)
- SharePoint Management Agent for FIM/MIM (4.3.2430.0) [Download]
- Microsoft SharePoint Server 2016
- Single Server Farm - User Profile Service
BLOG PURPOSE: My focus here is to provide some information on creating a new SharePoint Management Agent for use in FIM/MIM with a SharePoint Server 2016.
There have been some changes in the User Profile Service for SharePoint Server 2016. If you are looking to do the same type of synchronization as done in previous versions of SharePoint, you will need to utilize the SharePoint Management Agent for FIM/MIM inside an Identity Management Solution with FIM/MIM.
| NOTE: | In a default, SharePoint Server 2016 Single Farm scenario, the User Profile Service is not installed/configured. You will need to install/configure it prior to being able to setup the SharePoint Profile Store Management Agent. This will not be covered in this blog. |
INSTALLATION OF SHAREPOINT MANAGEMENT AGENT
The installation process of this particular management agent is very straight forward and will not be covered in this blog.
Once installed, you can confirm via:
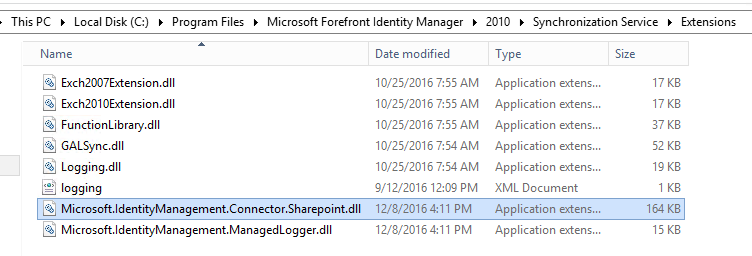
- Validate the DLL is in the Extensions folder (%programfiles%\Microsoft Forefront Identity Manager\2010\Synchronization Service\Extensions)
- DLL = Microsoft.IdentityManagement.Connector.Sharepoint.dll
- DLL = Microsoft.IdentityManagement.Connector.Sharepoint.dll
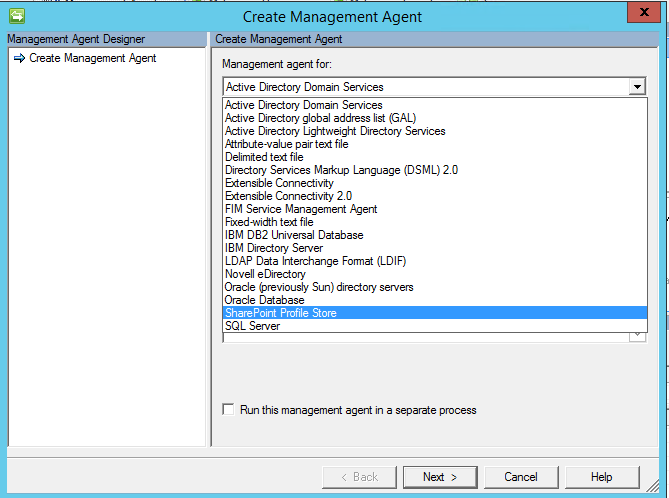
- Validate that you see the SharePoint Profile Store in the Create Management Agent dialog.
CREATE THE SHAREPOINT PROFILE STORE MANAGEMENT AGENT
Let's walk through the screens of creating the SharePoint Profile Store Management Agent. Some of the screens are general across all management agents, so I will not cover much detail there. If you have questions, feel free to send me an email. (timmac@microsoft.com).
- In the Synchronization Service Manager Console, Select Management Agents
- From the Actions Menu, select Create Management Agent
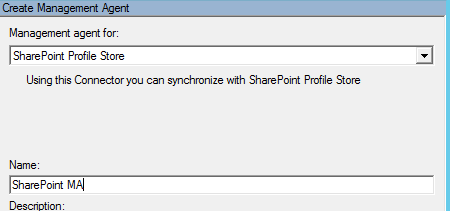
- In the Create Management Agent dialog, select SharePoint Profile Store and then provide a name for the new Management Agent.
- Click the Next button
CONNECTIVITY PAGE
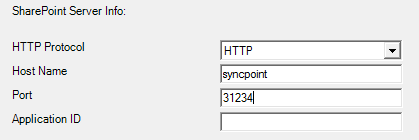
| NOTE | This Property Page is probably the most difficult to understand because you need to understand how to connect to your SharePoint Farm. For this, you will need to understand how you have your SharePoint Farm Configured, as well as understand how to access the SharePoint Central Administration Page. |
SharePoint Server Info
| HTTP PROTOCOL |
|
| HOST NAME |
|
| PORT |
|
| APPLICATION ID |
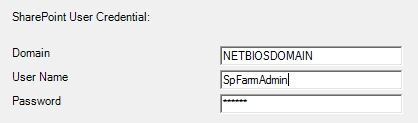
SharePoint User Credential
| DOMAIN | · NETBIOS of the Domain Name | ||
| USER NAME | · User Name of a SharePoint Farm Administrator
|
||
| PASSWORD | · Password of the SharePoint Farm Administrator Used here. | ||
 |
User Picture Flow Settings
| PICTURE FLOW DIRECTION | · Which way will you be flowing the pictures.
|
CONFIGURE PARTITIONS AND HIERACHIES PAGE 
SELECT OBJECT TYPES
Displays the Object Types that are exposed by SharePoint. In a default configuration, the three object types below should be presented for you to work with here. 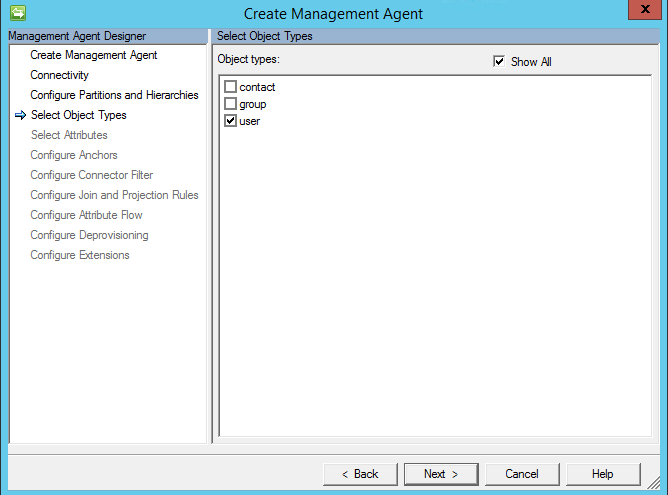
SELECT ATTRIBUTES
Displays the attributes that are exposed by SharePoint Server. 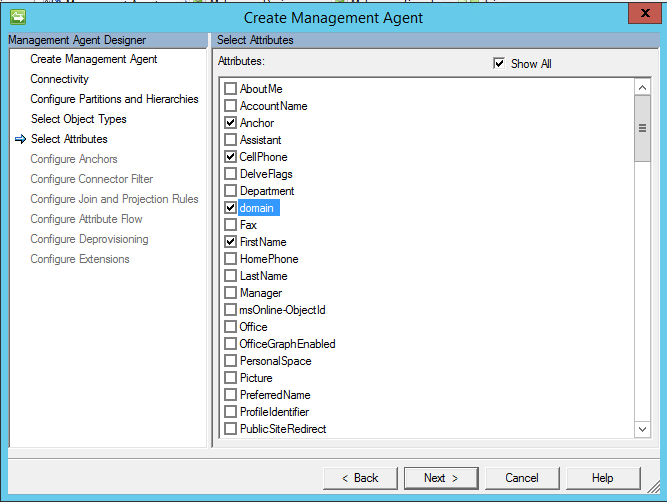
CONFIGURE ANCHORS
Define the Anchor Attribute. In a default scenario, such as the one I did here, you should be able to just use Anchor. 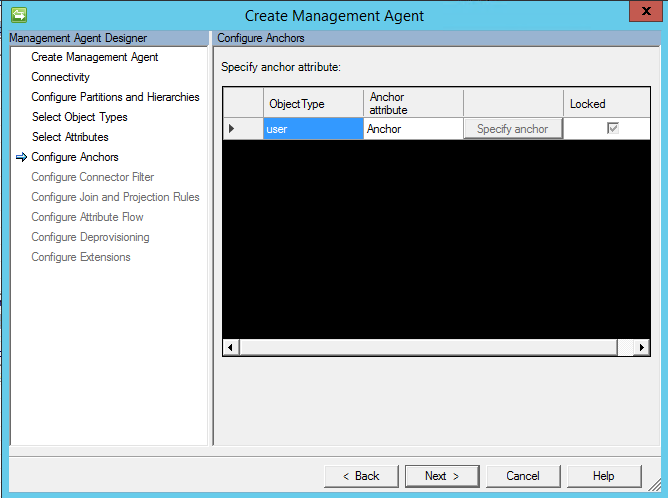
CONFIGURE CONNECTOR FILTER 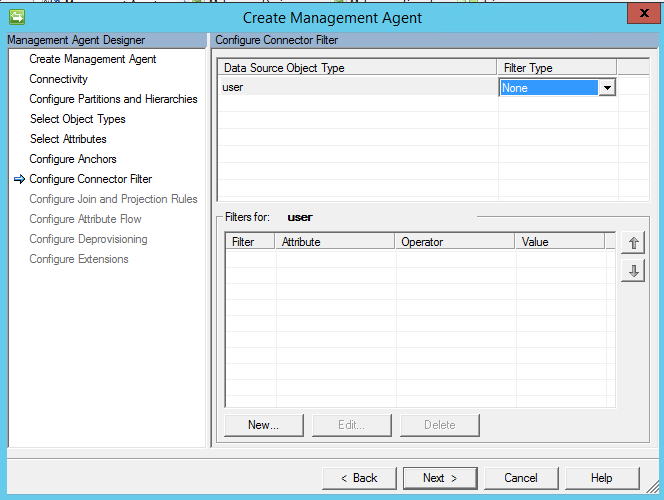
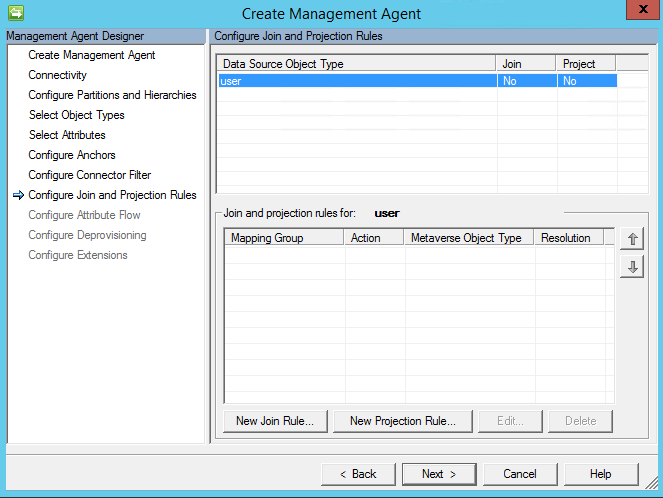
CONFIGURE JOIN AND PROJECTION RULES
If the identity management solution requires legacy Join and Projection Rules configured through the management agent, this is where it would be done. The identity management solution, may utilize synchronization rules, which are configured in the Portal under Synchronization Rules.
| NOTE | If you are new to FIM/MIM and want to understand more about Declarative (Codeless) Provisioning, please review the following information.
|
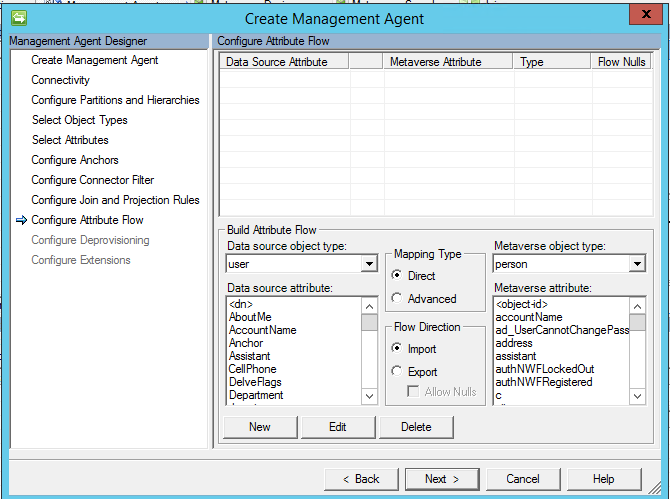
CONFIGURE ATTRIBUTE FLOW
If the solution requires legacy attribute flow configured through the management agent, this is where it would be done. The identity management solution, may utilize synchronization rules, which are configured in the Portal under Synchronization Rules.
| NOTE | If you are new to FIM/MIM and want to understand more about Declarative (Codeless) Provisioning, please review the following information.
|
CONFIGURE DEPROVISIONING 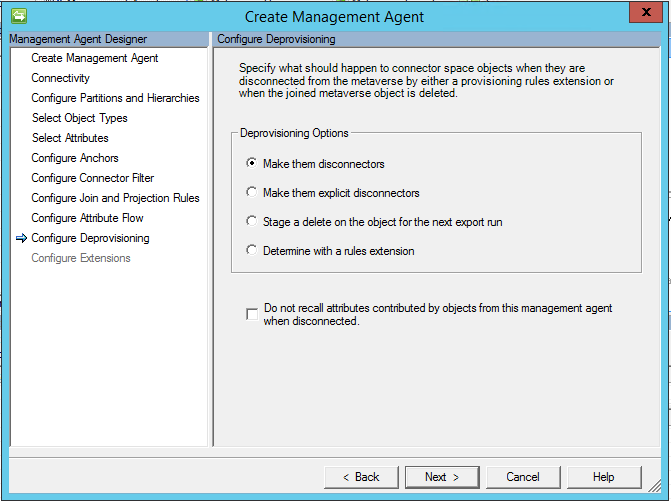
CONFIGURE EXTENSIONS 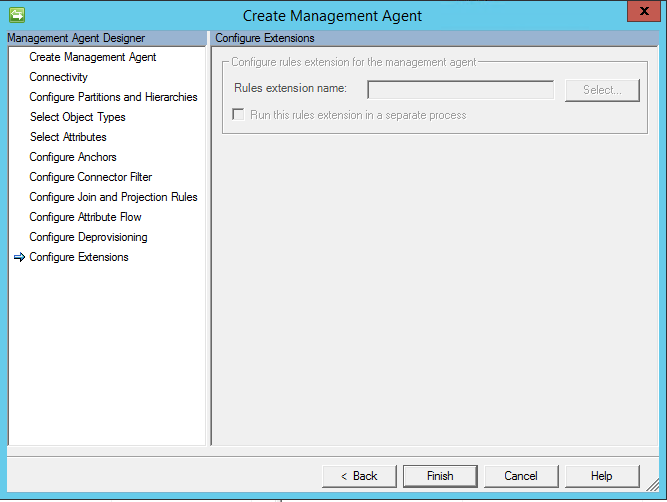
| ADDITIONAL RESOURCES |
|